
My tiny little office really needs an injection of usefulness. If you remember, this is my pseudo-desk area on top of my IKEA expedit cubbies.

It (along with the rest of our second floor) has BIG plans in store for this winter after my darling Millie is through with renovations. I'll give you a hint. It involves a long awaited allergy-friendly flooring switch-up. Until that catalyst starts a new slew of renos into my house, I need to make this tiny room work. It serves as my office, our extra TV room, and our rarely used ellipticals home. With the ball rolling on my interiors business, Copper Dot Interiors, I need a place for notes, lists, swatches, ideas and inspiration. All this has been cluttering the little bit of desk that I do have and causing me to avoid using the desk all together. Kind of defeats the purpose.
Luckily, a few errands and a few hours later, I put together exactly what this space currently needs to function: a fabric covered bulletin board, complete with pockets.
Not only was it a very gloomy weekend here and all of my photos were dark and gloomy, I still haven't figured out a way to take quality photos in this itsy space. There is one window, but with the homes orientation, not much natural light comes in. One day I'll figure it out and WOW you will my stunning office images. Until that day, I'll photoshop them until they don't look weird.
So, bulletin board!

I'm impatiently eagerly awaiting finding the PERFECT frame for this... something like this bulletin board on The Everygirl:

but until I come across that gem, I decided to work with that was available- a $6 thrift store frame.
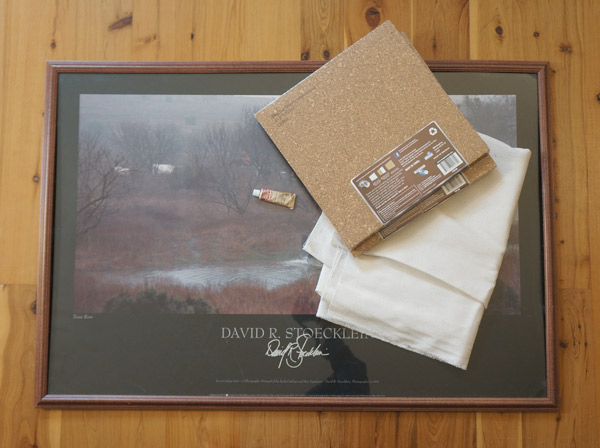
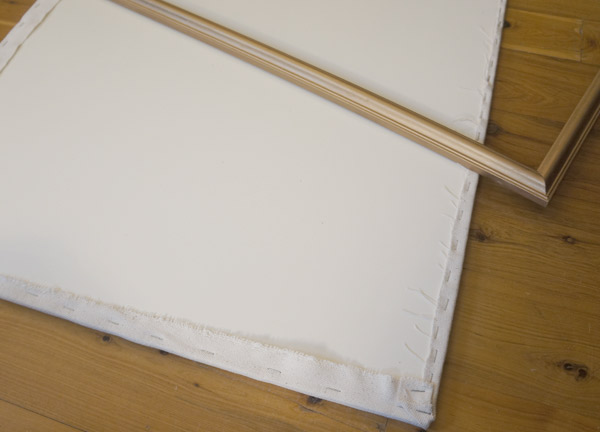
The poster got sacrificed to the DIY gods. In addition to a large frame- mine is 2'x4', I also used cork board tiles, a tube of rub n' buff, and my chosen fabric.
The frame got disassembled and the foam core backing got reused. I used the double-stick adhesive squares that came with the cork tiles and stuck them onto the foam core.

Once the surface was covered, I trimmed the cork on a few of the edges where it overhung the foam. Next, I sprayed the whole area with spray adhesive. This helps the fabric grip and not bubble or wrinkle, but it still allows for repositioning. The fabric is much dreamier in person. It's the perfect texture with a slight natural fleck in the color. I wish it showed more in the pics.
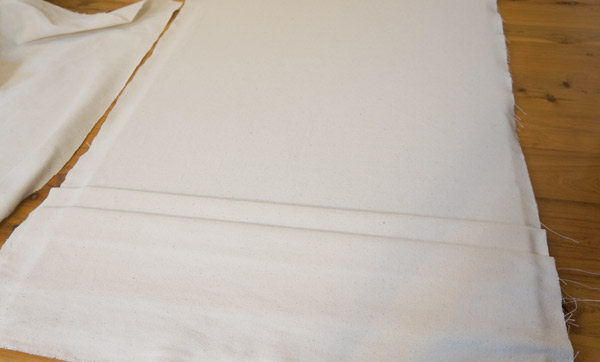
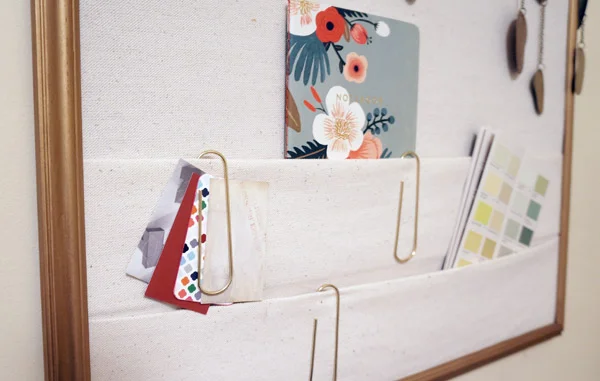
The pockets are created by folding the fabric- the deeper the folds, the deeper the pockets. I knew these would be necessary for function and keeping clutter off of my desk top but not out of mind. After the fabric was placed, the spray adhesive held well enough to allow me to flip the foam core/cork board over and staple the fabric around it.
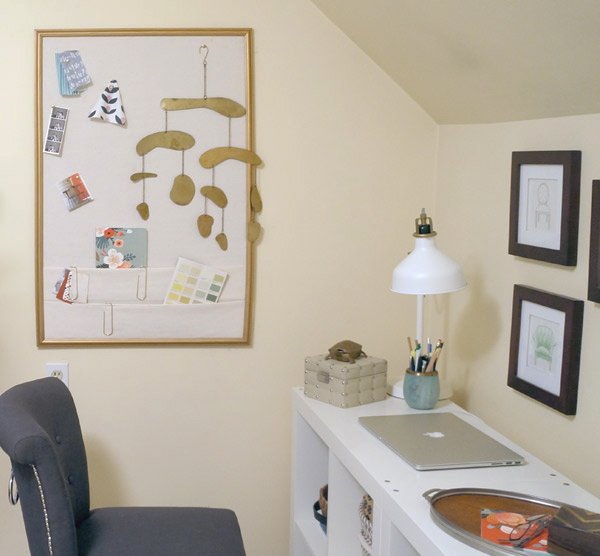
Magically, while I created the bulletin board, the plastic faux wood frame suddenly turned to gold! Ok, not so suddenly or magically. After disassembling the frame back at step 1, I used rub n buff in antique gold to make the frame shinier and less fake-wood-looking. Once my board was wrapped and my frame was goldified, I popped the board back into the frame and used high-tech duck tape to hold everything together on the back. I used my favorite 3m picture mounting strips to hang it (not sponsored, just love them) and voila!

Since this is most likely a temporary frame until the right one pops into my life, I'll most likely be reworking this along with the entire room in the near future. I can see the room now, new desk chair, paint, window treatments, rug.... she'll be a beaut!!
Until then though, I have a super functional and easy on the eyes DIY fabric covered bulletin board!