Curb Appeal

The Taming of the Yard

This post is sponsored by Toro, but all content and opinions are solely my own.  

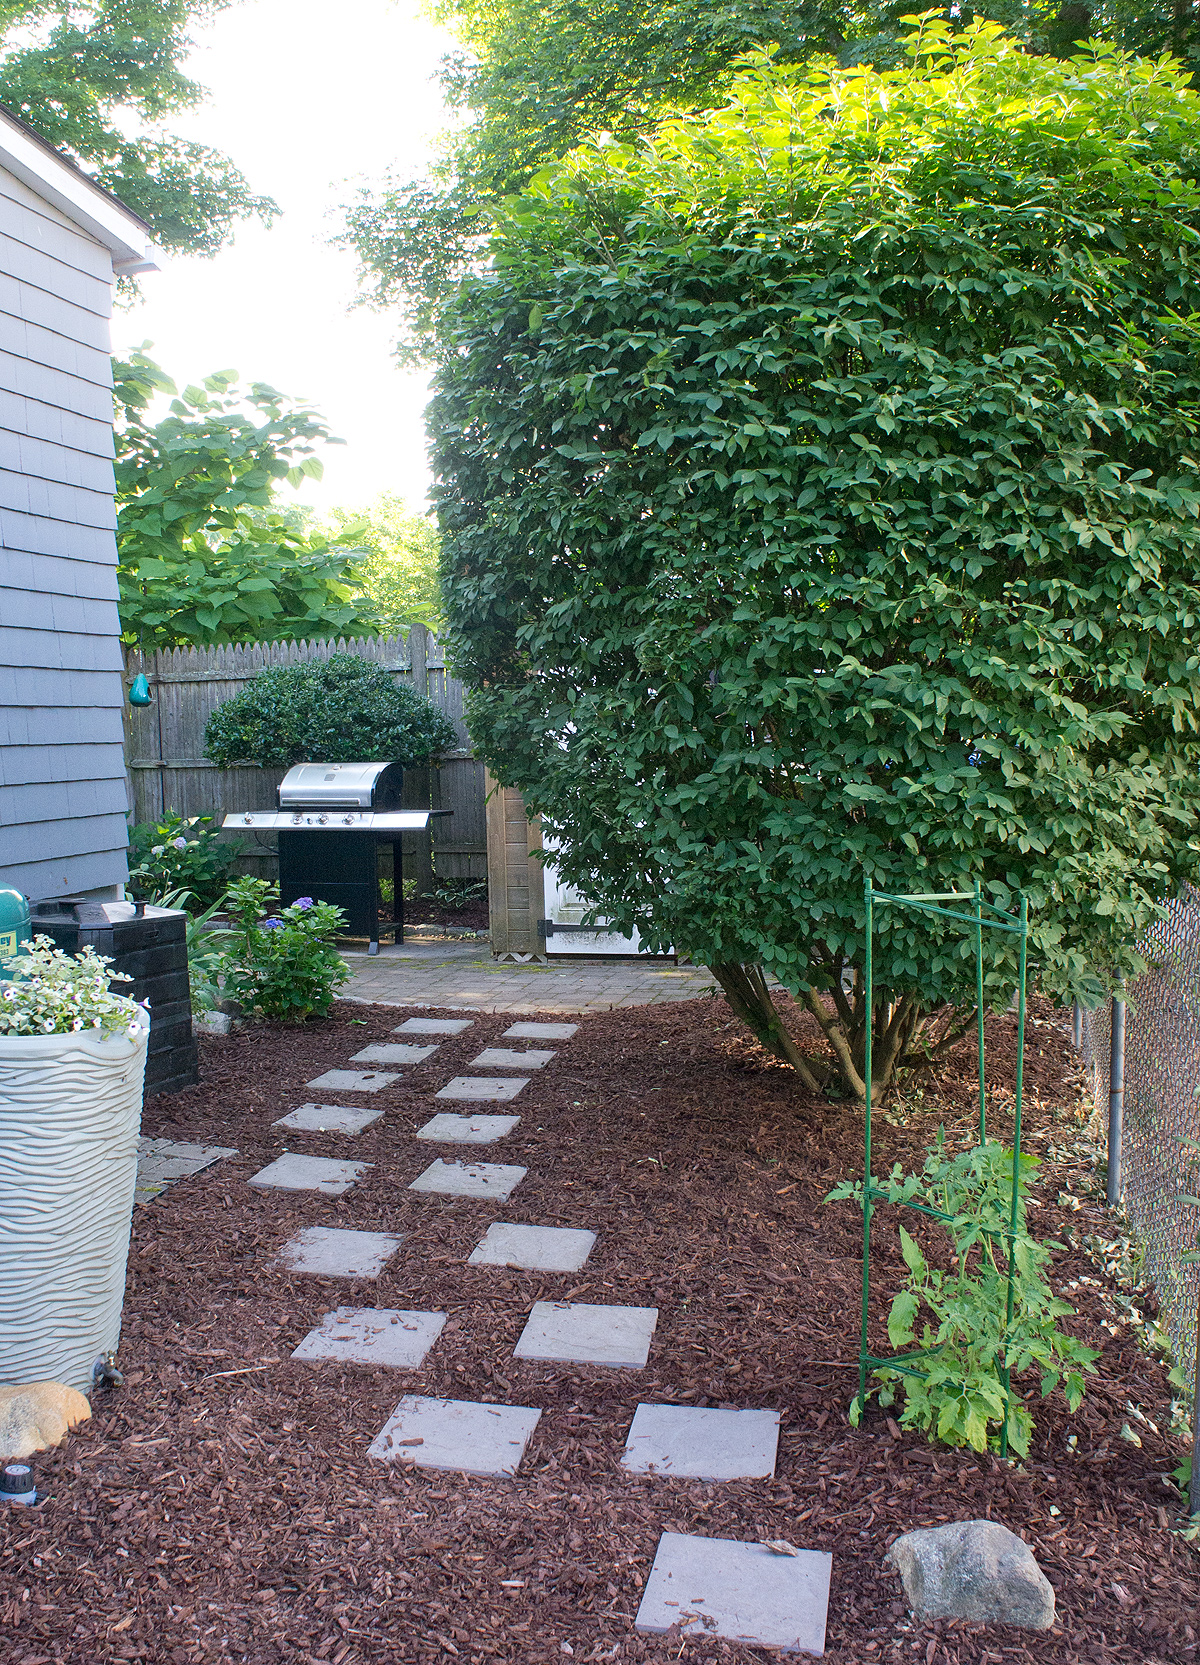
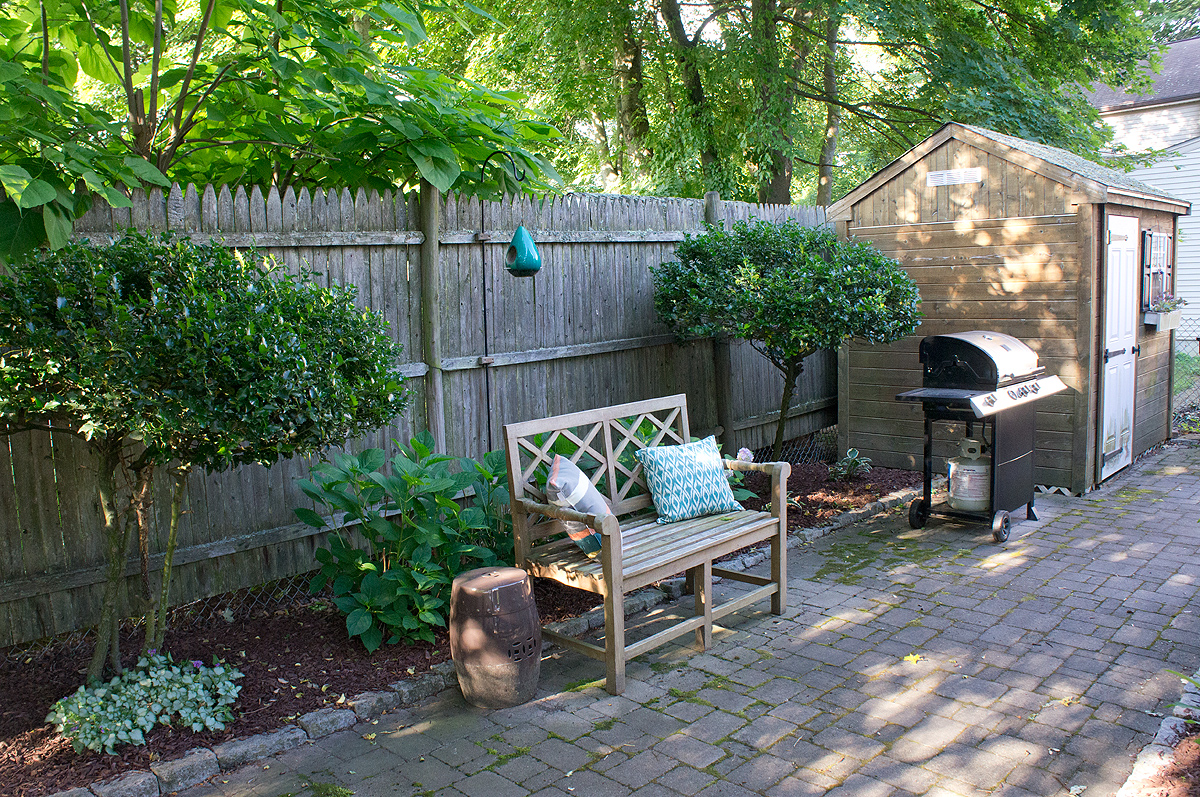
My yard is approximately the size of a postage stamp.  A 3,000sf postage stamp.  That includes the house, shed, driveway, brick patio, 1 tree, 170sf of grass, and gardens around every corner- literally.  It's my little garden oasis.  At the beginning of every summer, it's a process to get it season-ready, though.  Between cleaning up leaves, weeding, trimming the bushes. and spreading what seems like a million bags of mulch (ok closer to 30), I always spend more of my free time doing yard work in June than I ever anticipate.  Luckily once the bulk of work is done, the daily and weekly maintenance is a breeze for the rest of the summer and we get to sit back, relax, and enjoy our little yard.

Prior to it's yearly taming each spring, the yard starts getting a little wild and with it's minuscule size, a little wild feels a lot wild.


In my minuscule yard, we also have a minuscule shed that needs to hold a snow blower, manual lawn mower, all of my shovels, rakes, and outside tools, and now a stroller.  For me, not only is having the right tool to get the job done important, but the more compact the better...... cordless is a plus, multipurpose tools is a huge plus, easy to store is a massive plus.  To help with this year's taming of the yard, Toro kindly sent me a couple Toro PowerPlex™ 40V Max* Lithium Ion Products to try.

I first set out on the front yard with the Toro PowerPlex™ 13 inch string trimmer/edger on the front yard.  All 170sf of it.  We use a manual mower that came with the house, but with each mow, we use a trimmer to get all the edges and anything the push mower missed.  And the morning glories.  I have a love/hate relationship with morning glories.  Every year, by the end of summer, the metal fence is covered with beautiful morning glories (yay!) but they grow like weeds and will try to take over my lawn, garden, and anywhere possible (boo!)- string trimmer to the rescue!


This handy little trimmer has an extra long battery life (up to 45 min!) which was an issue we had with our previous trimmer.  It can also easily rotate to be used as an edger with a guide and wheel.  Multi-purpose tool?  Sold!

String trimmers/edgers are nice and handy, but what I was more excited to use was the Toro PowerPlex™ 24 inch hedge trimmer.  This was my old hedge trimmer.....


They work great for small tasks, but trimming larger bushes... say a 12+ foot tall burning bush... is pretty much impossible with it.  Toro PowerPlex™ 24 inch hedge trimmer to the rescue!  Please excuse the stank-face...I was glaring at the sun, not the trimmer.
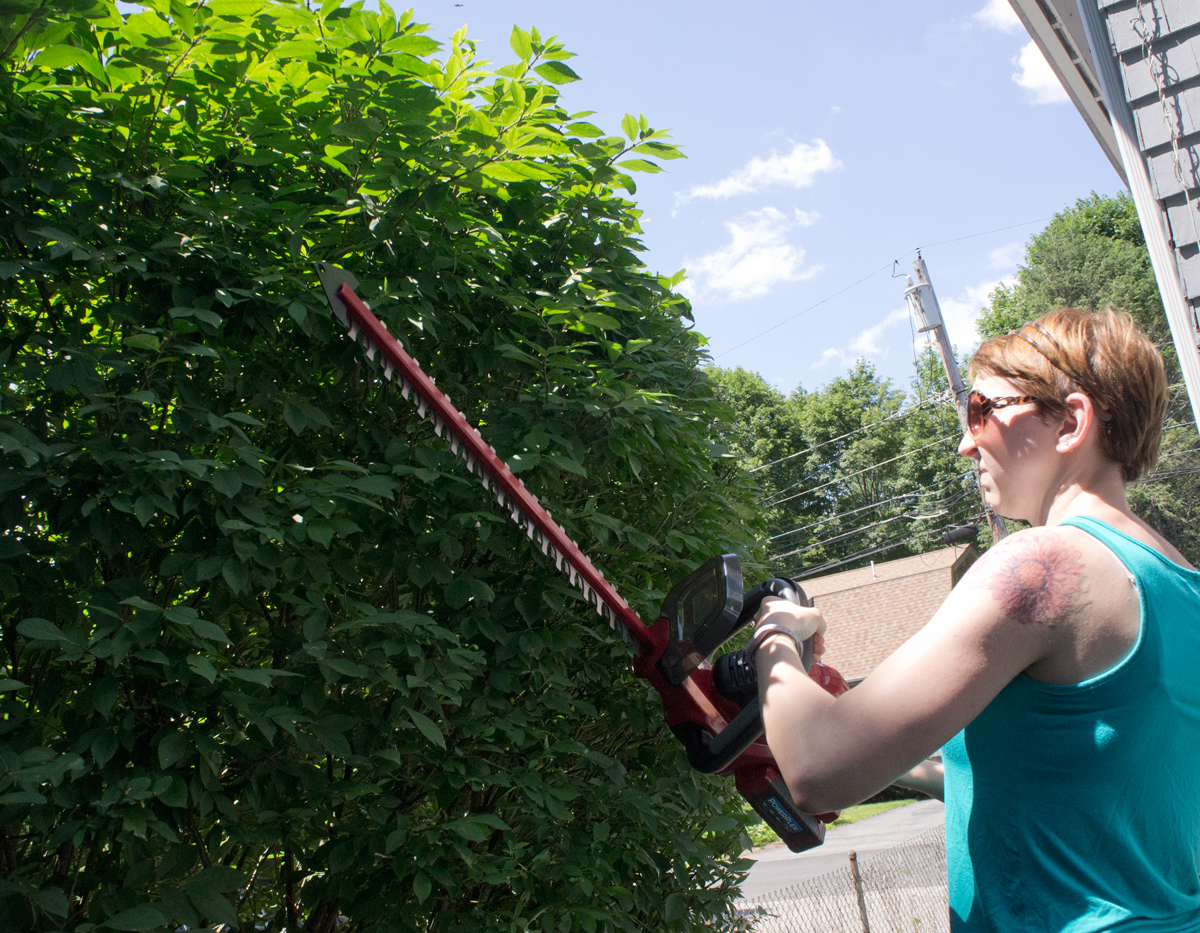
I'm loving that it's cordless.  In years past I've tried borrowing my dad's corded trimmer for the task, and this trimmer is so much easier to navigate than a corded one that you're constantly afraid of cutting the cord.  It also feels so much safer since you need to have both hands on the trimmer or it will automatically turn off.
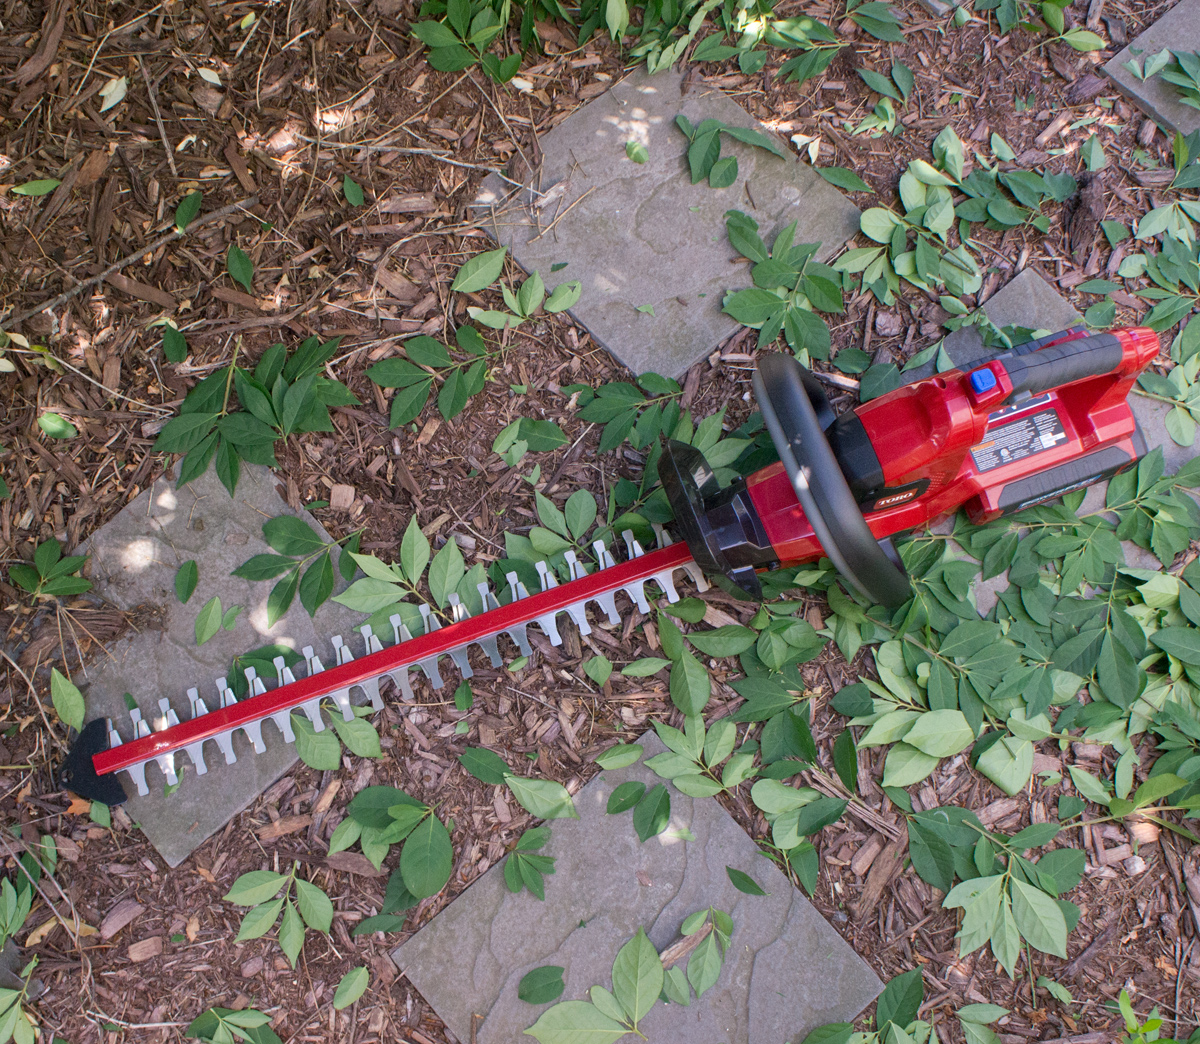

 

When at long last (or so it seems) the yard is finally tamed for the season, I get to take a deep breath, pull out my folding hammock, and enjoy the space all summer with minimal maintenance.



Thanks Toro PowerPlex™ 40V Max* Lithium Ion Products for helping me get my yard summer-ready!

Save

Save

Save

Save

Save

Save

Save

Save

Save

A Numbered Statement

After several weeks of being numberless and confusing a delivery guy or 2, Millie once again is identifiable. Craftsman bungalow wood backed house number DIY via Year of Serendipity

After the painting finished up, I knew I needed to add a bit of a warmer touch to the house.  I debated putting shutters back, but ultimately decided that beefing up new house numbers would totally do the trick.  I love high impact projects for low wallet impact.

The font and the newly curb appealed terrace side both got numbers for less than $20 a piece.

Craftsman bungalow wood backed house number DIY via Year of Serendipity

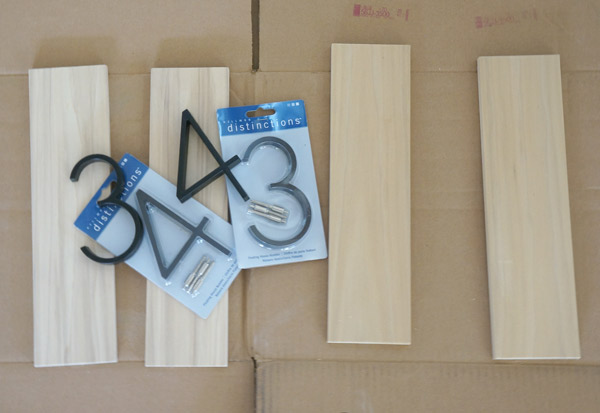
It all started with $6 Home Depot numbers, a piece of 1/2" poplar, and some stain.

DIY wood backed house number supplies via Year of Serendipity

I laid out the numbers to determine the size of the wood and cut 4 equal pieces- each house number backer would be 2 boards side by side.

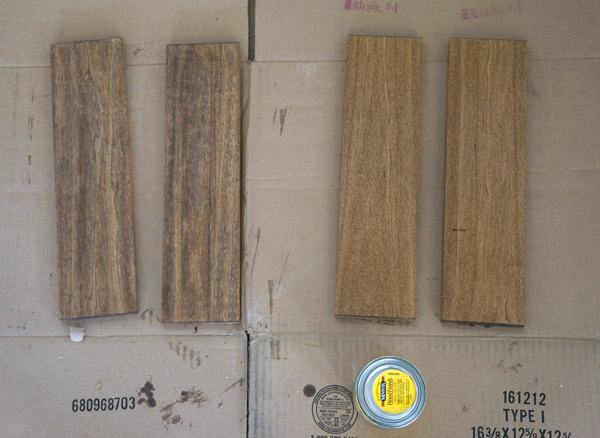
DIY-house-number-stain

The 2 boards on the left were bought new, the right were left over from a previous project.  Although they're the same wood, I was surprised how differently they took the stain.  Luckily it didn't matter since 2 boards were going on one side of the house and 2 on the other.

At first my brain tried to over-complicate this installation.  I thought about using my kreg jig to attach the boards to one another and then attach the numbers before putting the assembly on the house, then about how to hang it on the house.....  Luckily I came to my senses and simplified.

First step was figuring out the placement on the porch posts.

House-number-placement

I decided that I wanted them just over a foot above the railings.  Using my level (which also has a handy ruler on it as well) I also figured out where to place the first board for the finished product to be centered.

DIY wood backed house number placement via Year of Serendipity

Holding that one board in place, I picked up my finish nail gun and placed a nail in the center of the board.

House-number-nail-gun

This holds it in place while I adjust it.  Even though I used my level, it's more important to have it parallel to the porch post.... which in a 100 year old house probably isn't 100% level anymore.  Once piece one looked level, I nailed piece number 2 next to it also with just one center nail.

DIY wood backed house number placement via Year of Serendipity

After stepping back and being pleased with their placement, I put a couple more nails into each board for stability.  I have to say, if you've never used a nail gun, you have no idea what you're missing.  I swear this is one of the most useful tools that I have!  Plus it's fun and helps me build pretty things.

With the backer board in place, it was time to install the house numbers themselves.

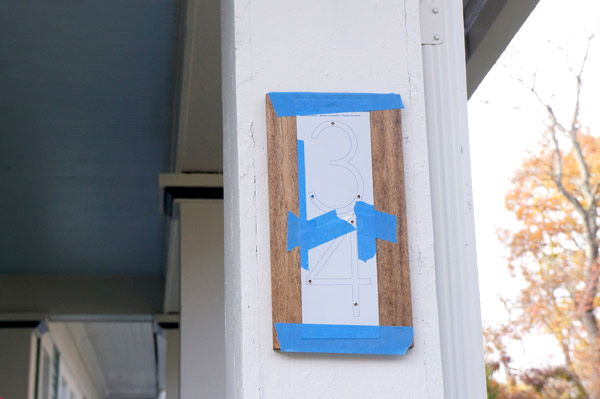
house-number-template

All I did here was follow the directions that came with the house numbers.  Place template, drill holes, put spacers onto numbers, glue/caulk spacers into drilled holes.

Craftsman bungalow wood backed house number DIY via Year of Serendipity

I'm kind of in love with them.  It's just what the outside of this house needed!

A big house needs house numbers that stand out.

Craftsman bungalow wood backed house number DIY via Year of Serendipity

Bonus if they make me smile.

Craftsman bungalow wood backed house number DIY via Year of Serendipity

Craftsman bungalow wood backed house number DIY via Year of Serendipity

The house is starting to coordinate with the fall decor delightfully.  I totally planned it that way...

Craftsman bungalow wood backed house number DIY via Year of Serendipity