Office

Copper Dot Interiors is Moving!

First of all, please accept my apologies for Friday's lack of post.  Between the holiday at the beginning of the week and the mid-week snow storm/digging out, I didn't grab any updated flip pics to show.  This just means that this Friday's post will be even more exciting!  (seriously, super exciting, I promise!)  But anyway.....  

I'm beyond thrilled to tell you guys that Copper Dot Interiors is moving!!!!!.... out of my dining room and a 1/2 a mile away!!!


Ever since I gave up my home office for Copper Dot Baby's nursery, it's been a bit trying working from the dining room table.  There's usually a very cute distraction playing with Daddy/Grammy/Nana/nanny in the next room or walking past to get to the kitchen.  I saw an "office space for lease" sign almost a month ago and inquired on a whim, but the more I thought about it, the more it felt like the right move.  Well, keys are now in hand and boxes are being brought over!  Without further ado, the soon-to-be new home of Copper Dot Interiors:


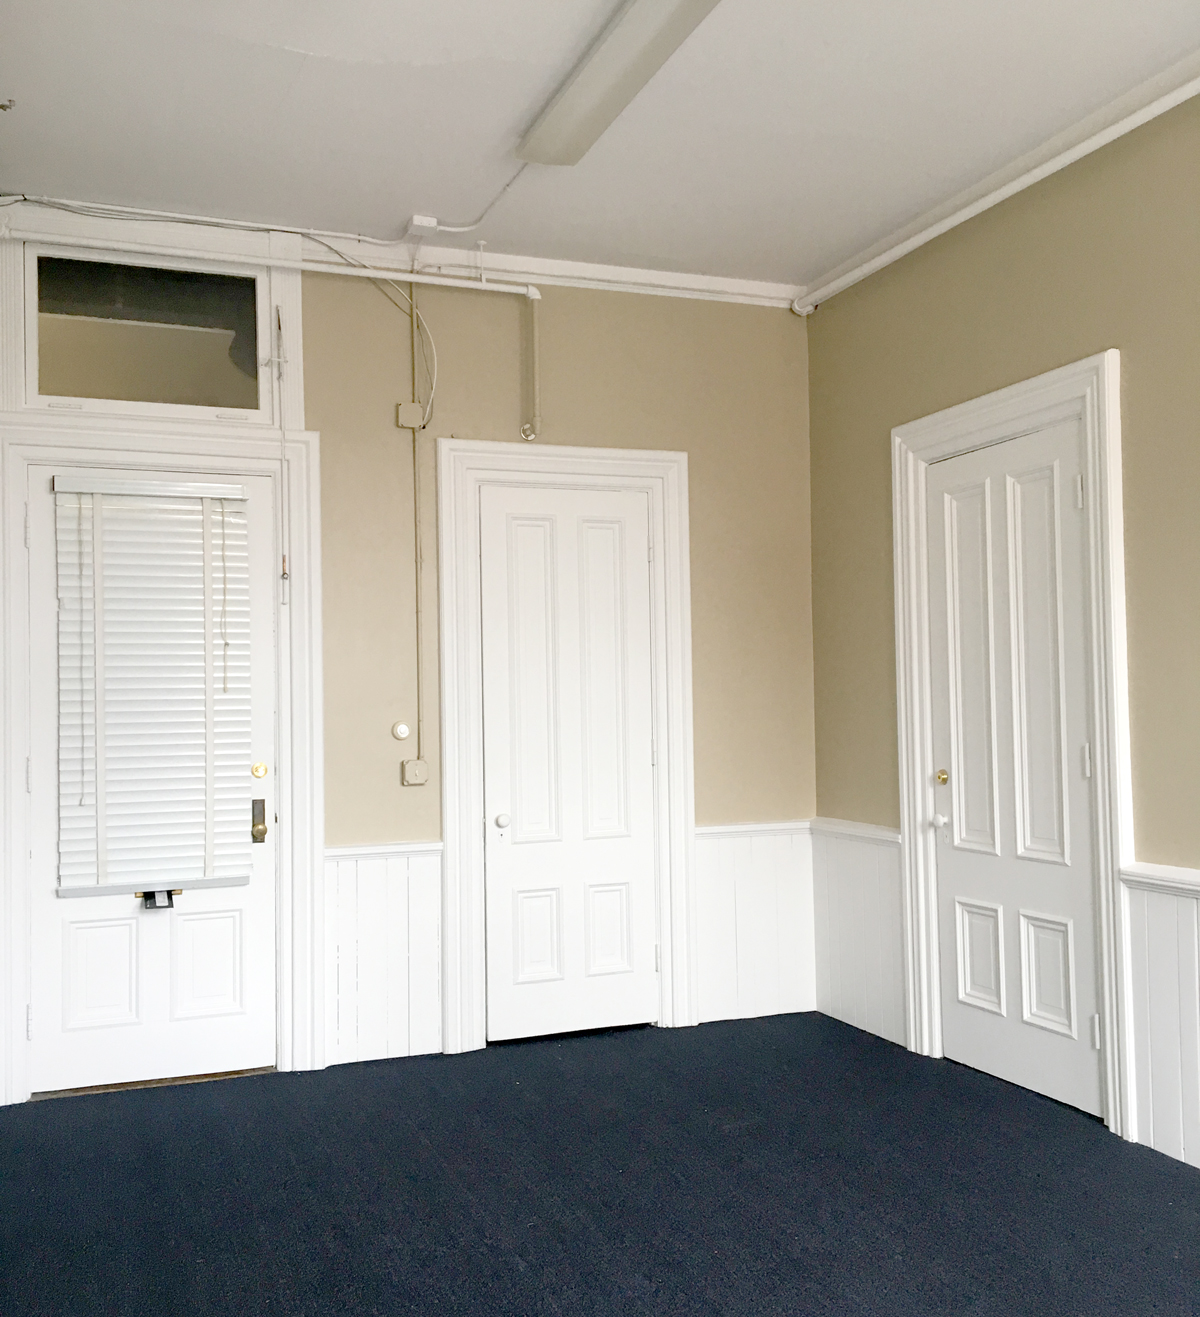
I'll be sharing 237sf of office space in this 1874 historic town building (!!!) with the talented photographer Stephanie Rita Photography.   Without any furniture in it to help to show scale it isn't obvious, however those ceilings are over eleven feet tall!!!


We have some great ideas for the space, but the first thing will be painting over that tan.  It's a lot of tan.  Once it get's painted white, oh boy, this is going to be a fun white box to design.  Aside from the excitement of a new office and hopefully growing my business, the architectural details of the building make me all weak in the knees.  The doors, guys, the doors!


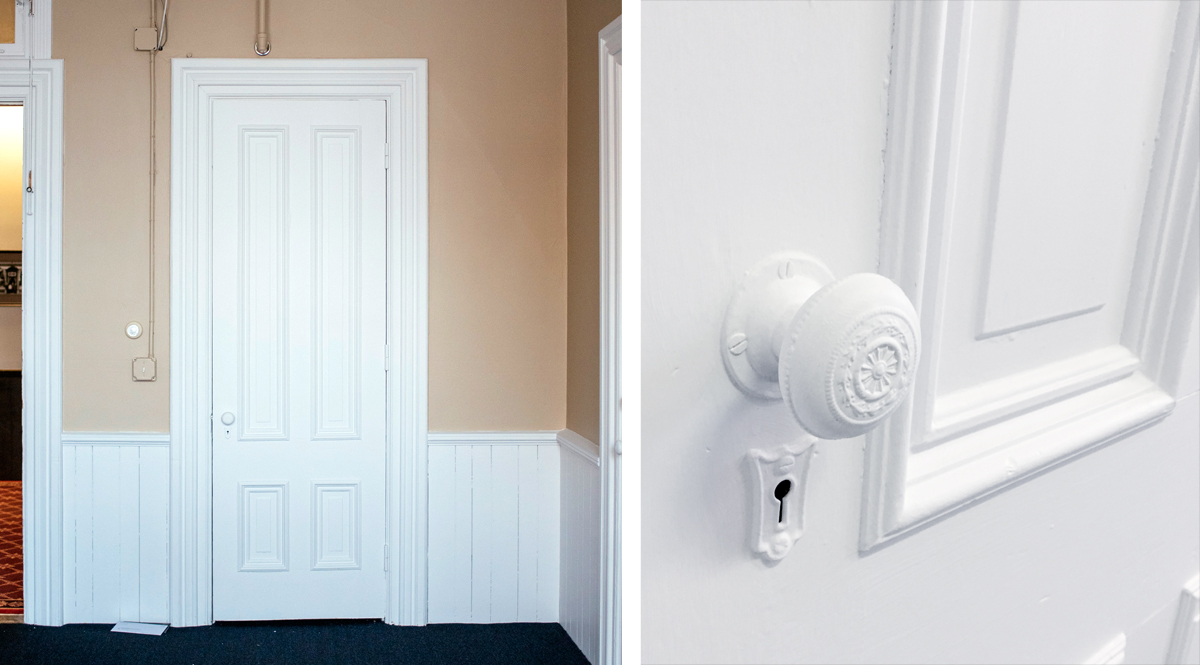
While the hallway carpet isn't my particular cup of tea, this building already has my heart!


I am so so excited for this next step for Copper Dot Interiors!  I have some fun projects in the pipeline and will hopefully be sharing more of Copper Dot's work with you!


Cheers to 2018!!!

DIY TV Cabinet Complete

I'm all done leading you on and ready to reveal my final DIY TV cabinet!  Before we get to the reveal, take a peek back at the building process. Now that I'm working primarily out of my home office/den I wanted to put more emphasis on the home office part instead of the den part.  This meant making the TV less of a focus.  I can't exactly hide the ugly elliptical that also sits in the room, but considering it's behind me while I'm at my desk I can pretend that it's not there.  There was no ignoring the big black box in front of me.

Office progress before

So like any crazy normal person, I decided to build a solution.  It still needs some minor tweaking to allow the doors to slide better, but HELLO!

DIY TV cabinet via Year of Serendipity

To mount it, I screwed the back directly into studs.  I wouldn't hang on it, but it's not going anywhere.

So during Copper Dot hours, the room is all business...

DIY TV cabinet via Year of Serendipity

...and when work time is over, the room becomes the den once again and the frames slide open to reveal the TV.

DIY TV cabinet via Year of Serendipity

With the frames being the star (and currently sporting temporary DIY art) I wanted to keep the styling as simple as possible on the sides.

DIY TV cabinet styling via Year of Serendipity

Don't be surprised to see some of this art evolve by the time I get to the final completion of the space.  For now, the 4 frames are filled with art from a $3 Target calendar that I couldn't resist.  It was from "The Spot" so it's not on their site.  That little corner of Target is dangerous....

DIY TV cabinet via Year of Serendipity

Embrace the mess.  Amen!  It's killing me, but I can't find the source of this awesome print.  Even Pinterest and Google Images failed me.  It was a free download ages ago that I've just been waiting to incorporate somewhere.  If you know where it originated, please share- I want to give credit where it's due and share the source with you guys!

DIY TV cabinet via Year of Serendipity

Seeing this part of the room come together just make me eager for the rest of the pieces to come together.  A roman shade, finishing my chair, and refacing the cubbie fronts will put the cherry on top of this make-over.

So what do you think??  Was my DIY TV cabinet worth the wait?


Franken-Chair Plans

Ever been so eager to start a project that you forget to take proper before pictures?  Me neither.  I would never do that...... Since reworking, rearranging my office and getting a proper desk a few months ago, I decided that this very sad vintage chair that I adopted at Brimfield several years ago was just the right piece to add some mid century pizzazz to the room.

brimfield-mcm-chair3

I'm ashamed to say that I've been sitting and working in this pre cat clawed (not from my cats!), musty, old pleather chair ever since.

brimfield-mcm-chair2

The seat height was a bit too low and I craved a chair on casters, so I held off on doing anything to it until I had a plan.  First step was to make sure that I wasn't sitting on a mid century gold mine.  The chair looks suspiciously like the Eero Saarenin Executive Armchair- even down to the color.  The official version of this chair is still available new for the paltry sum of $1800+.

eero_saarinan_walnut_chartreuse

Lucky for my franken-chair plans, mine is just a close reproduction.  Without a makers mark or tag, I had to rely on checking the dimensions against the original designer chair.  While close, a half inch shy of the designer width and thinner seat cushion told me my chair wasn't worth thousands.  It would be cool to own a vintage designer chair (that I procured for only $25), but I now have the freedom to make it the chair I want instead of the pressure to restore it originally.  Can you see my wheels turning?  I tried to think of how I could add casters and raise the seat, but no casters would work with those original legs.  I was at an impasse.

Enter trash chair.  (which was in 1 piece when I found it, but I swiftly picked it apart, whoops)

trash-chair1

trash-chair2

This beauty had been sitting in a neighbor's trash pile for days.  Since I'm a recovering chair-a-holic (ha recovering...), I was trying NOT to grab it even though it called to me every time I left my house and had to pass by the pile.  Finally I gave in.  At the end of a run one day I grabbed the chair and wheeled it down the street and to my yard without a plan for it.  I just knew that this cool old chair did not deserve to end up in a dumpster.  The wood part of the base was loose and the top had seen better days- much better days.  While not beyond repair, the top is certainly in the sorrier state and won't be needed for my plans.  I probably can't bring myself to get rid of the top, though, but it will be set aside and the base is getting a new life.  Because look at this beautiful base.  It's all about that base, that base...

trash-chair3

Wow, I wasn't planning on being so verbose today.  I guess I have a lot to say about chairs.  It's a real problem folks.  Check back next week to see how I plan to make these 2 vintage gems into the perfect office chair!

Feel free to feed my chair addiction on instagram and tag your chair discoveries with #chairhoardersanonymous