Upholstery Progress

Wow, Wednesday totally snuck up on me.  It is Wednesday, right? Hubby and I are a little under the weather today, but I'm doing my best to power through it.  I always seem to feel better when I distract myself than when I just take it easy... Which is good because I have several larger projects that I'm determined to get done this week.  I'm showing some teasers on instagram, but I'll wait until I have the completed projects to show you.

Tonight especially I need to power through this stupid cold, because it's upholstery night!  I LOVE upholstery night!!

Last week when I left my beautiful antique chair at the end of the class, it was finally starting to look like something.  The entire chair is newly cushioned, covered in muslin, and ready for the pretty fabric on top.  That starts tonight.

antique chair progress 1

Once all the fabric gets attached to the front, then the outside of arms and bottom of the back will get closed up last.  One huge thing that I've learned about reupholstery (especially on a piece like this), is that the most important thing is the order in which you do things.  The seat needs fabric before I can attach the back and arm fabric.  I find the process fascinating.

antique chair progress 2

Even though it's been a bit nerve-wracking tearing apart a chair that I love so much, the result is totally going to be worth it.  My living room is going to thank me!  What's even better is that I still have this chair's sibling- the formerly matching settee- sitting in the basement.  Knowing how to reupholster the chair will give me the ability to reupholster it's slightly wider counterpart in the future.

Now back to today's regularly scheduled programming projects.  Have an awesome Wednesday!


DIY Horn Amplifier

About a month ago, I showed you a teaser of this antique horn I intended to DIY. antique horn

I snatched it up from an antiques market nearby for $10 and I knew exactly what I planned to do with it straight off the bat.

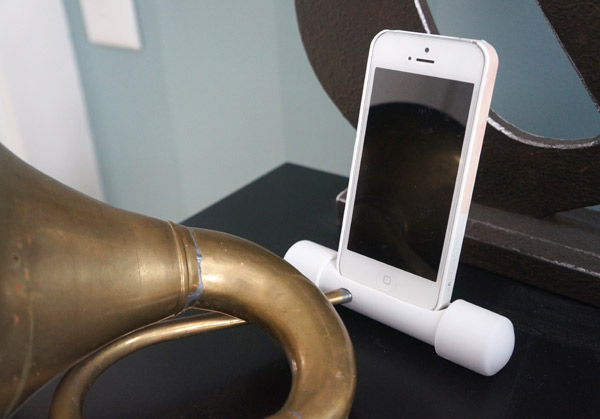
Doesn't it look like and iphone speaker/amplifier to you?

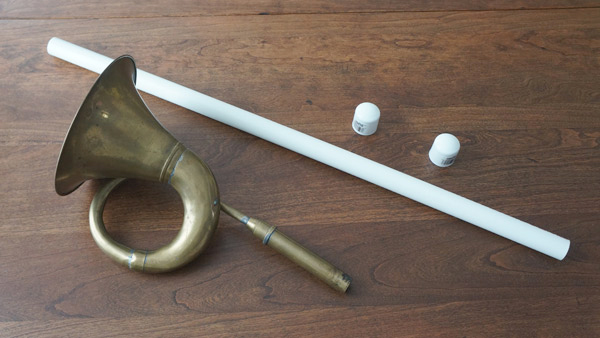
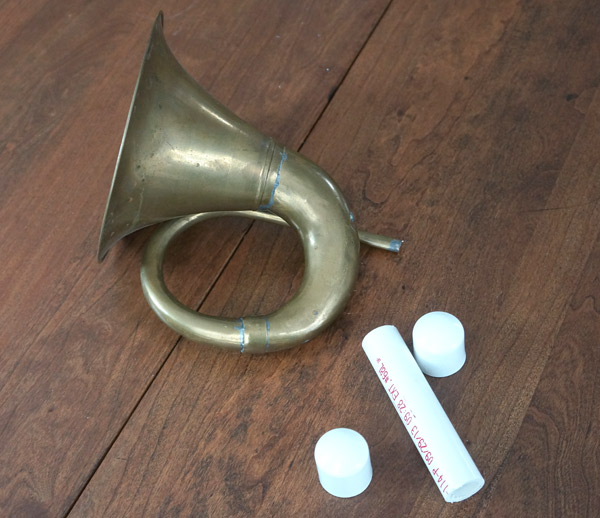
antique horn diy pieces

Ok, how about now?

antique horn iphone amplifyer / speaker DIY

And it works!  It almost doubles the sound output of the iphone speaker and it's pretty.  Sold!

I started by trimming the extra length off both the horn and the pvc tube.

horn diy pieces trimmed

Then, with the end caps on the pvc, I neatly (ha!) traced approximately where my phone would sit.

pvc iphone trace

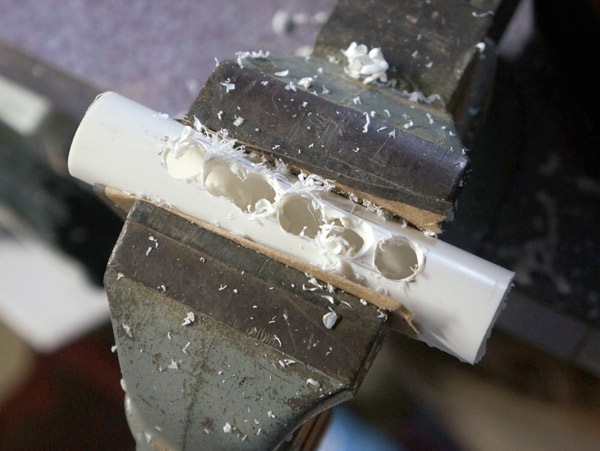
I placed the piece in my vice and used a drill to open up the slot.

pvc iphone drill

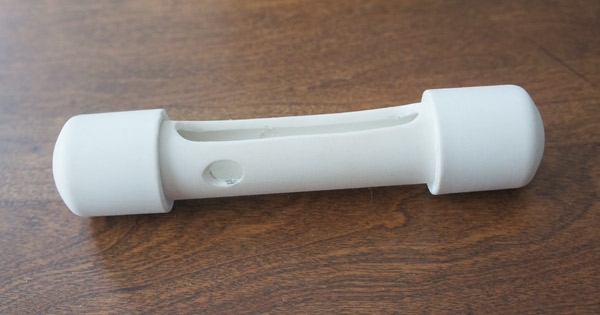
After drilling, I used a file and sandpaper to smooth out the opening and make it just right for my phone to sit in.  I also used a fine sandpaper over all the exposed pvc and end caps to remove any markings and shine.  Eventually, I ended up with this:

horn diy pvc

All that was left was putting this together with my cool horn.

antique horn iphone amplifyer / speaker closeup

How fun is it that a few cheap pieces of PVC and an old horn can turn into this?

antique horn iphone amplifyer

I love the idea reusing something probably close to 100 years old to enhance a piece of modern technology.  Are you swooning with me?

antique horn iphone amplifyer from above

I'm linking this project up over at East Coast Creative and throwing my hat in the ring for Creating with the Stars.  Come over and click on my project (I'm #61) and show your support!

antique horn iphone amplifyer style


5 Minute DIY Key Chain

I've been itching to play with leather for quite a while.  Now that Hubby and I are sharing a single key to our new (to us) car (a reluctant purchase to replace our falling apart old suv), we needed a keychain that we both could live with.  Challenge Accepted! DIY key chain parts

I picked up a remnant of leather from the fabric store and a rivet kit from Michael's (with a coupon) and decided to have a bit of fun.

DIY key chain cuts

I cut a piece of leather in the desired shape, then folded it through the key ring.

DIY key chain rivet

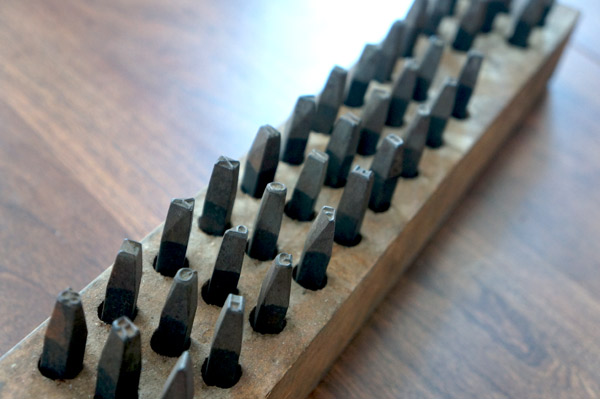
Once I followed the riveting directions (pun intended) I ended up with a cute leather unisex keychain, that took me a total of 5 minutes to make.   But I couldn't just leave it there, oh no, although I should have.  I had also been itching to use metal stamps once used by my grandpa and thought I might be able to get it to work on the leather.  Not my best idea.

metal stamp block

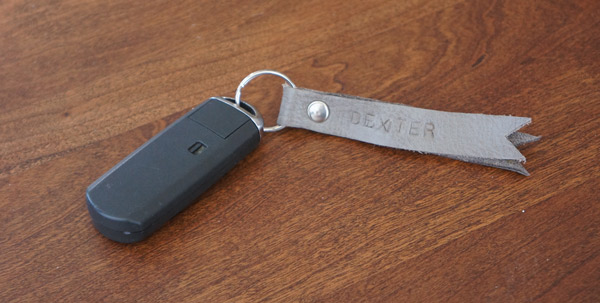
Although not an epic fail, it didn't exactly work as planned... I'm blaming it on the leather... it was too supple.  That's what I'm going with, ok?

DIY key chain stamped leather

Yes, Dexter is the car's name... yes, we name cars.... people probably think we have kids when we talk about who's taking Dex and who's taking Lola that day (yes, Lola is our other car.... she's kinda slutty and likes taking her top off....she's a convertible).

Anyway... I called a do-over and repeated this process without the stamping.  Much better.

DIY key chain leather

I'm already racking my brain to come up with awesome projects that I'll be able to successfully use the stamps metal on.  Oh the options!