
I'm not sure I fully expressed to you how excited I am about the bathroom floor tile. It's admittedly not perfect, but hubba hubba.
So let's talk process. This was my first time tiling, so it was definitely a learning experience.
The tools I used were:
- tile (naturally)
- tile nippers (for cuts)
- thinset mortar
- a drill with a mixing bit
- a bucket
- notched trowel
- margin trowel (smaller for getting into corners)
- tile spacers
- grout float
- grout
- sponge
After getting the sink and toilet out of the way, I laid out all the tile to dry-fit it. This is the best way to figure out where you'll need cuts and how the puzzle will all fit together.
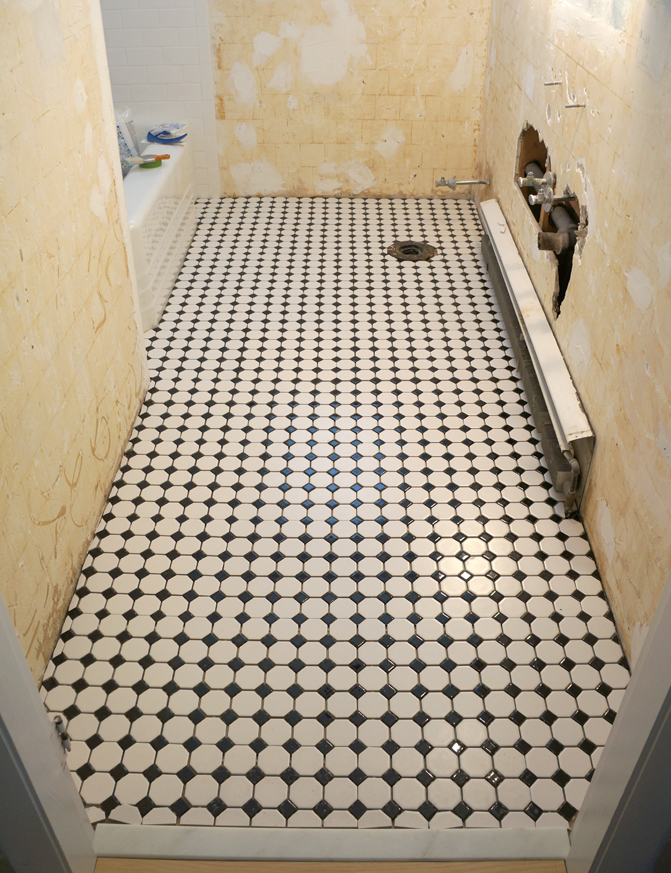
Looks almost like a finished product except nothing is secured into place. I took this time to start making ALL my cuts. Since my tiles are small and almost all my edges will be covered (by wainscoting at 3 walls and caulk at the tub), I used tile nippers.

You can probably see in the pic of the floor above, just how many little snips I had to do. I lost count of how many little black tiles I snipped in half. Let me tell you, though, these things are secretly dangerous. Every tile you nip sends tiny shards everywhere. Not only did I make quite a mess, but I ended up with what looked like paper cuts all over my hands. I'm willing to bleed a little if it means pretty tile like this, though. I did take a run to Lowes and have them cut (for free!) the tile that I needed at the threshold since that would be much more exposed and visible.
Then, as Ted would say on What Not to Wear, I mixed up the magic. After a bit of internet research, I found that thinset mortar should ideally be somewhere near the consistency of peanut butter or mayonnaise.

Once you spread it out like below, you then go back over it with your notched trowel.

The first corner, so exciting! (see the notches from the trowel?) My tile's were mounted on 1 foot x 1 foot sheets, so I only needed to use spaces between the sheets.

It went rather quickly once I got the hang of spreading the thinset.

It did inevitably escape through several of my grout joints, but luckily there's a simple solution for that.

Once the thinset is dry, you can go back with a utility knife and scrape down any areas of thinset run-aways. You don't need to scrape it all away, just low enough to allow for gout over it.
When I got to the transition, however, I had an issue. My tile installation had migrated just enough towards the doorway that the cuts I had gotten at Lowe's no longer fit. Luckily it's only a few minutes away, so I quickly measured the cuts that I NOW needed and ran out to Lowe's so I could get the last few cuts and install the pieces before the mortar I had mixed dried.

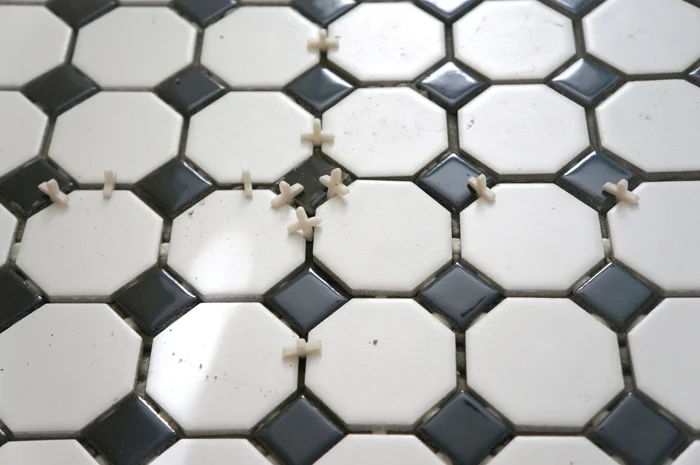
After I got back and installed the last few tiles at the door, I noticed another issue. See the 2 tile's popping in the middle?

I removed the trouble-causing spacers, pressed down the 2 rogue tiles and hoped they would adhere into place. Only one did. When I came back to check on them the next day, the little black tile was free. I scraped the thinset from below it and mixed up about a spoon-full of new thinset to reset the little guy.

After giving him some time to dry, I removed all my spacers and got to grouting.

In my eagerness to grout, guess who forgot to take pictures? This girl! It's not too visual of a process though. Step 1: Spread mud all over your pretty new tile. Step 2: Use sponge to clean it off. Step 3: Let it dry.
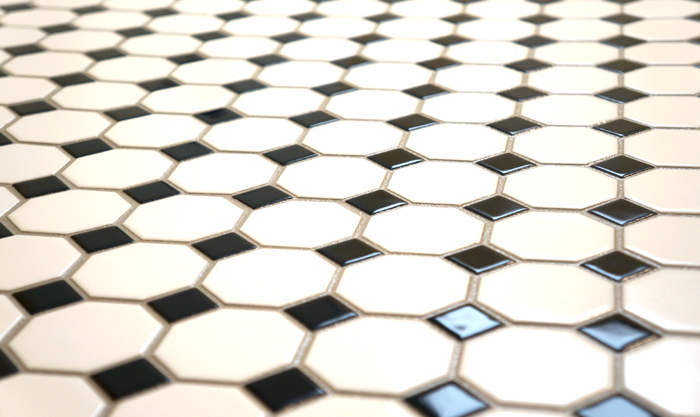
Then you get a pretty finished floor like this one.
