
I love it when small DIY projects actually go as planned, really DIY projects of any size. It's just fun when things work out the way you want, don't you think?
Well, I'm trying not to go too crazy with decorations for B's bridal shower on Sunday, but I really can't help myself. I think I missed my calling as an event planner. At the very least, I can't turn my designer brain off and I... must... make... it...all... pretty....
This is the room I have to work with (the clubhouse at the grooms parent's condo):

It's a little dark, a little formal, and generally in need of some pizazz.
I stopped at Michael's Arts & Crafts when I got home from work yesterday to get some supplies for some misc decorations. The first decoration project I tackled was circle garland.
Supplies:

- 2 sheets of yellow paper
- 1 sheet of white iridescent paper
- 1 sheet of gray iridescent paper
- 1 1/2" hole punch
- craft needle
- string
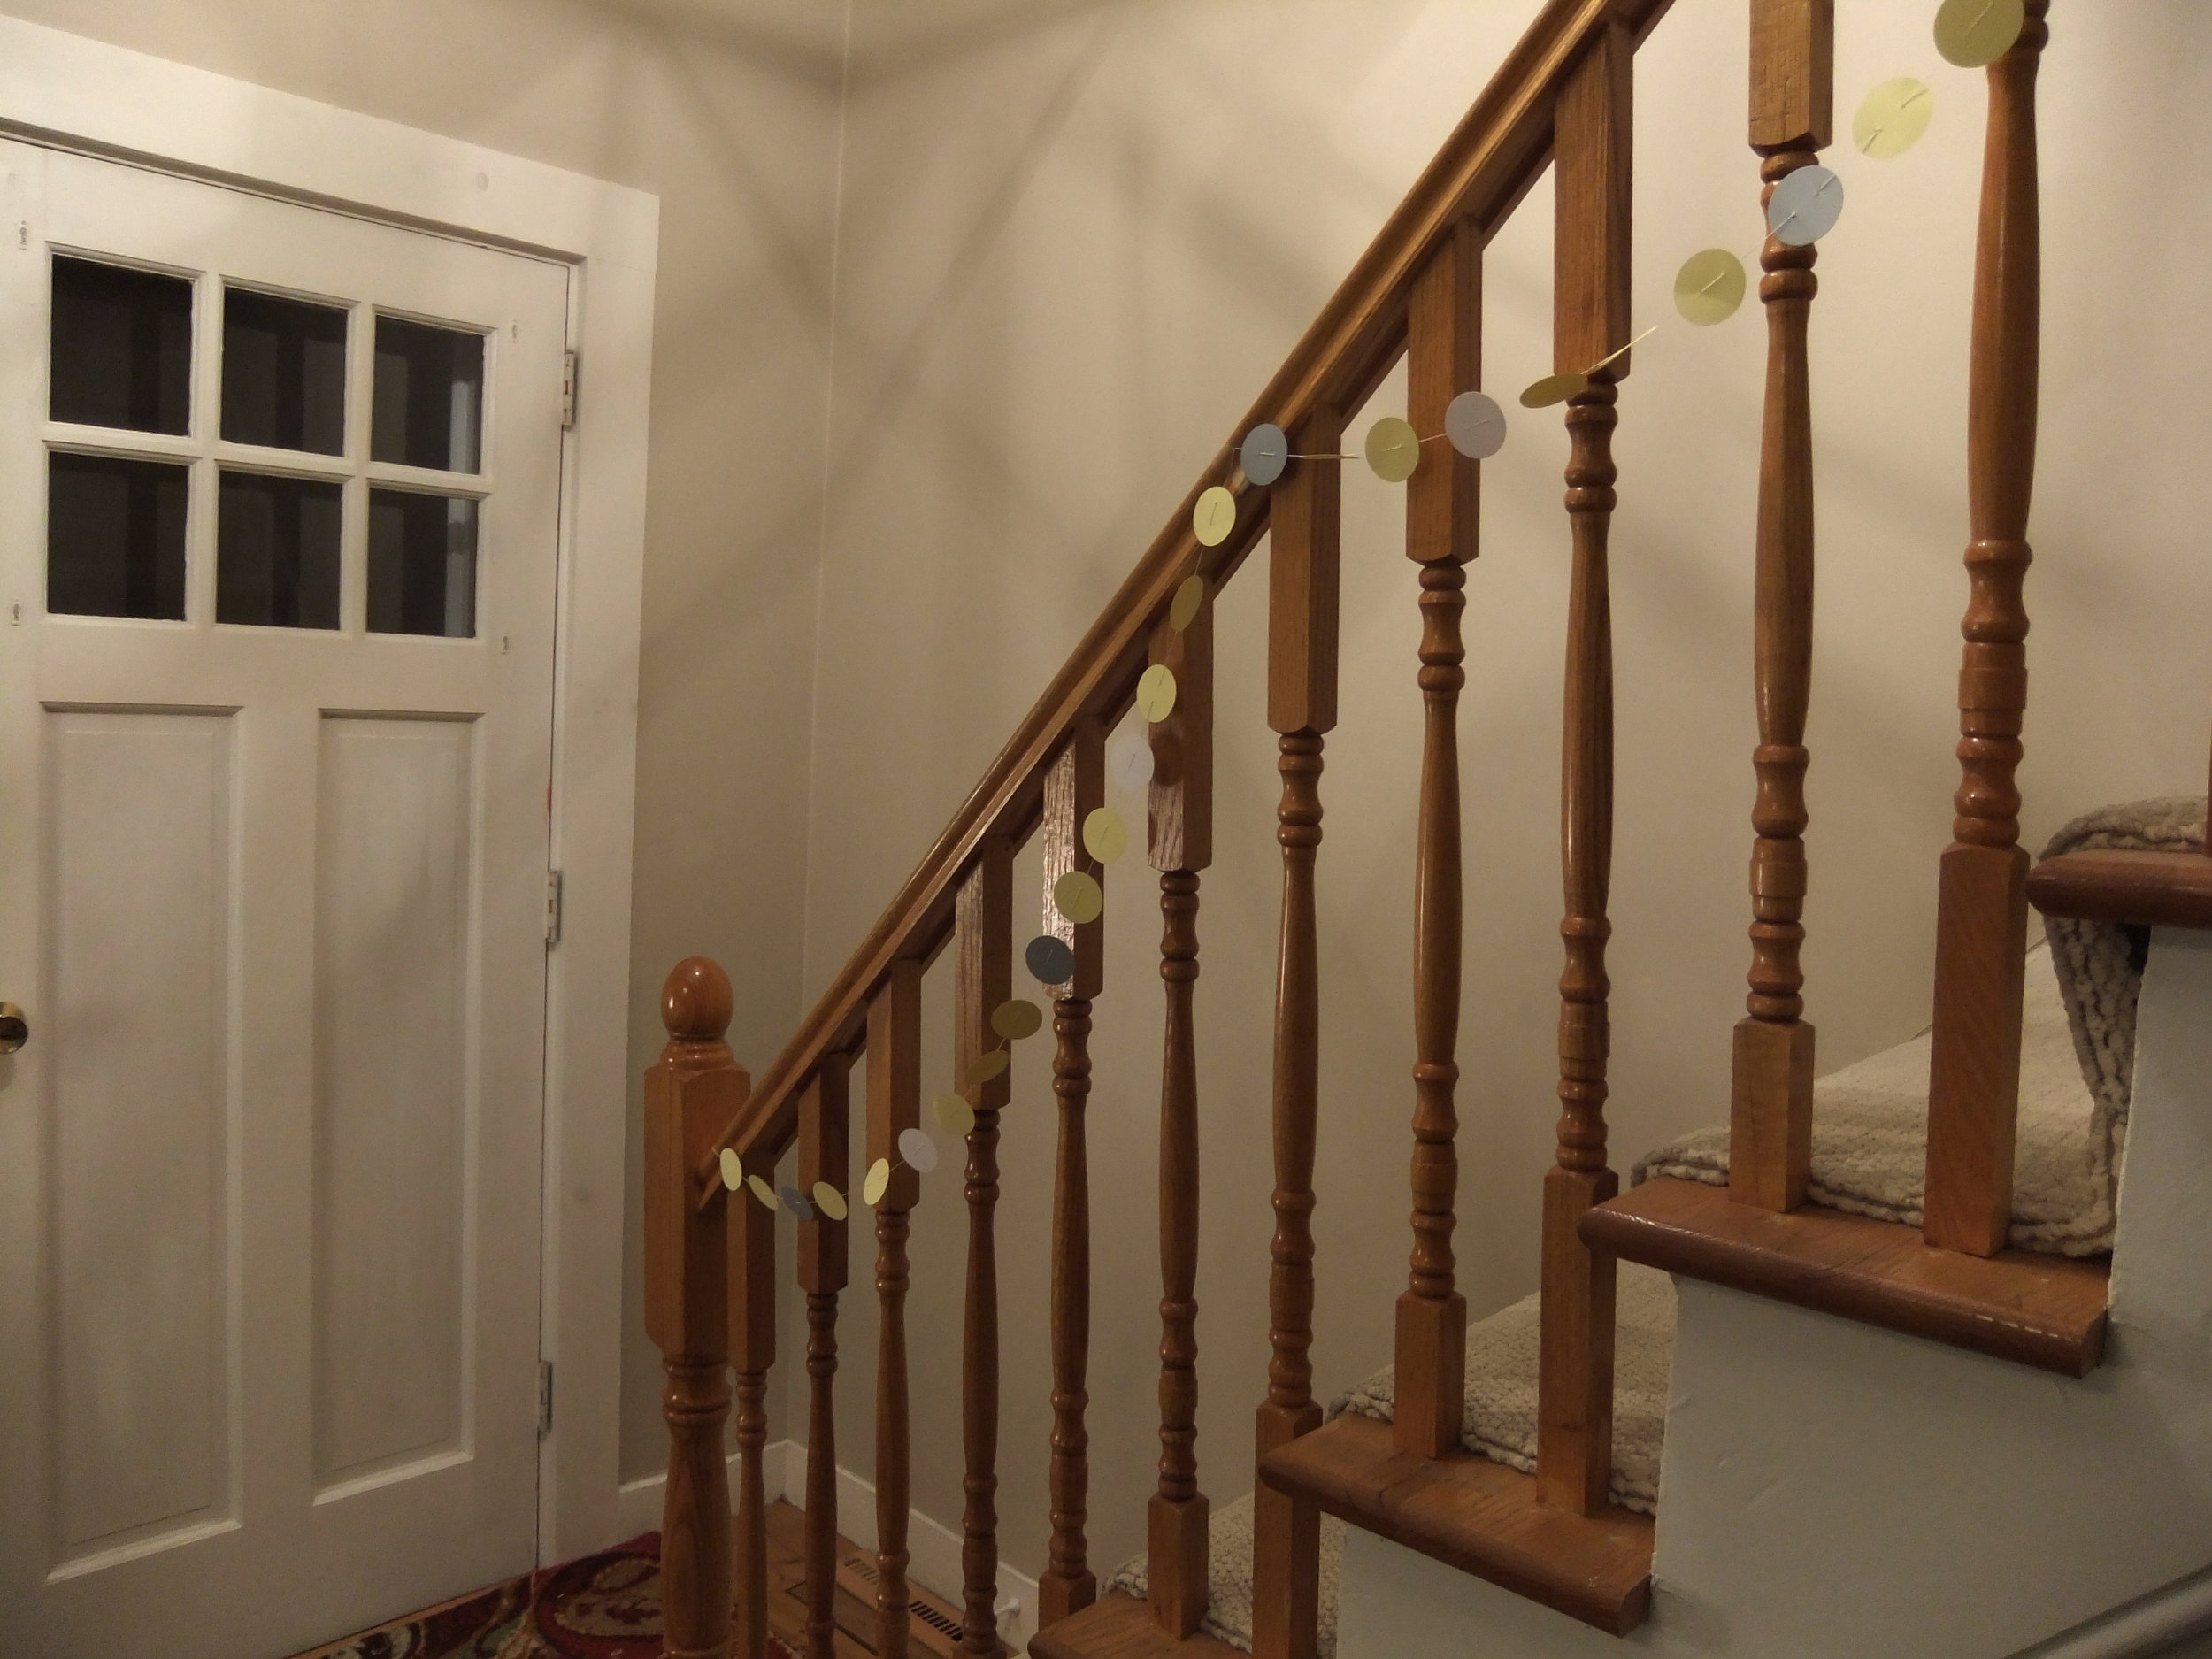
Once I punched a bunch of circles, all I did was string them up (2 holes in each circle, like a button).

I taped it onto my banister just to see how it would work for the shower and it works like a charm! I did have to space the circles out after hanging, but I love the result. (I also had to enlist Hubby to entertain a playful bearcat who felt the need to paw at my garland. Beware of ferocious bearcats. Luckily there will be no bearcats at the shower.)
I love the way it looks, and I can already see it draped on the banister at the shower. Playful, bright, but still chic.
I wrapped it around a piece of cardboard and taped the ends so it won't tangle until it's big performance Sunday.

Successful, quick & easy DIY projects can really put a smile on your face.