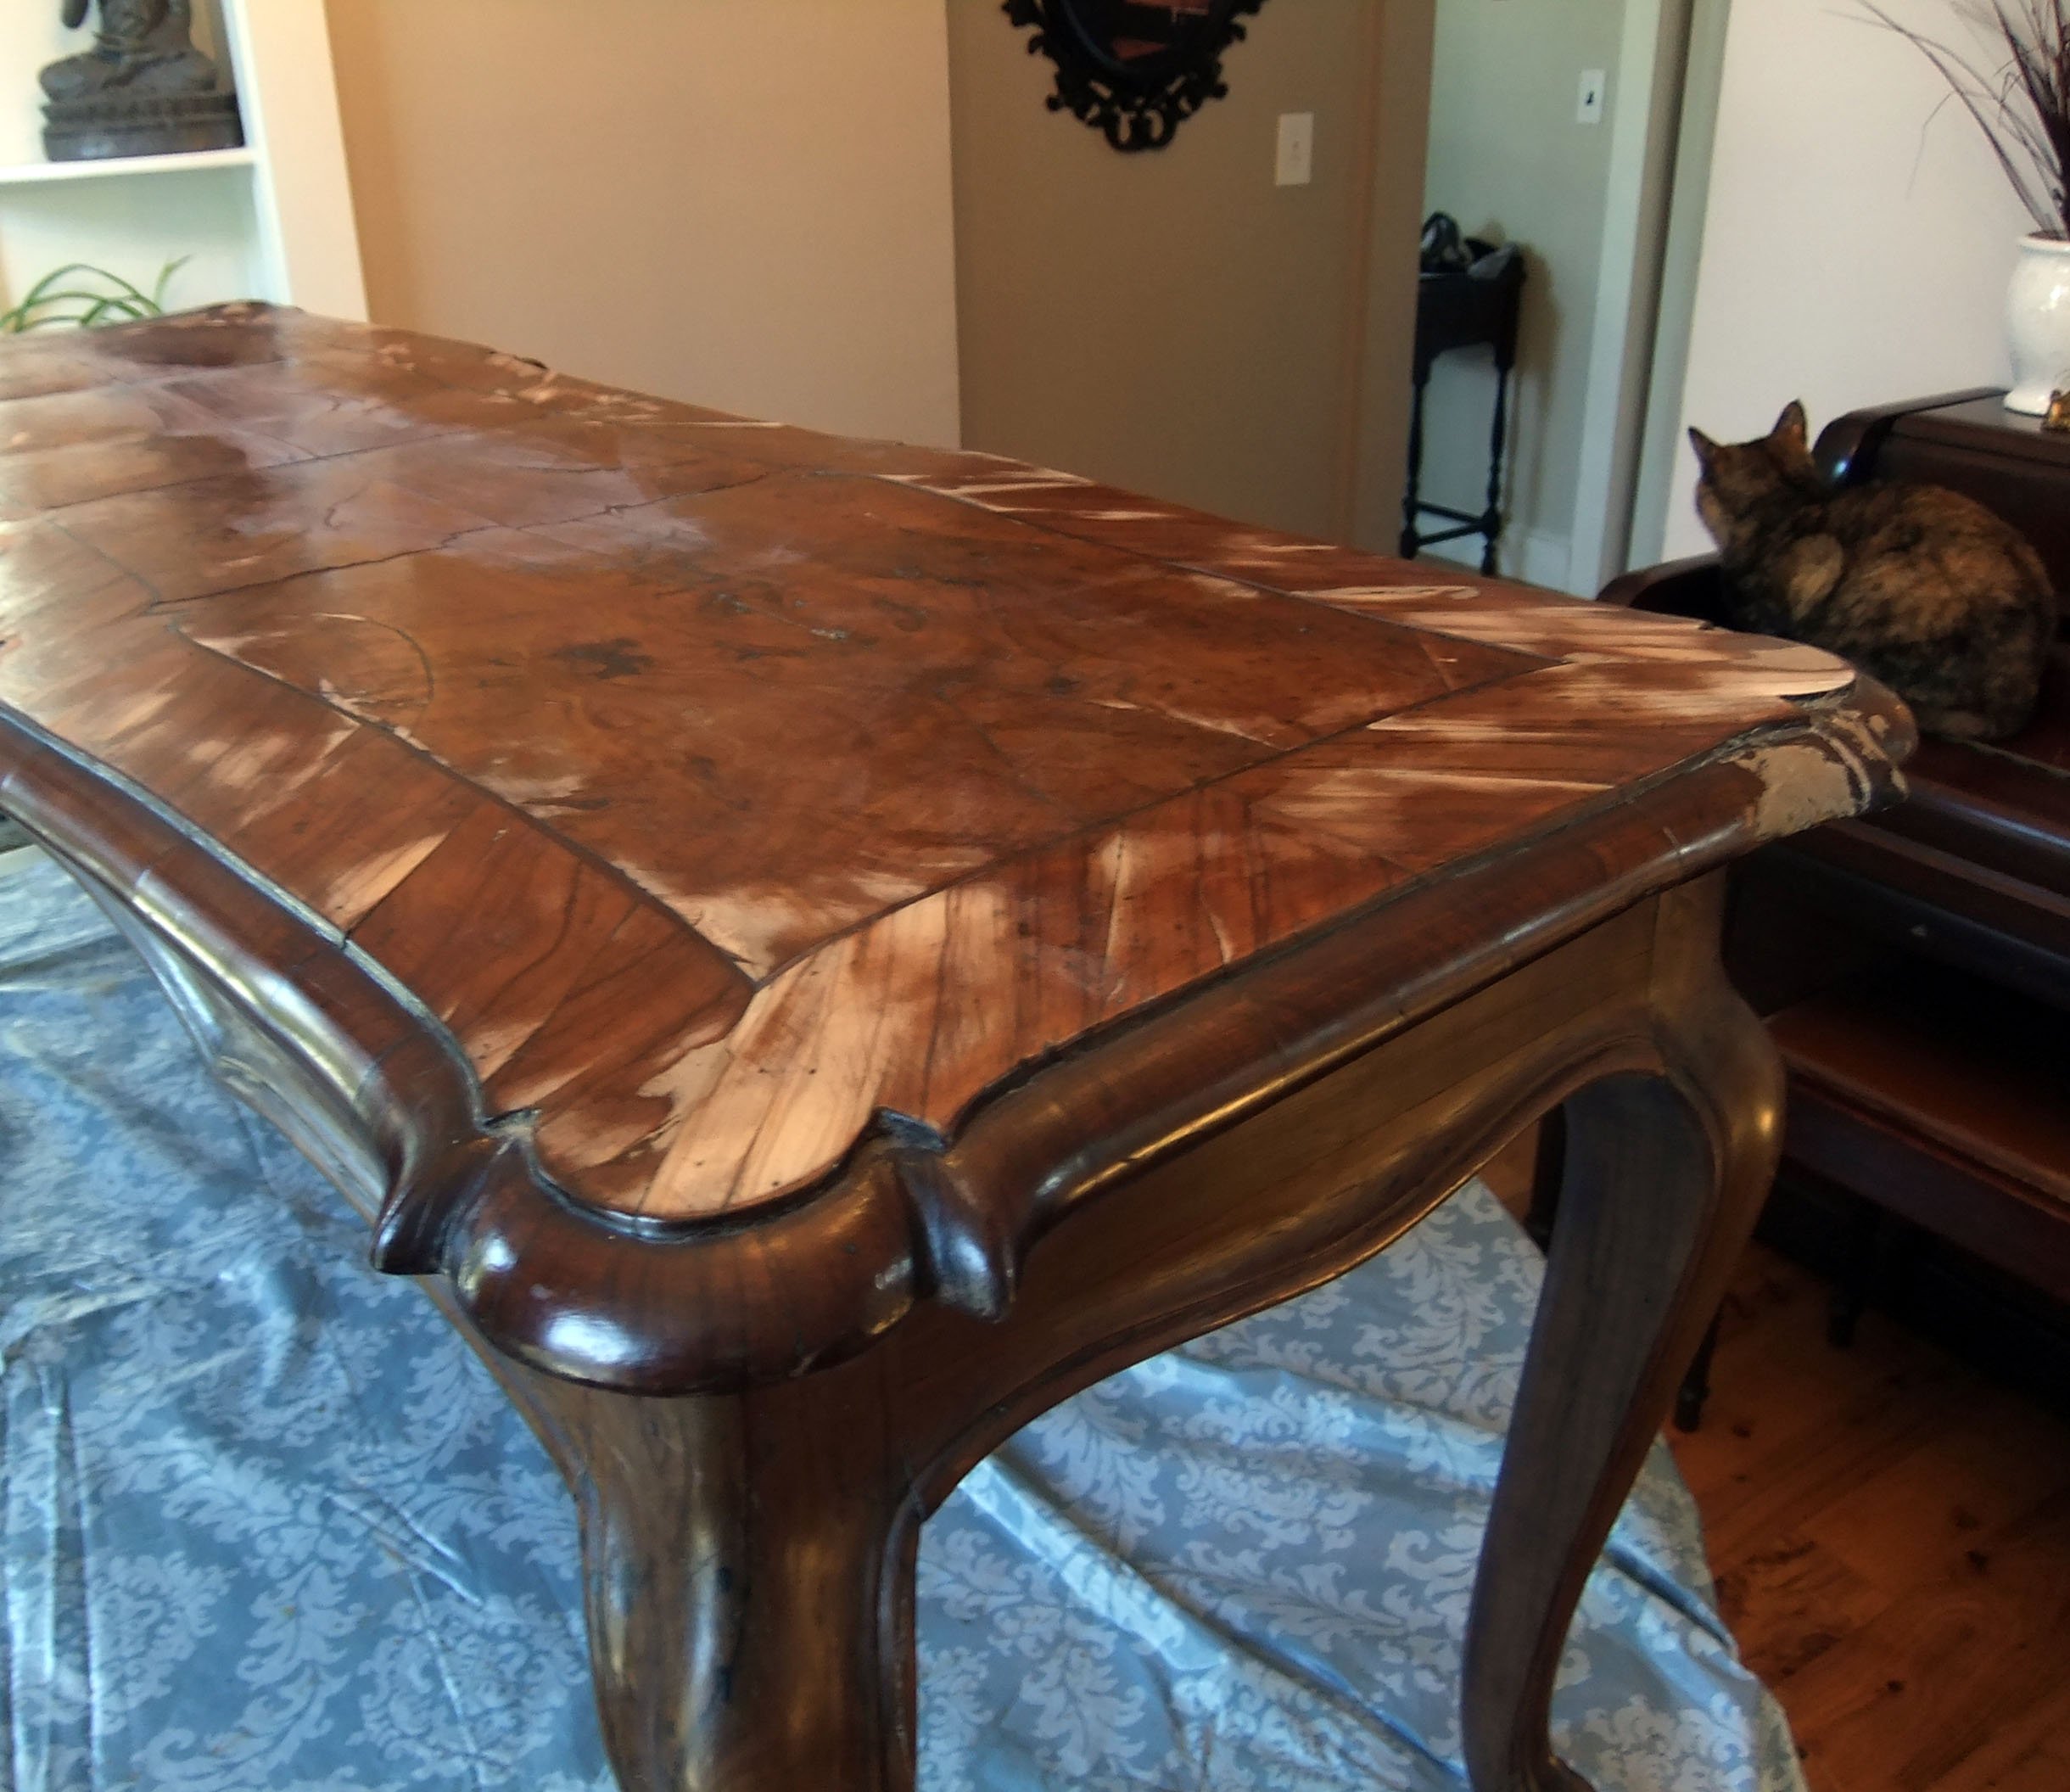
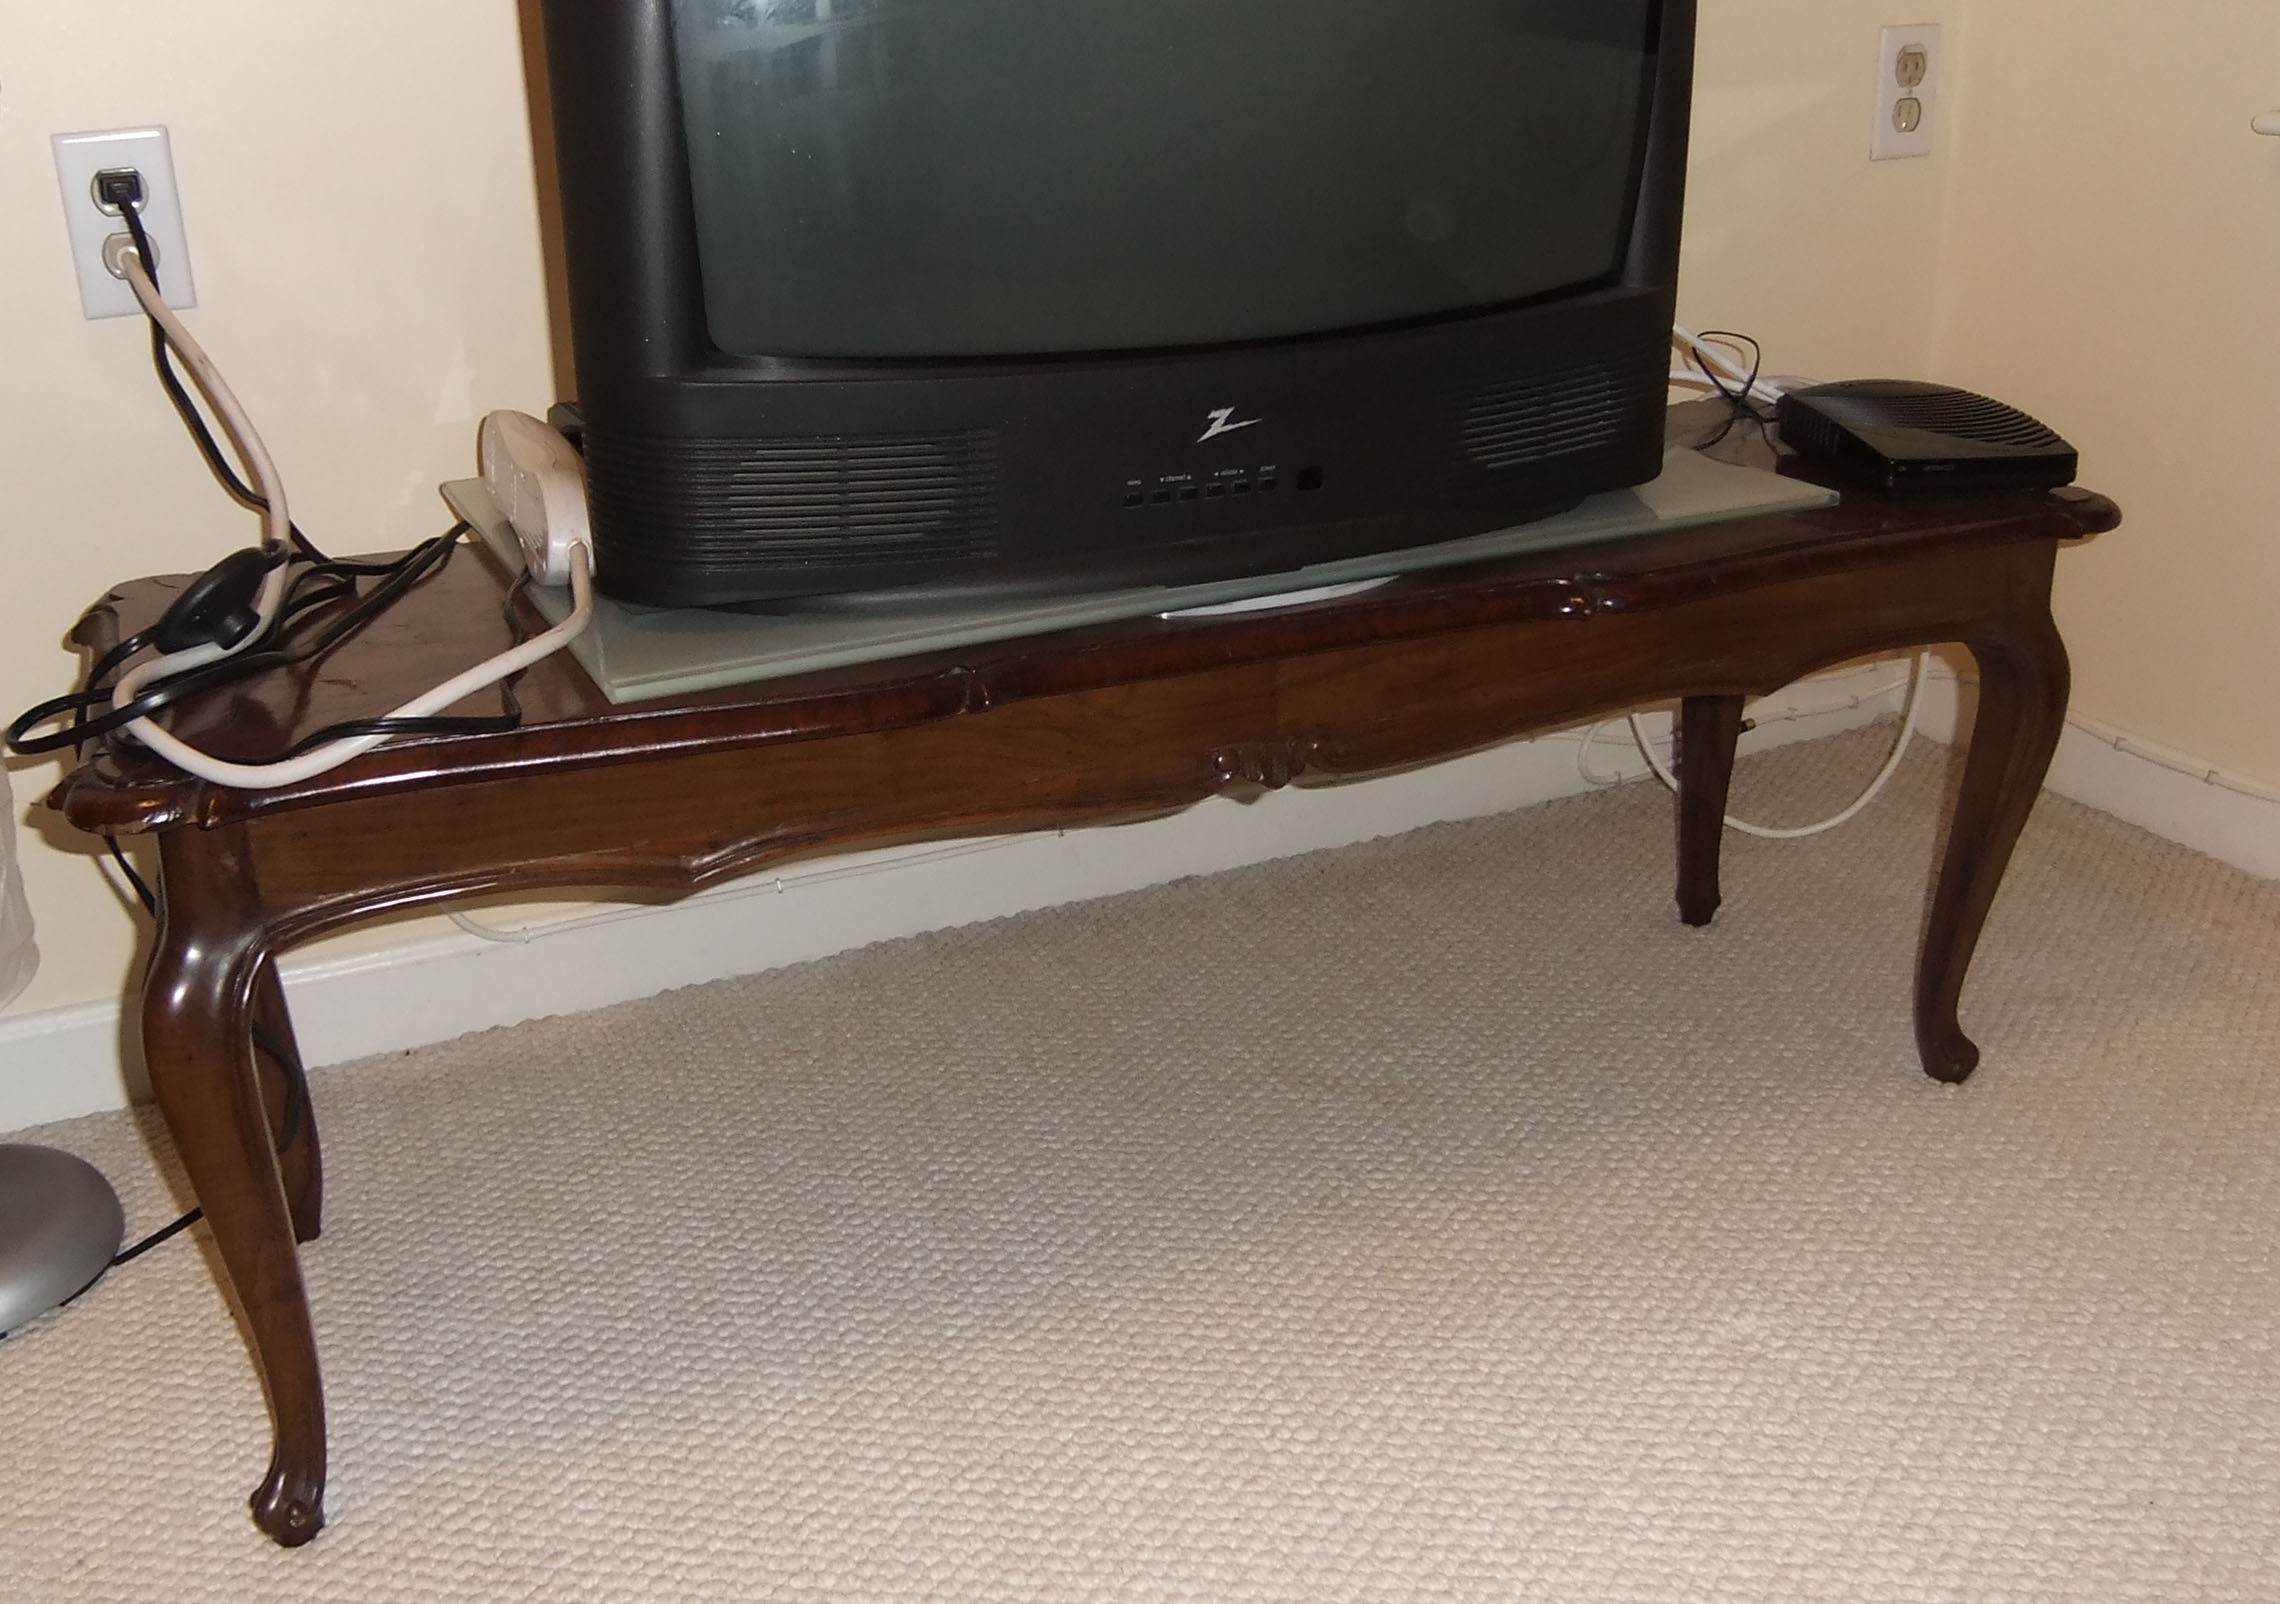
Did you catch my big coffee table bench reveal yesterday? Here's how I got there: I started with this
The first step was repair. It needed love: popping veneer, broken off corners, and cracks everywhere. I glued the veneer back down and the broken off pieces back into place, then went nuts with the wood filler. Next step?
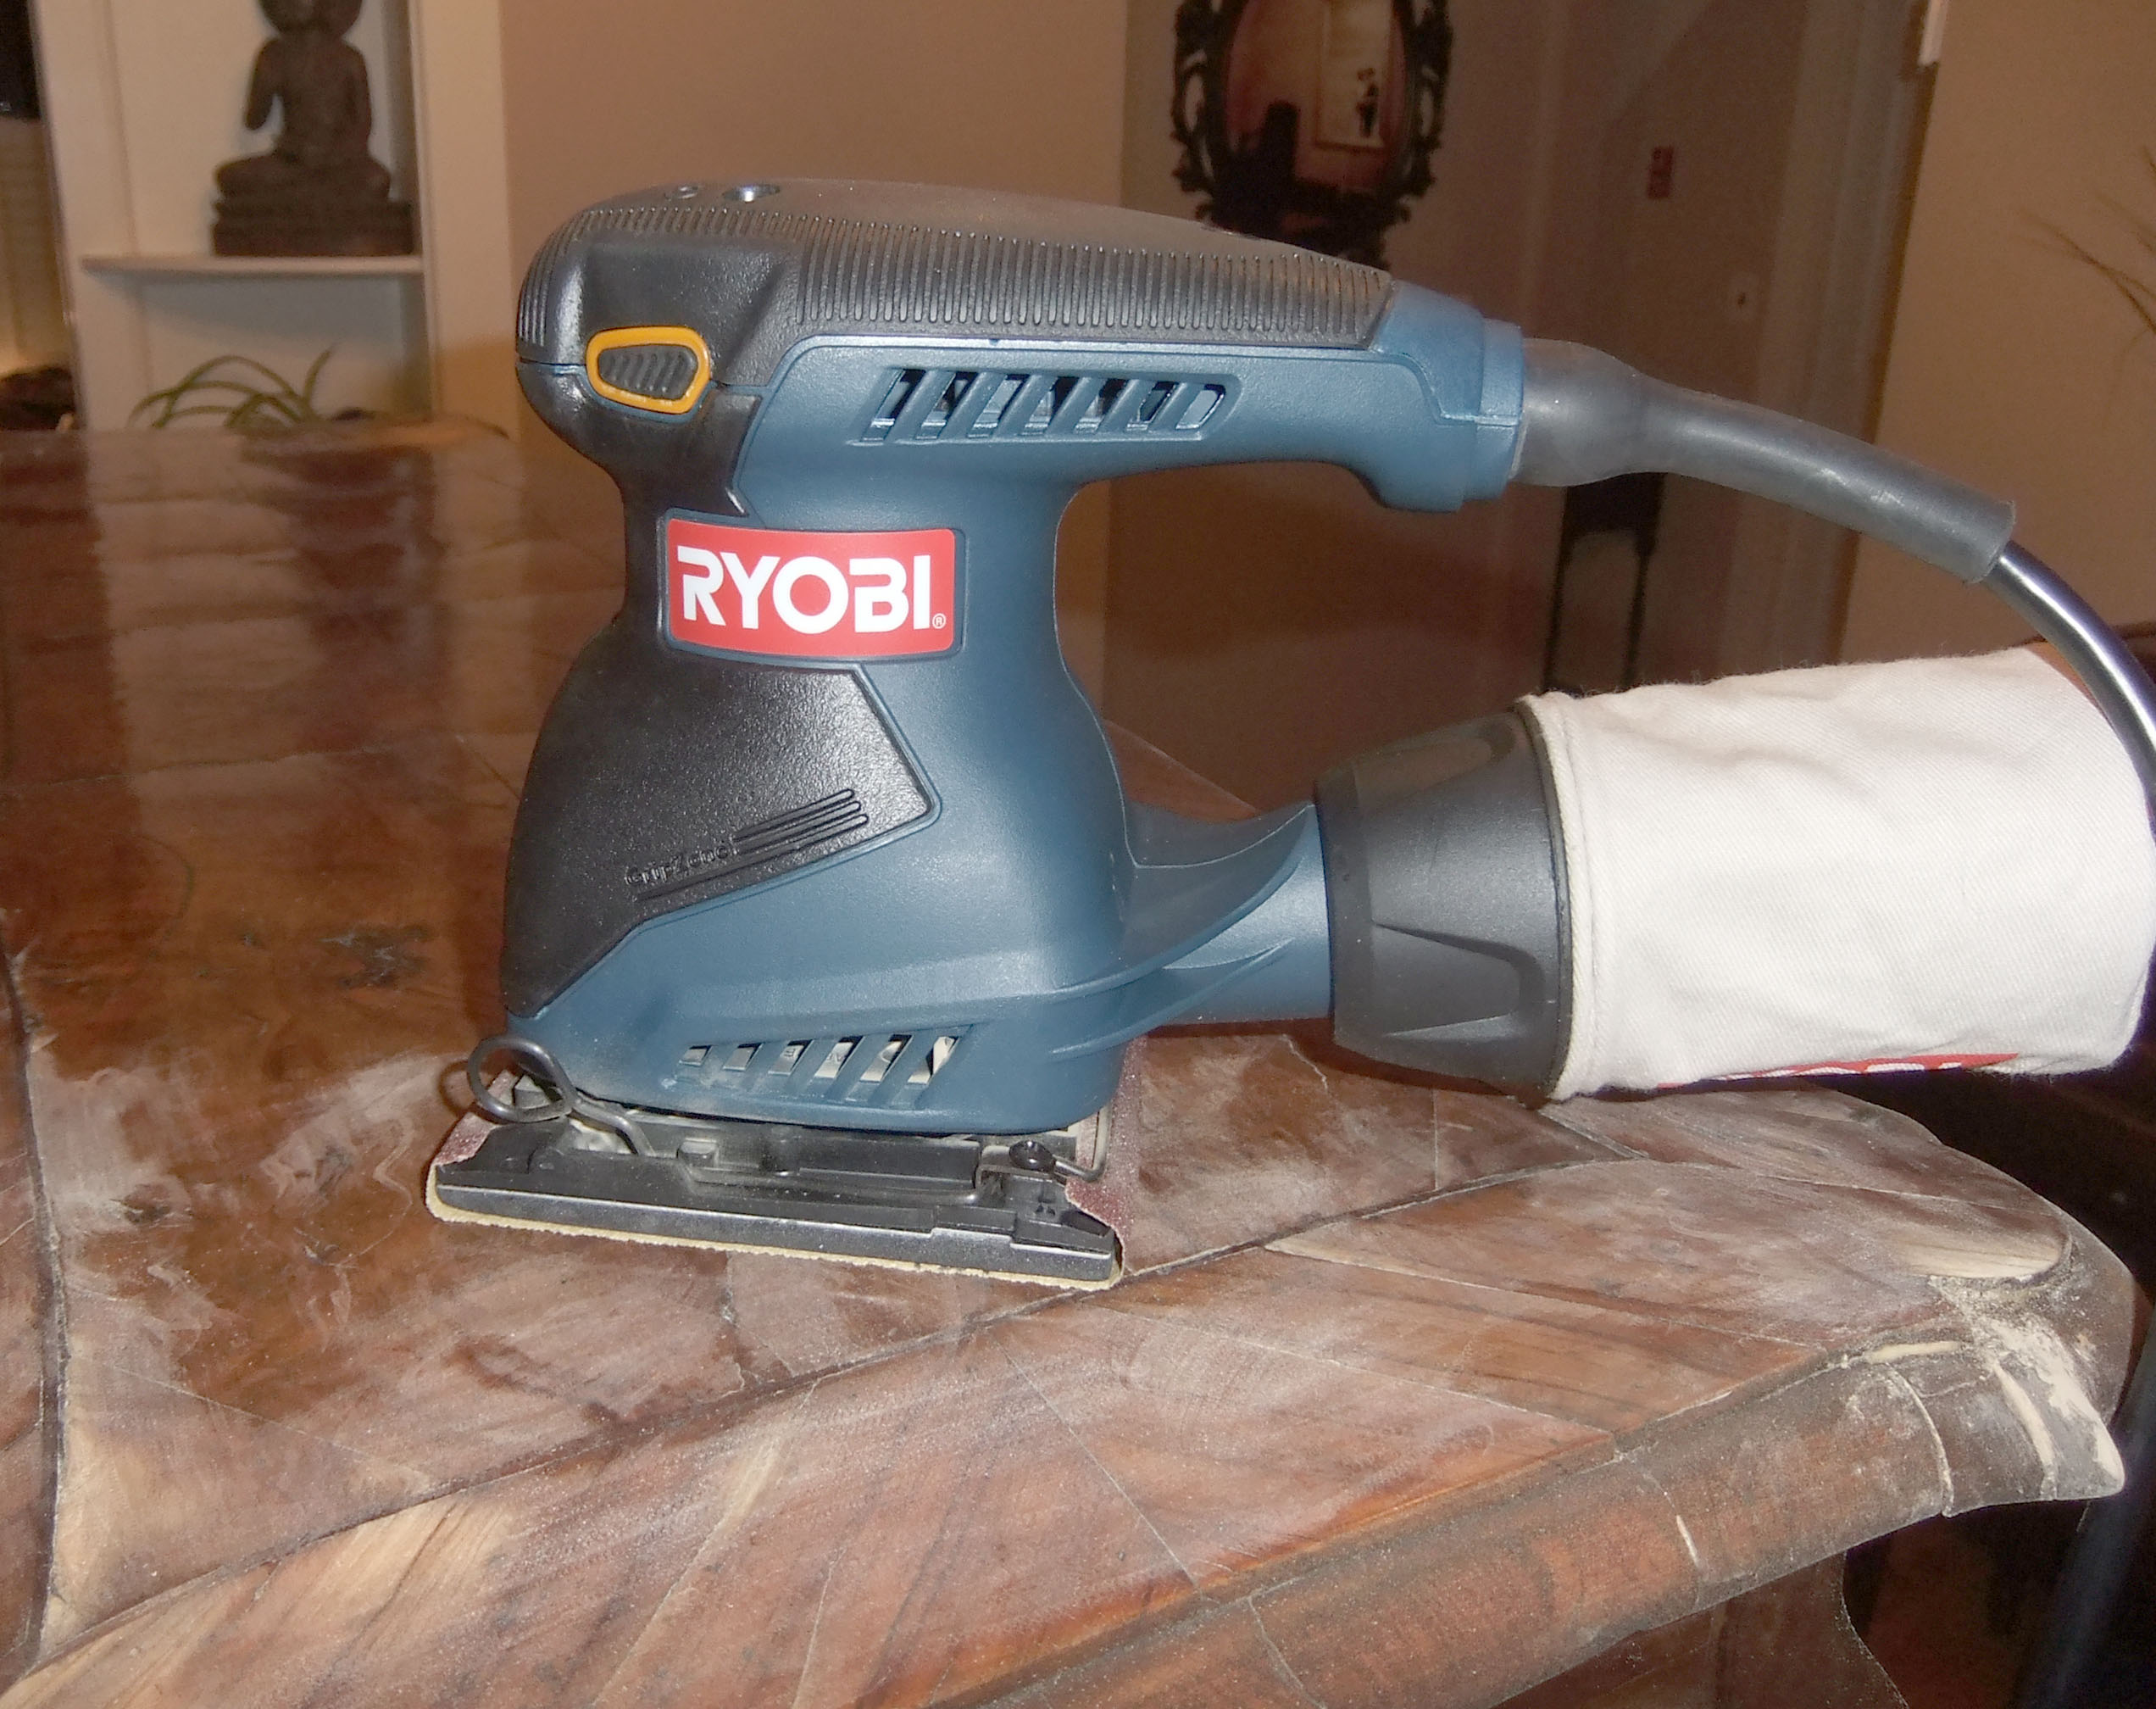
I finally had an excuse to buy a new power tool!! It's nothing complicated or technical, but I am now the proud owner of a Ryobi Pad Sander. You have no idea how excited that makes me (a wee bit pathetic maybe). I got the sander so I could spare my arm- that thing needed a shit-ton of sanding. Now my extensive power tool collection includes my drill, jig saw, and sander. Keep em coming!!
Hubby could care less about tools, although that works for me because I could generally care less about cooking which he's into. He gets to enjoy the product of my power tool adventures and I get to enjoy the product of his attempts to be an iron chef. Win-win!
Ok, back to the bench. After sanding the crap out of the uneven top and smoothing all the wood filler, I went over the rest with deglosser. First time trying a deglosser, but it seemed to work well.
It then got 2+ coats of Minwax Polyshades in American Chestnut and it dried to a fantastic slick glossy surface. I used Polyshades on my dining table a few years ago and really liked how easy it was to get an amazing finish. It acts more like a paint than a stain, which some might not like. Not perfect for all projects, but perfect for this one!
While the base dried, I got started on the cushion.
My supplies were:
- 3" foam
- Plywood
- 1.5 yards of fabric
- Batting (to put around the foam)
- A staple gun (and staples of course)
- Fabric button making kit
- 1 super long needle
- Strong thread
Before I went to get my supplies, I measured the size I wanted for the cushion. Your friendly local home improvement warehouse store will cut a sheet of plywood to your needed size for free. Since you buy the whole board anyway, I had them cut 2 to the right size in case I needed a do-over. I got the foam at Joann Fabrics and I had to get creative. You buy it by the yard, and 1 yard of 3" foam was almost $50! Luckily, it was 2' wide and I only needed it 1' wide. I left with 22" of foam which I then chopped in half with a super duper expensive (or not) bread knife from Christmas Tree Shops. You want your foam to be larger than your plywood by about an inch on all sides. Then comes the stapling fun!
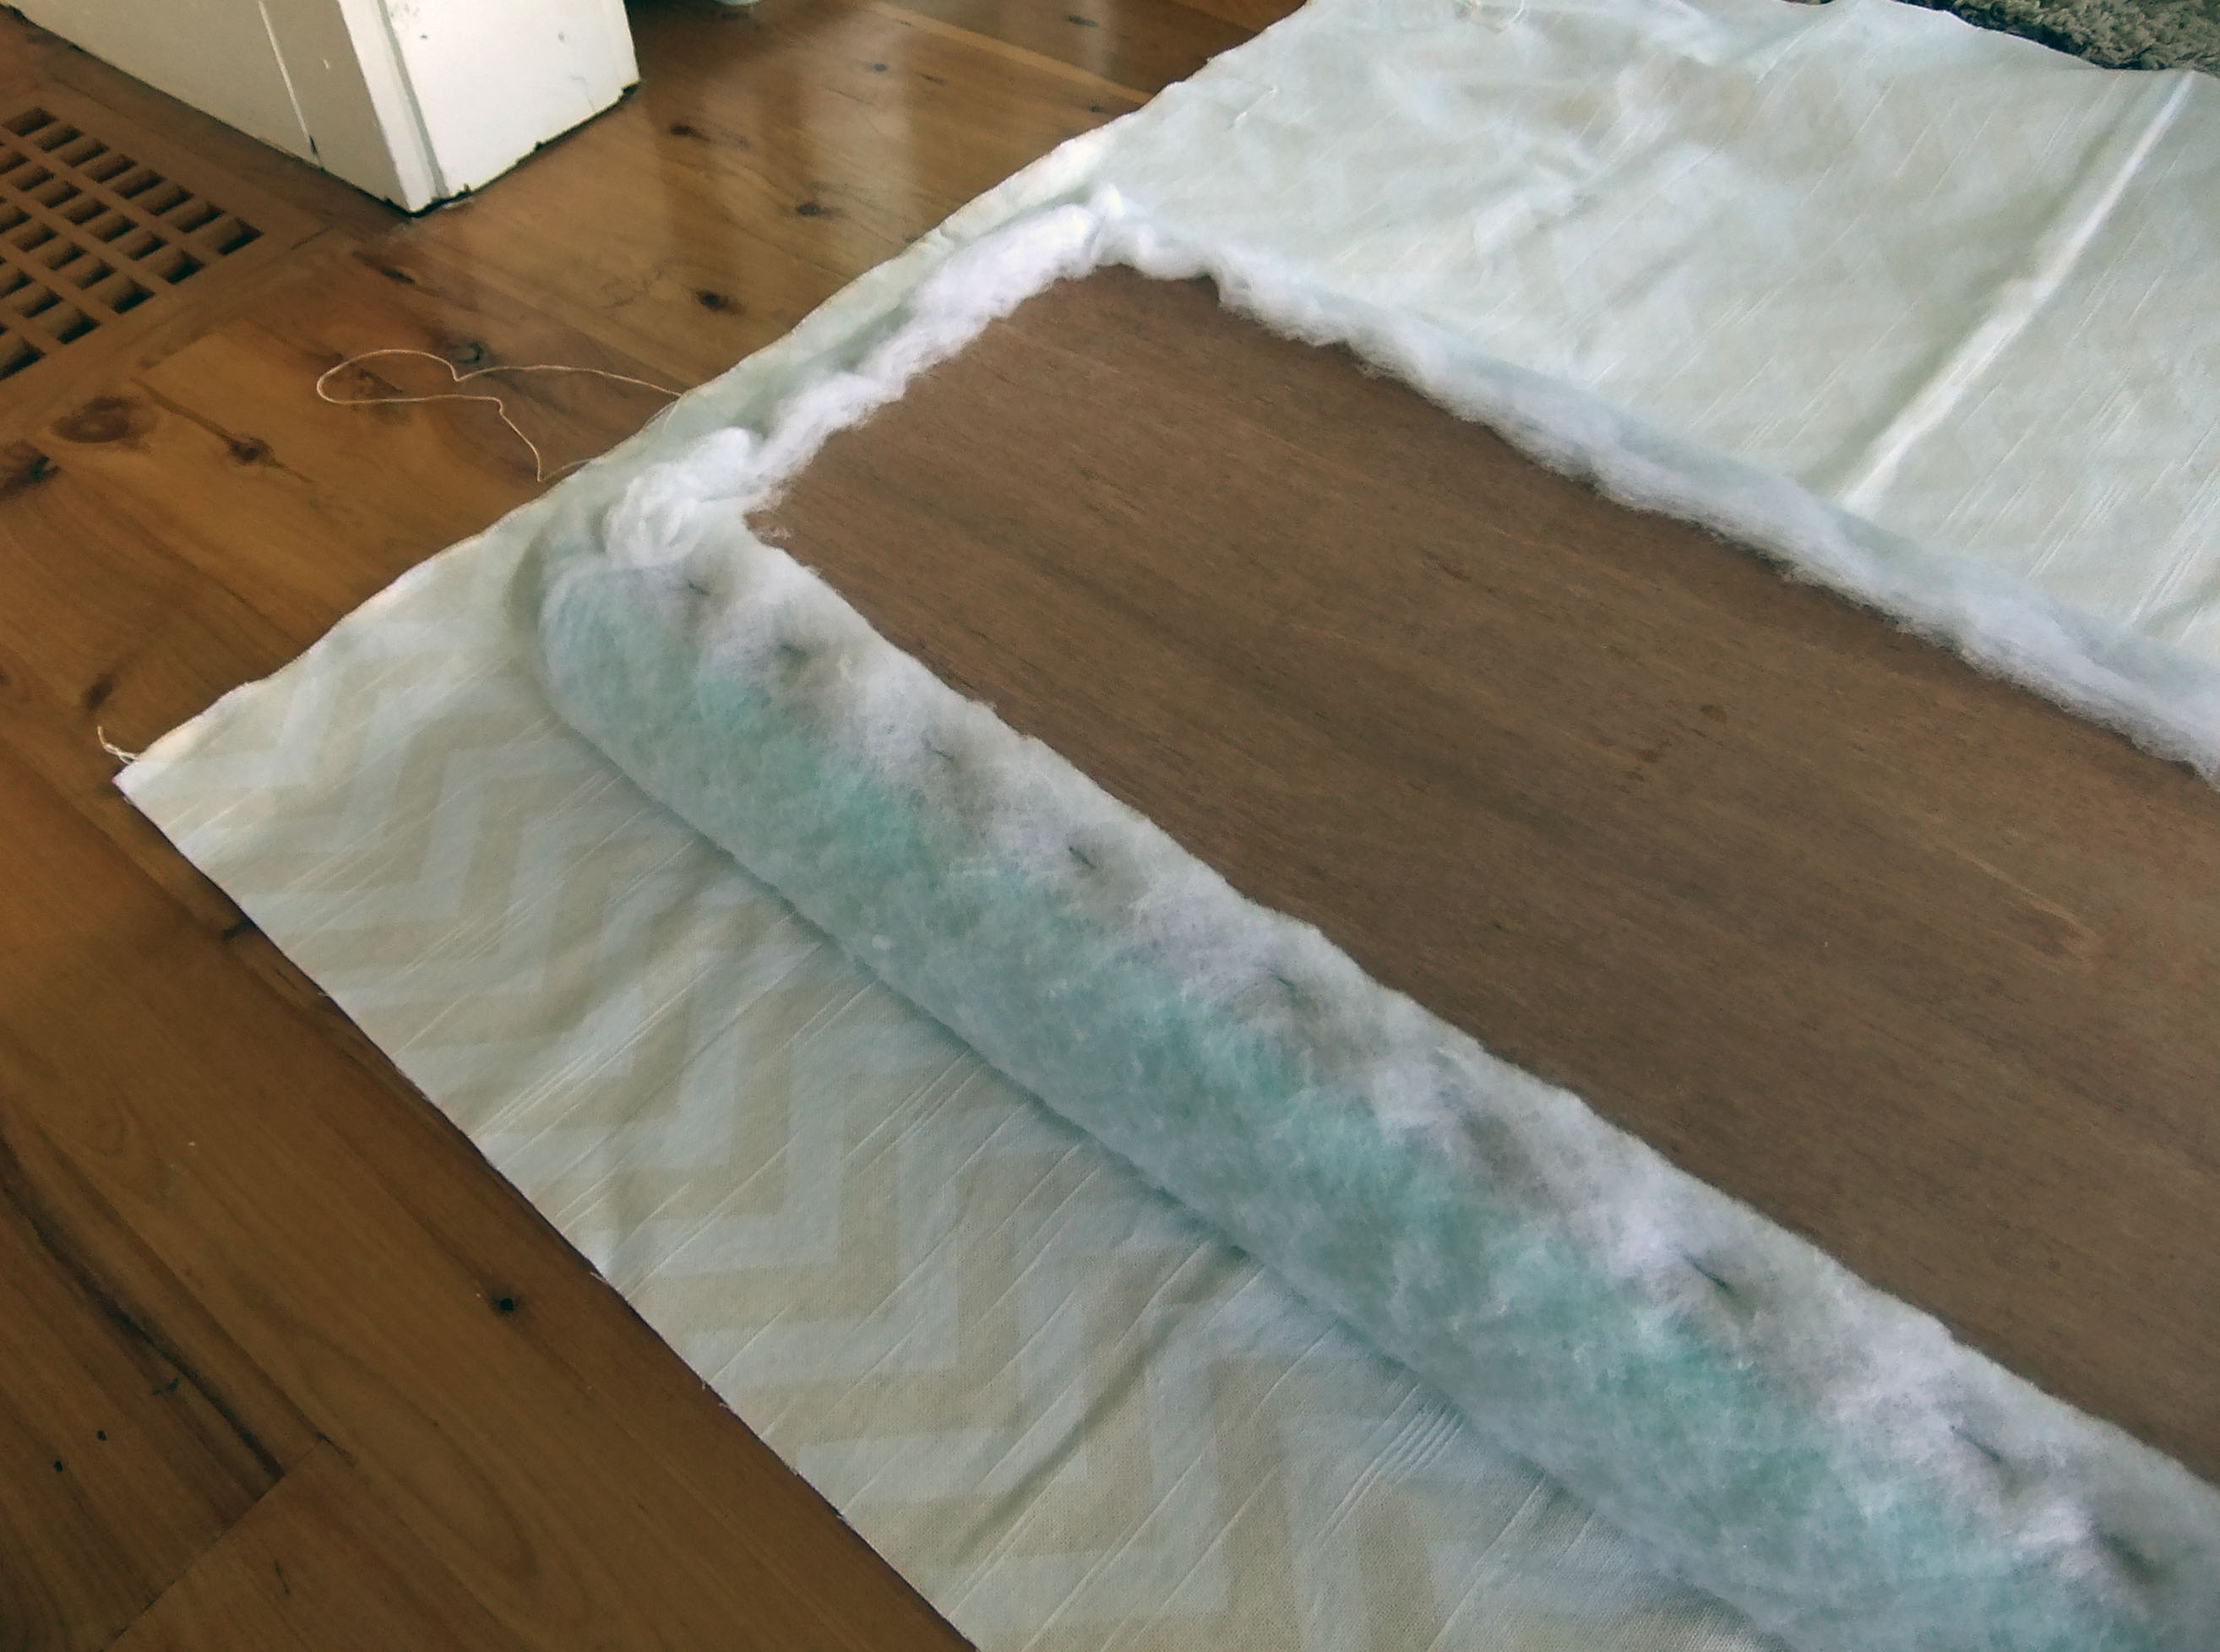
I stapled the batting to the plywood, securing the foam. After the batting was stapled, I trimmed the extra and brought out my fabric.
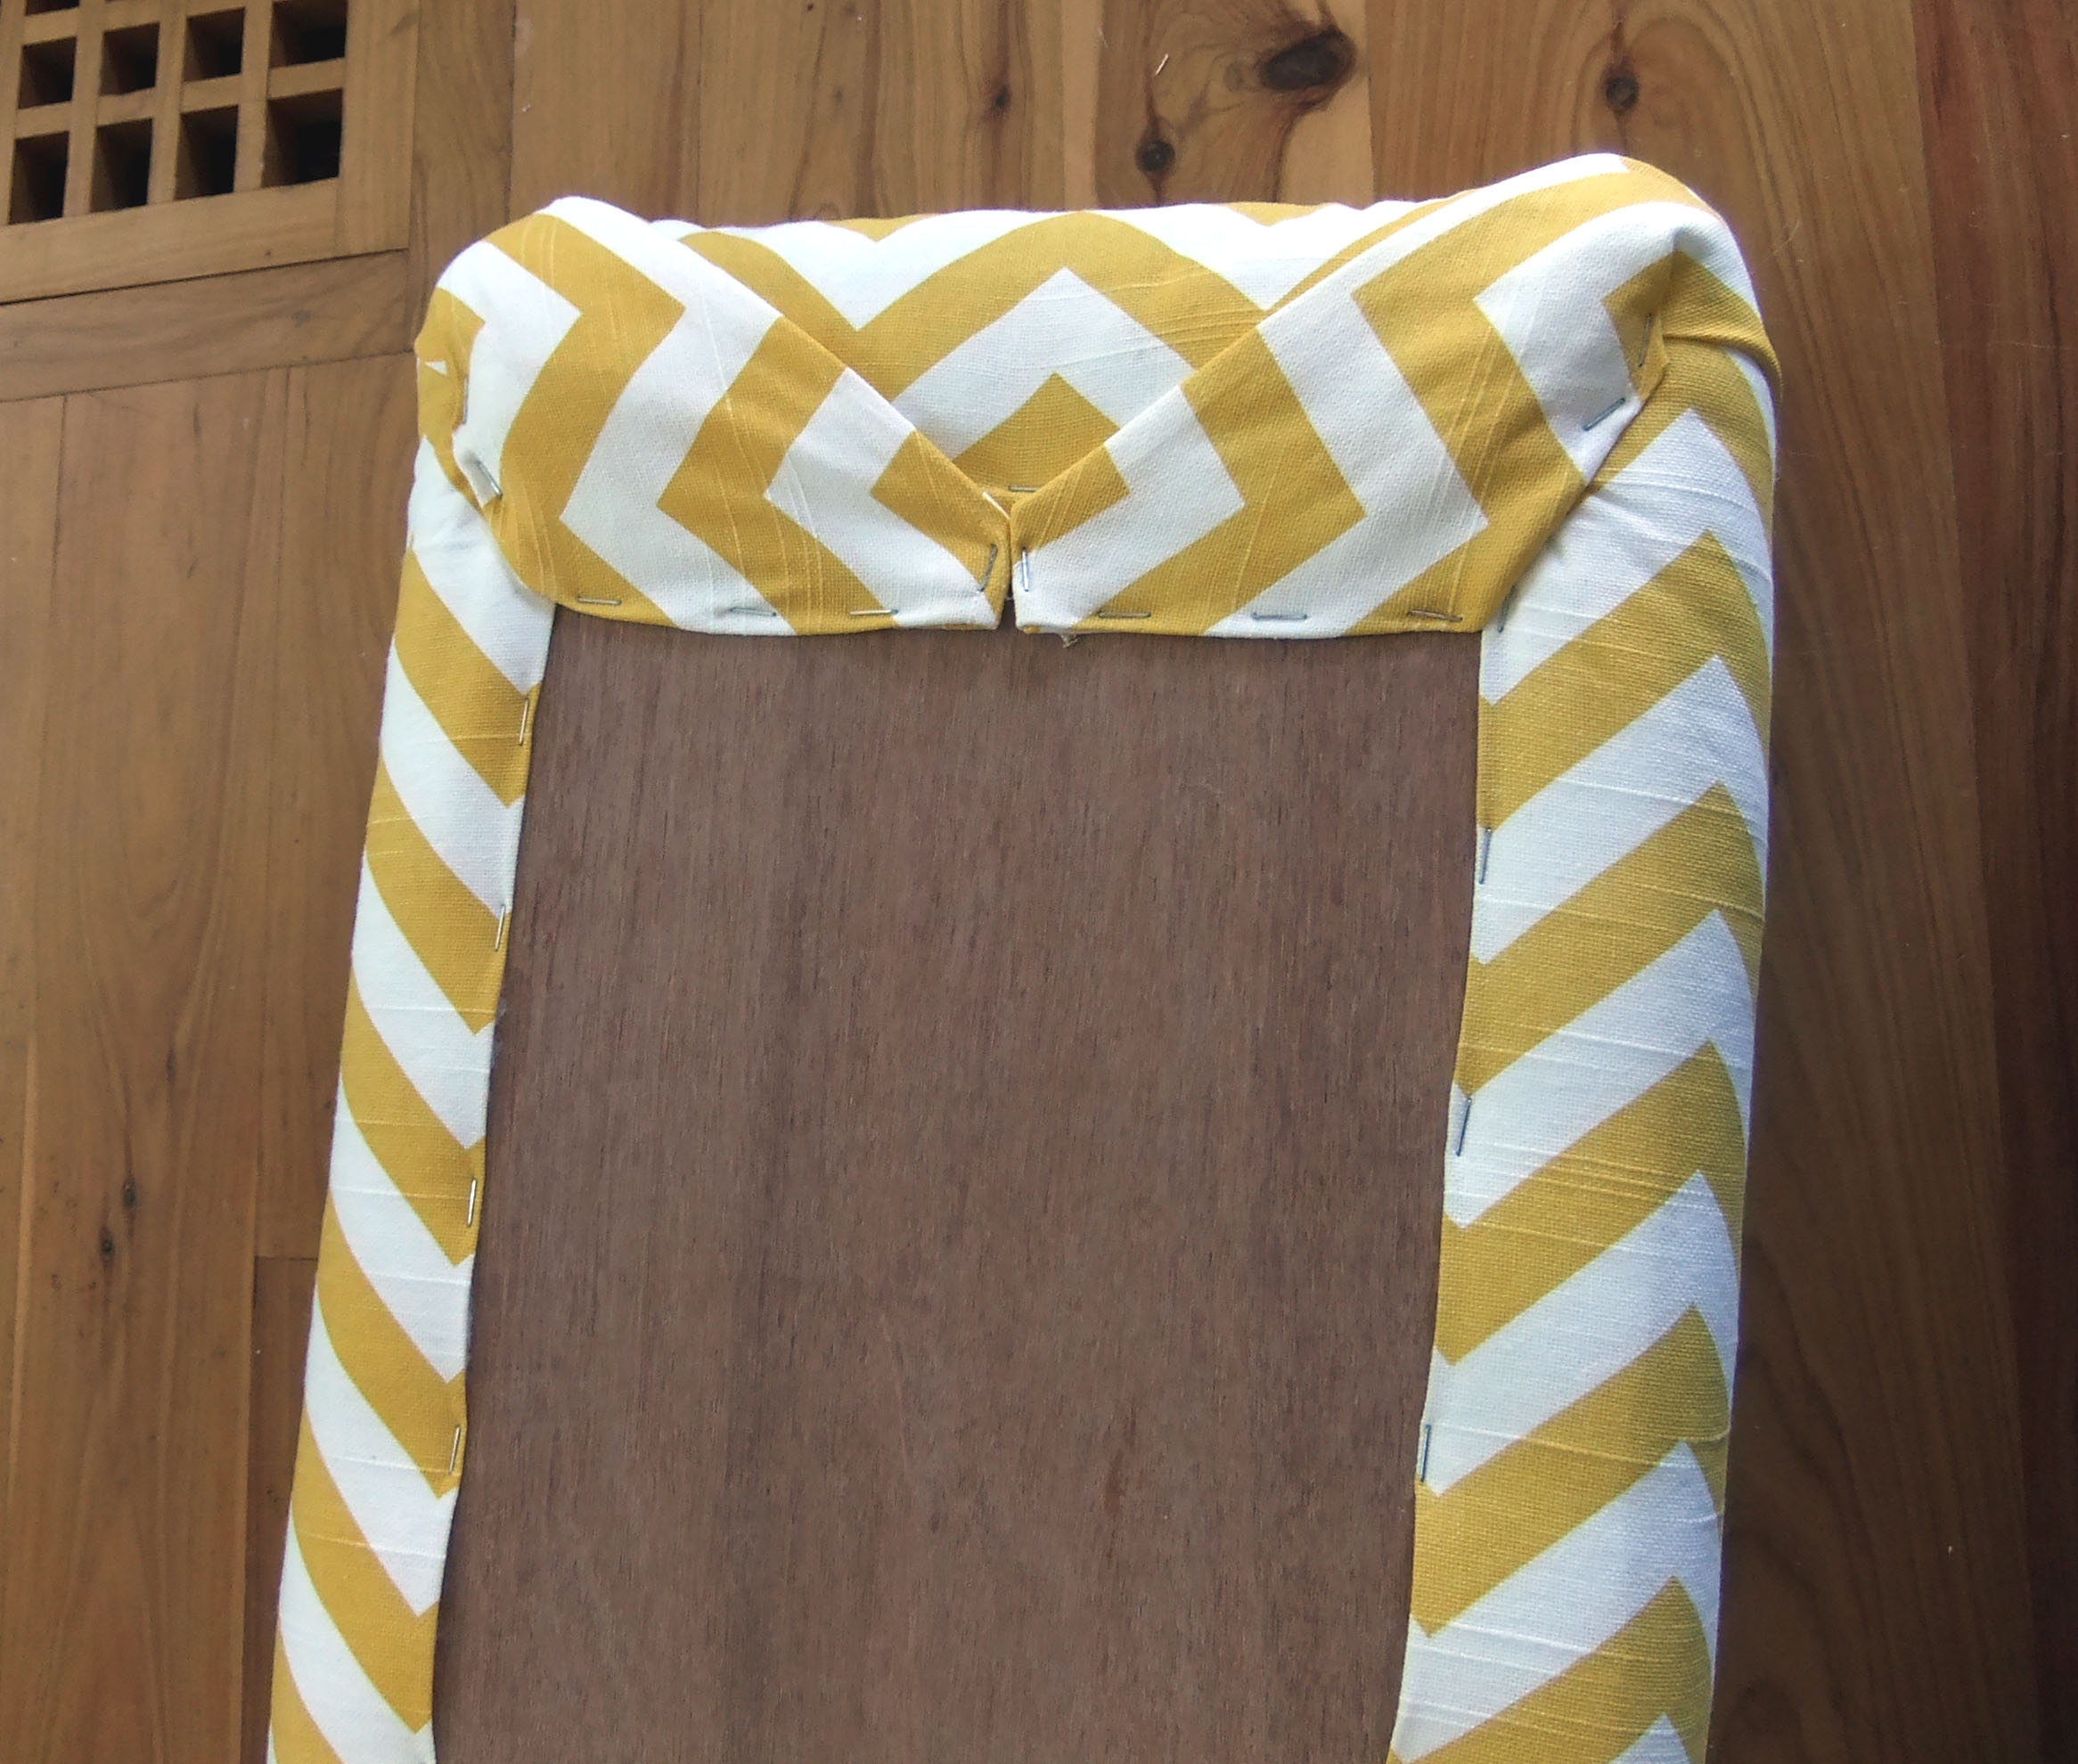
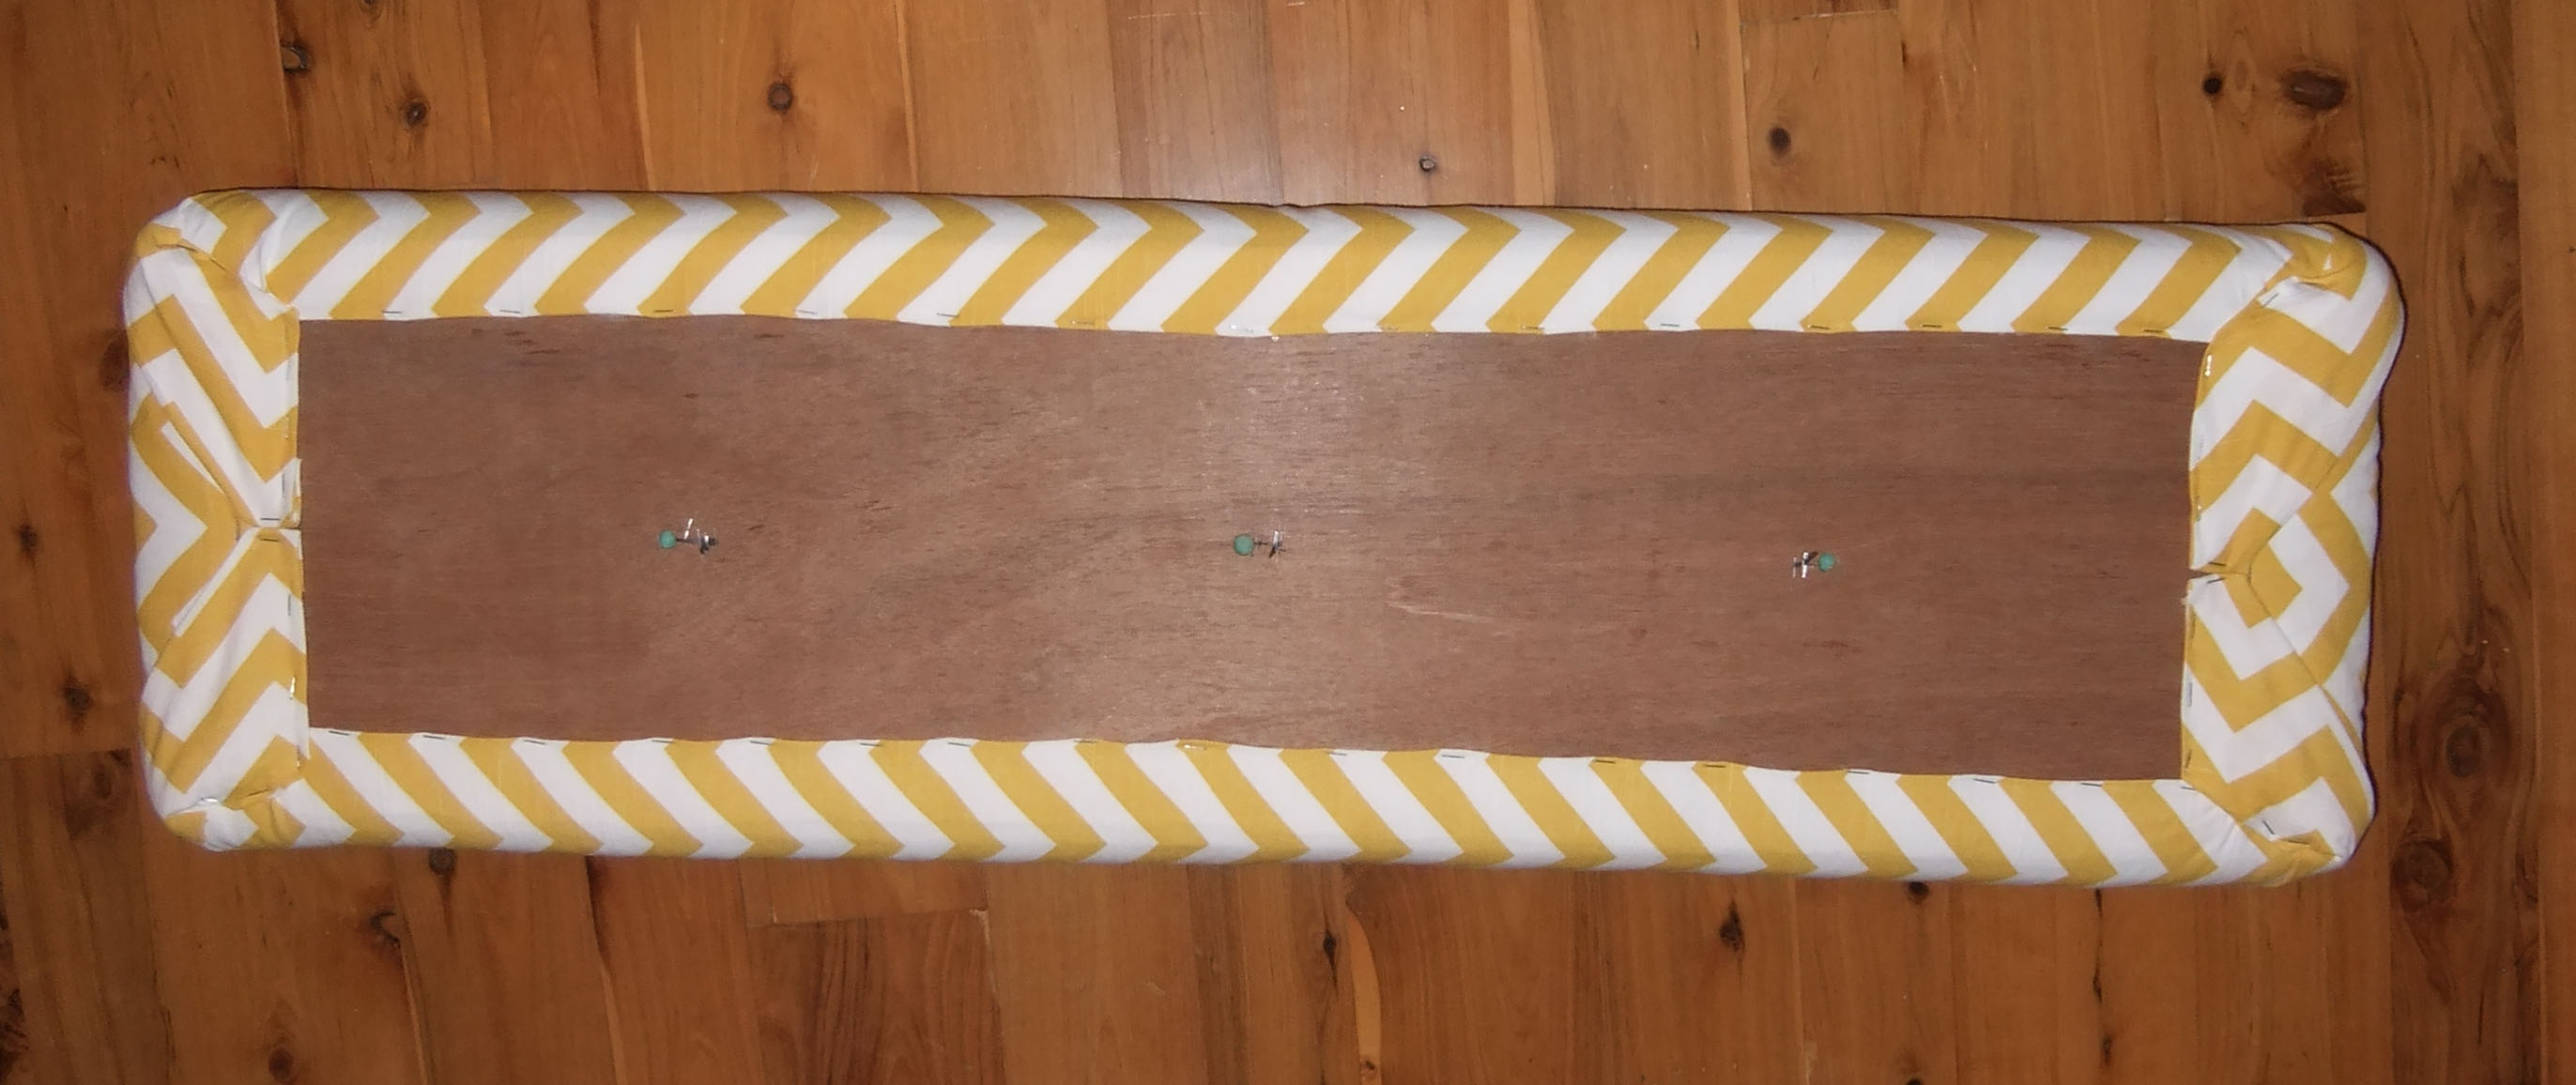
I was SUPER careful with this step since my fabric is a geometric. Crooked fabric or wonky lines would be VERY obvious. I started at the center of each side and pulled the fabric tight as I went along. When I got to the corners I tried my best at hospital corners, which was not an easy feat (and didn't come out perfect).
I'm not gonna lie- the neat way this worked out on the back makes me kinda happy.
So for the buttons, it took me a bit to figure this out. Making the buttons out of the fabric was easy (I followed the directions on the package), but trying to figure out how to attach them to the cushion was the tough part. After a few failed attempts and a few Google searches, I figured it out.
With holes drilled in the bottom plywood, I hooked the button on the thread (several strands together), and threaded that onto the longest needle I could find. Once I got the thread through the foam and the button in the right place, I pulled the thread tight and stapled the thread a few times. Rinse, repeat.
It was agony waiting for the last coat of stain to dry on the base before I could assemble the 2 parts. Once it was FINALLY dry, I centered the cushion on the top of the former coffee table and screwed through the bottom to attach the 2 parts.
Ta Da!!!
This totally makes me giddy and fits in the bedroom like it was MADE for that space (ya know, cuz it was).
I'm revved to do more in the bedroom now- the rest of the room needs to live up to my awesome new bench!


