House

Painting Over Stripes

gray-walls-after.jpg

Painting over striped walls via Copper Dot Interiors One of the first design features that I added to this house 5 years ago was painting stripes on the living room wall.  I had done it in our previous apartment and we loved it there, and we loved it here too, but after living with it in 2 homes, I was over it.  Especially after adding my built-in bookcase, the room felt busy and over-designed.
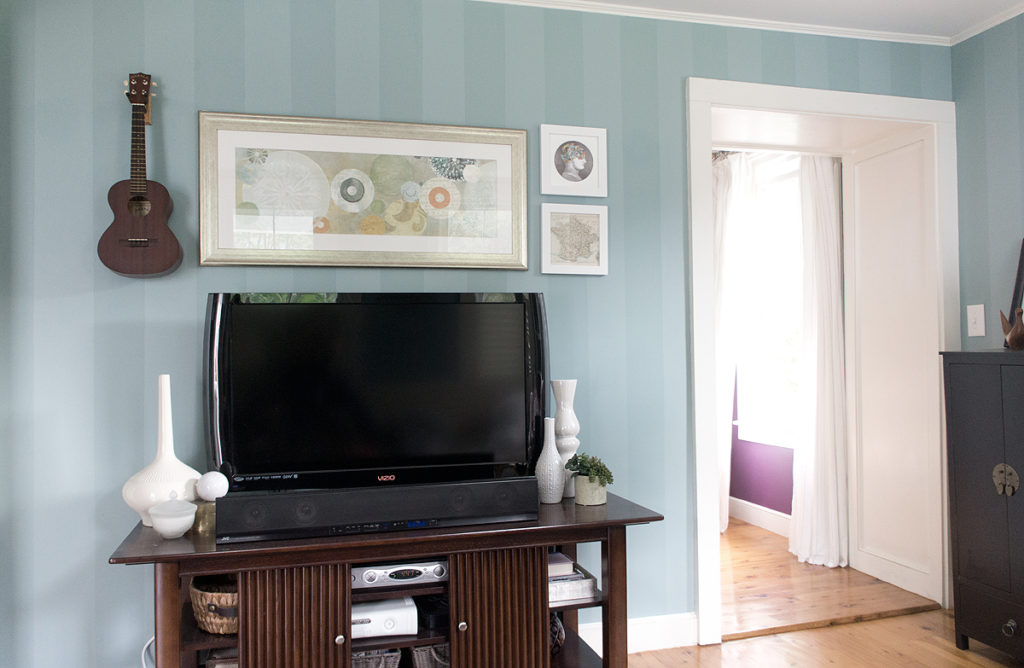
Striped living room before

Unfortunately with painted stripes, it's not quite as simple as rolling over it and having it disappear.  In a client's tiny powder room for example, the previous owner painted over stripes (thankfully) but when the light hits it right, you can still see every stripe.  It's not in your face, but once you see it, you can't unsee it- that's what I call OCD torture.  Because I originally taped off the stripes to paint, each line had a bit of a lip to it and would suffer the same fate as my client's bathroom- without the right prep, the stripes would always be visible.

Torquoise striped wall before prep

De-stripifying was time-consuming, but not particularly difficult.  It took a lot of sanding and I mean a lot.  Great arm work-out though... I found that 100 grit sandpaper was the best at smoothing over the paint transitions.  I sanded each line until I couldn't feel any kind of transition any more.
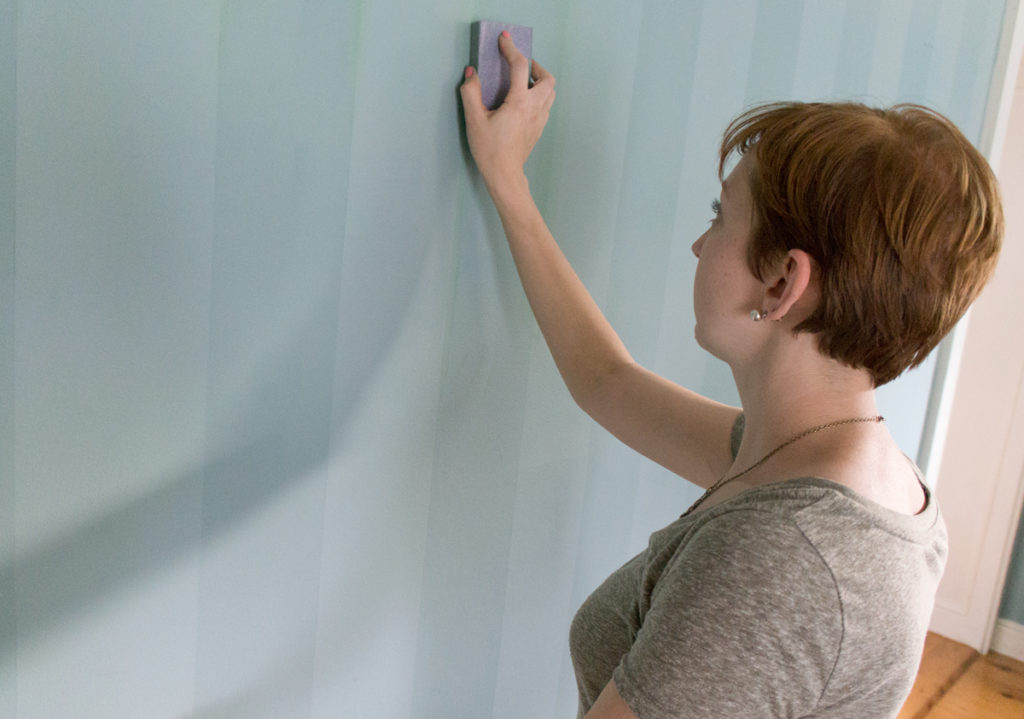
Sanding painted stripes

In some particularly stubborn areas, I used a bit of spackle to smooth out the transition even further.
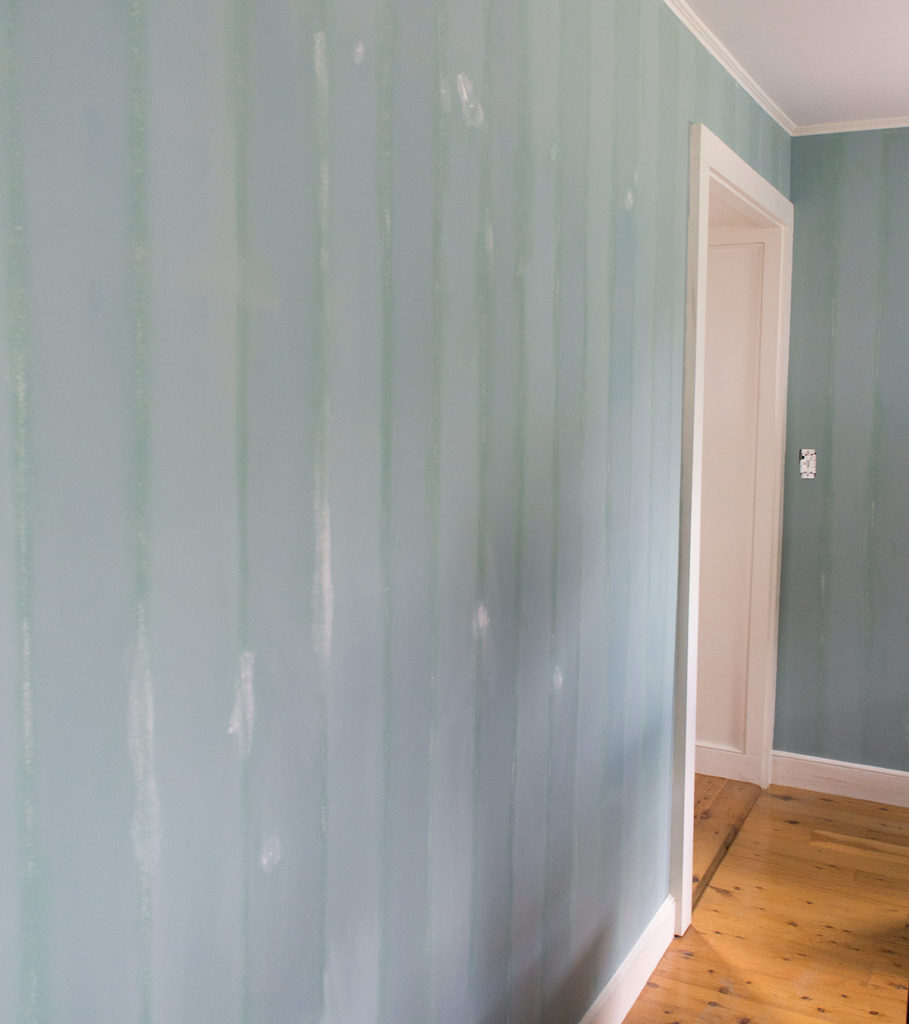
sanded, patched, and prepped wall stripes

After sanding, patching holes, and smoothing out the stubborn areas, I wiped the wall down with a wet rag and was ready to paint!
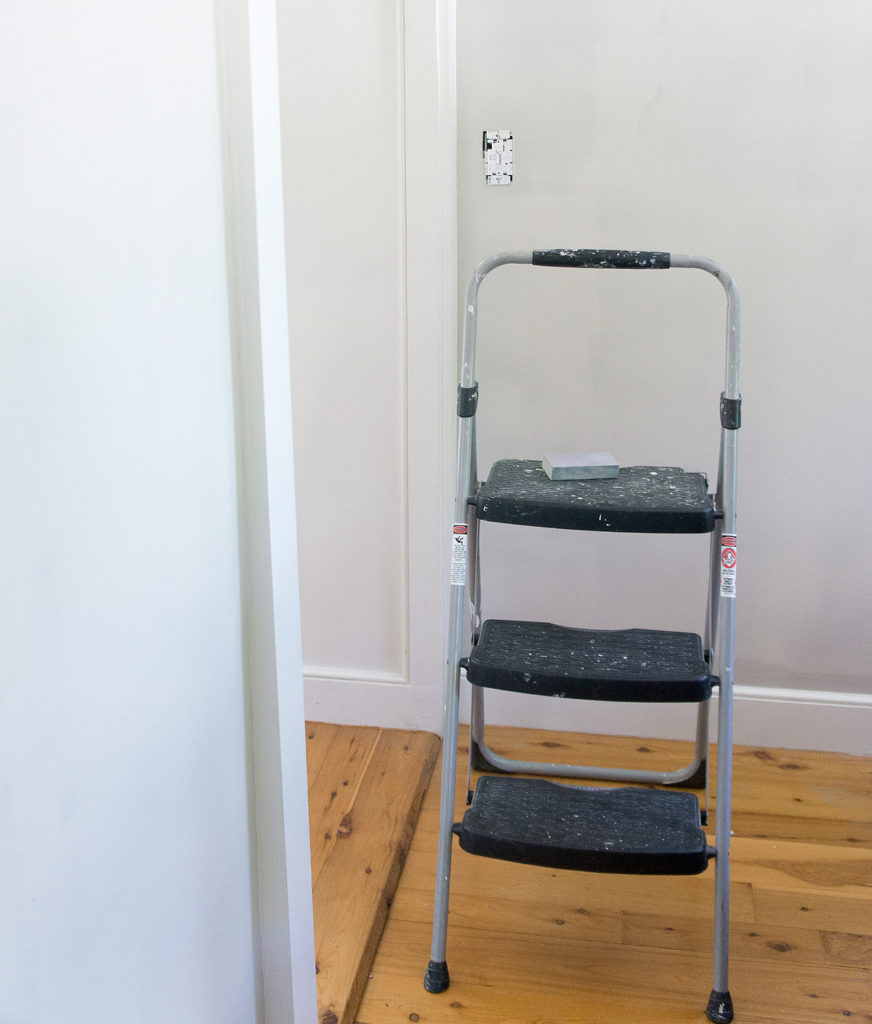
gray paint progress

Unfortunately, even after a coat of paint, getting rid of the stripes still wasn't complete.  With a coat of paint, any transitions that I didn't smooth over just perfectly were still showing through, especially as the sun shone in the window onto the walls.  Once the paint was dry, I picked up the sandpaper once again (with a bit finer grit) and re-sanded over any areas where the stripes were still visible.  This is where I let my OCD take charge: if I could even see a shadow of a line it got sanded meticulously.
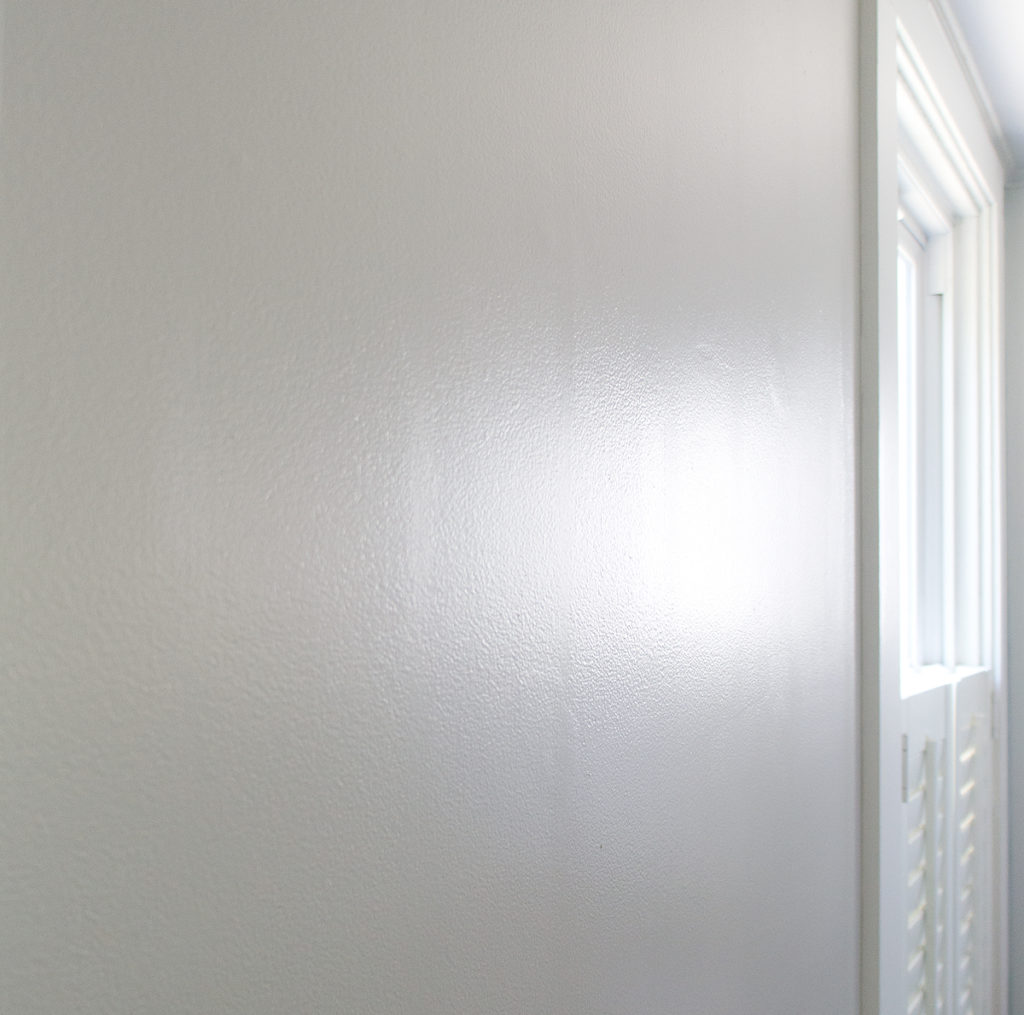
gray paint with shaddow stripes

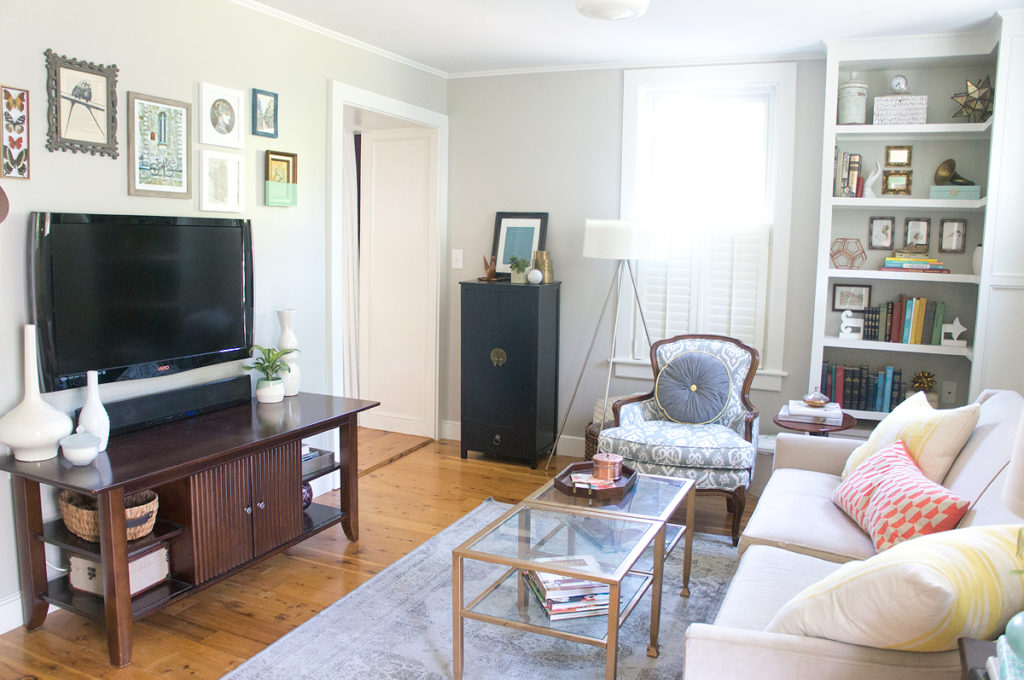
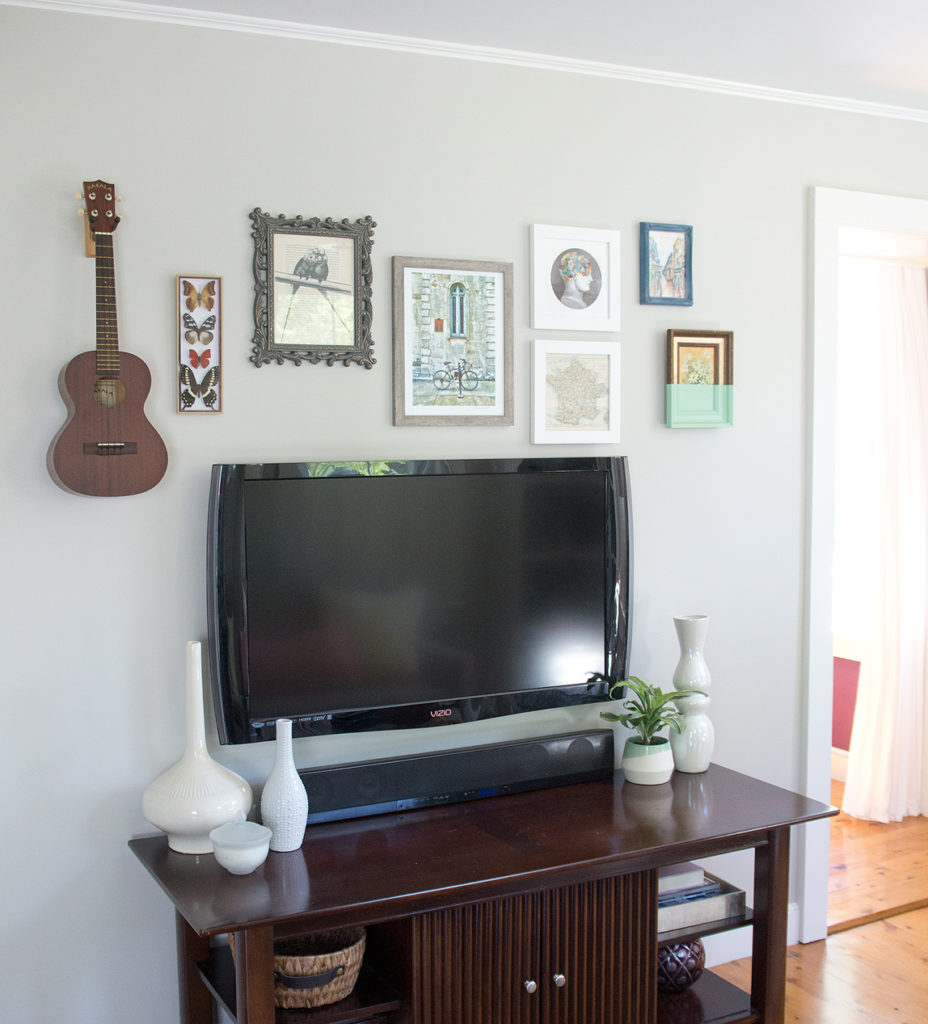
After the resanding and a second coat, I am pleased to say that there is no more evidence of striped walls past.  As I mentioned in Friday's post, Hubby's still skeptical of the color, but I'm already finding it so much more calming.  Such a breath of fresh air!
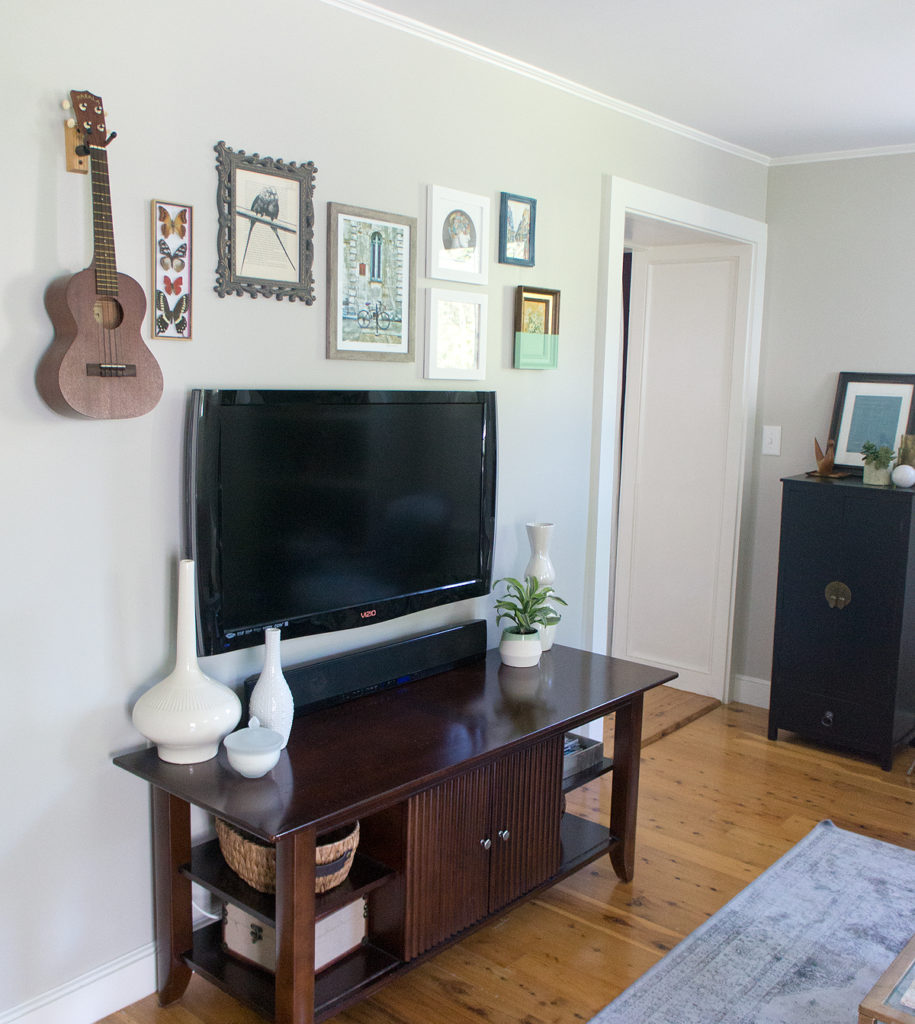
gray wall living room

I still have some ideas on how to inject a bit more personality now that the walls aren't screaming at me, but that will all come in due time.

Save

Save

Save

Save

Save

Save

Summer Eclectic Home Tour 

cd-tour-bedroom-5.jpg

Welcome if you're new here!  Even if you aren't new, you're in for a treat today as I partner up with some amazing eclectic bloggers to bring you a summer home tour!

cd-tour-living-2

The past few months have been a bit of a blur.  With design work, Hubby changing jobs, still hunting for flip house #6, and getting this new website together all while helping plan my sister-in-law's wedding this past weekend, I'm not sure where 2016 has gone so far!  I'm ready to freshen things up a bit and jump head first into summer!

cd-tour-living-1

I'm in simplification mode.  My style often swings between maximalist and minimalist.  I'm pretty sure my little house has reached max capacity, so I'm on a "get rid of all the things" kick.  Anything that's not currently in use (any maybe some things that are) are in danger of getting sold at a tag sale in a few weeks.

cd-tour-living-3

Part of my simplification also involved painting over my turquoise striped living room walls just a few weeks ago.  It's amazing how a simple wall color shift changes the entire feel of a room!  I'm excited now to be able to bring in some more vibrant colors and patterns that having turquoise striped walls just didn't allow.  Well, I mean I could have before, but I really didn't want to give myself or my guest's a headache from design over-load.

cd-tour-living-5

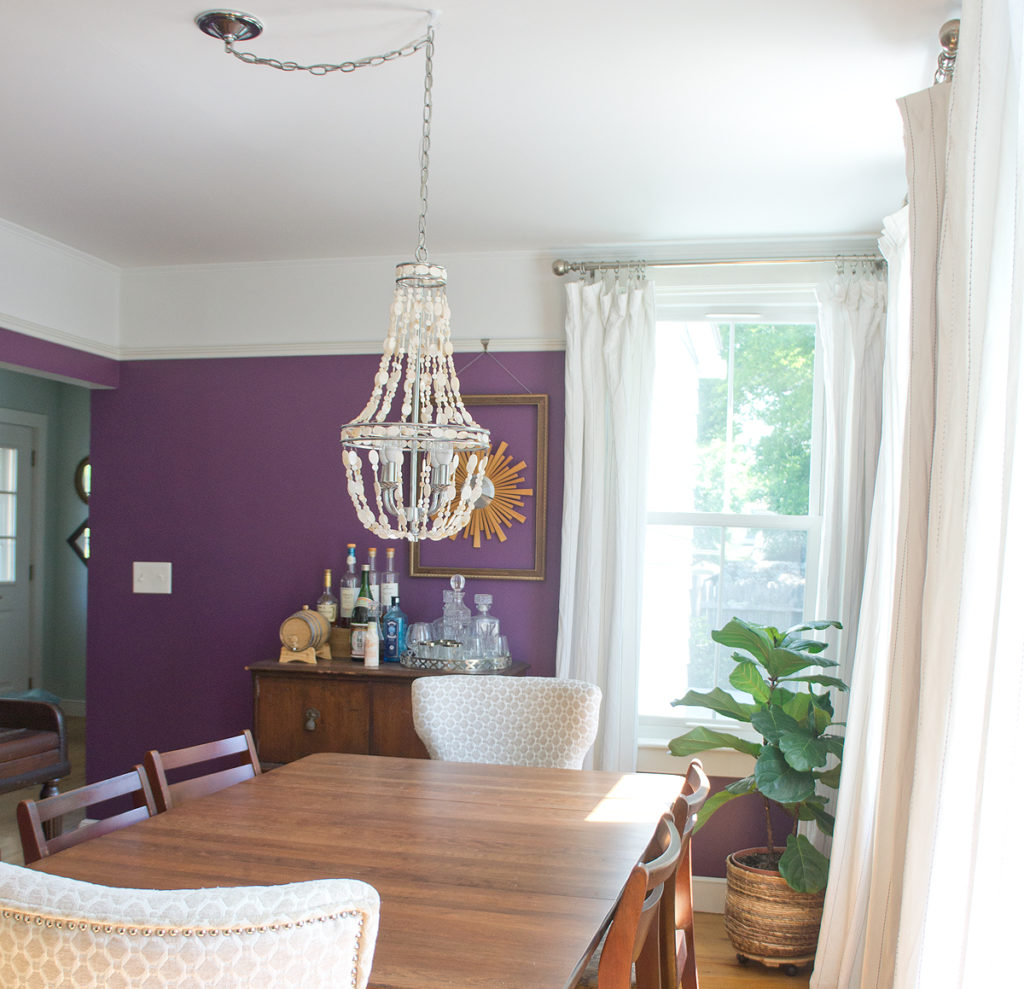
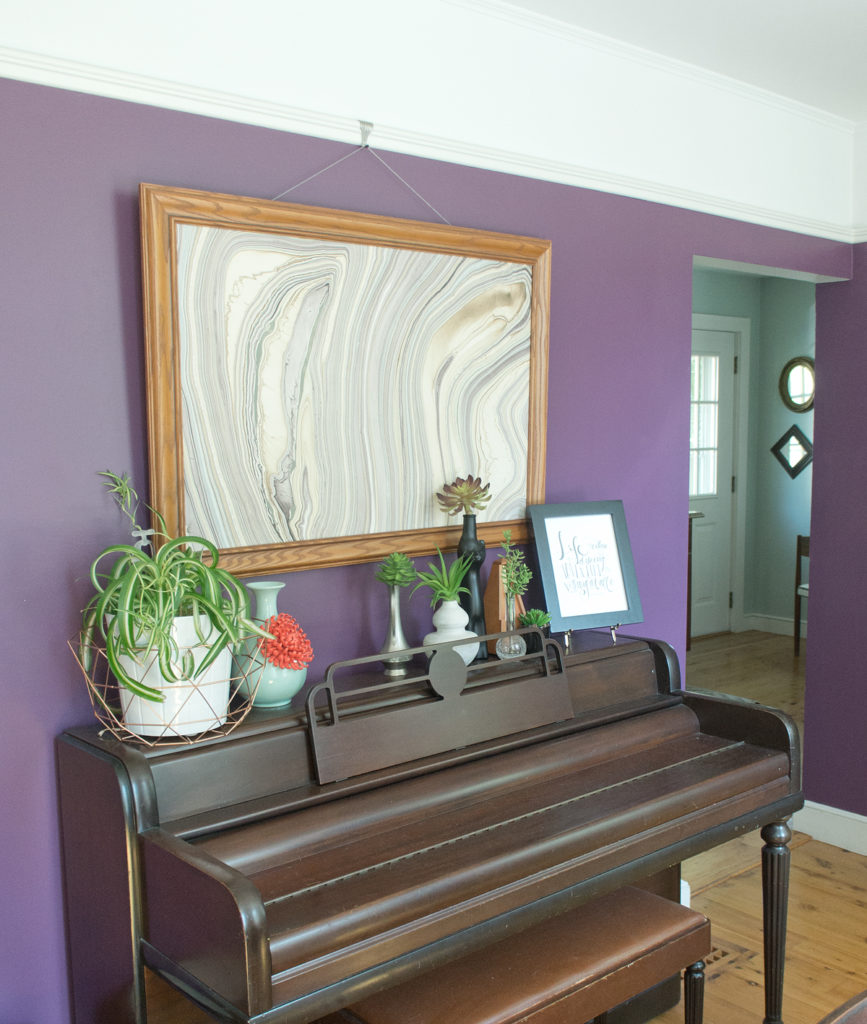
I will begrudgingly admit, almost half of my house is different grays now, but when I do color, I do COLOR- just check out our dining room.  I naturally have some projects planned for the dining room, but never fear, purple is not going anywhere.

cd-tour-dining-3

If you know me at all, you know I love the story behind a home and my own home is no different.  The MCM dining chairs were a side of the road find and the piano, while it's seen better days, was my grandmother's piano that I grew up playing.

cd-tour-dining-5

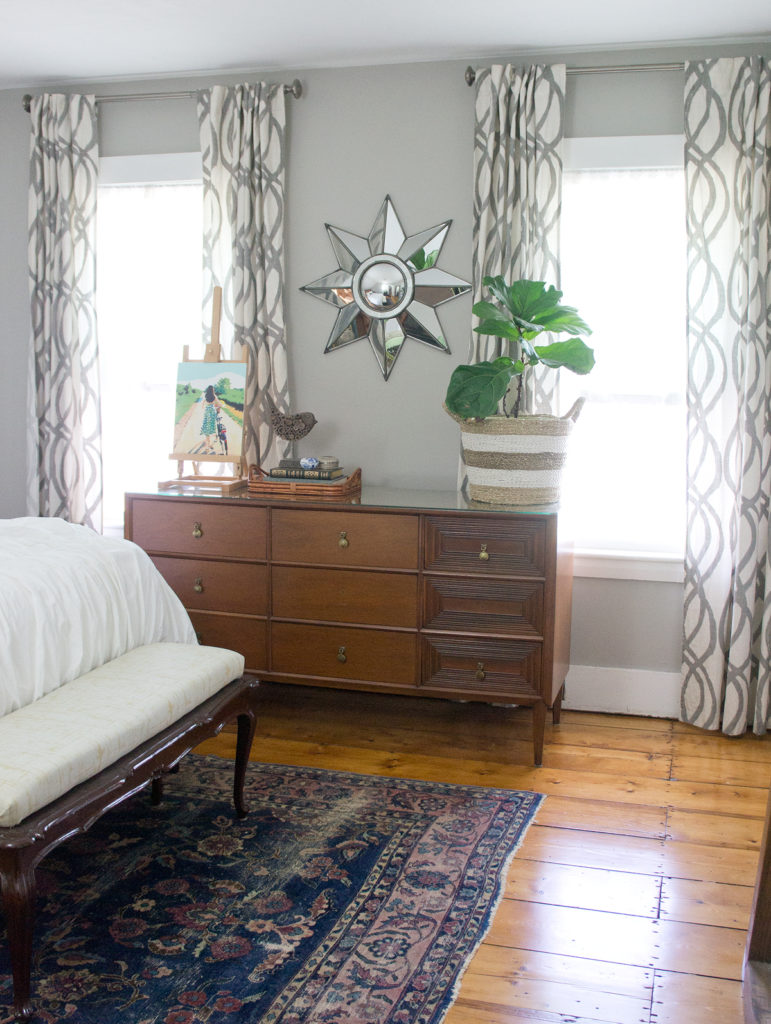
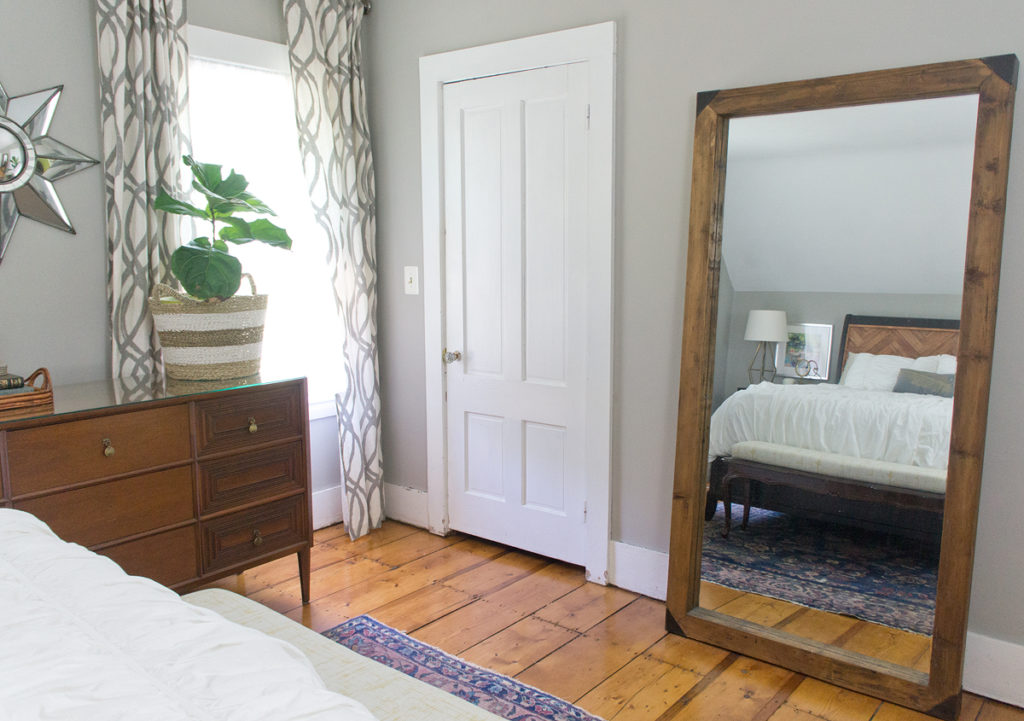
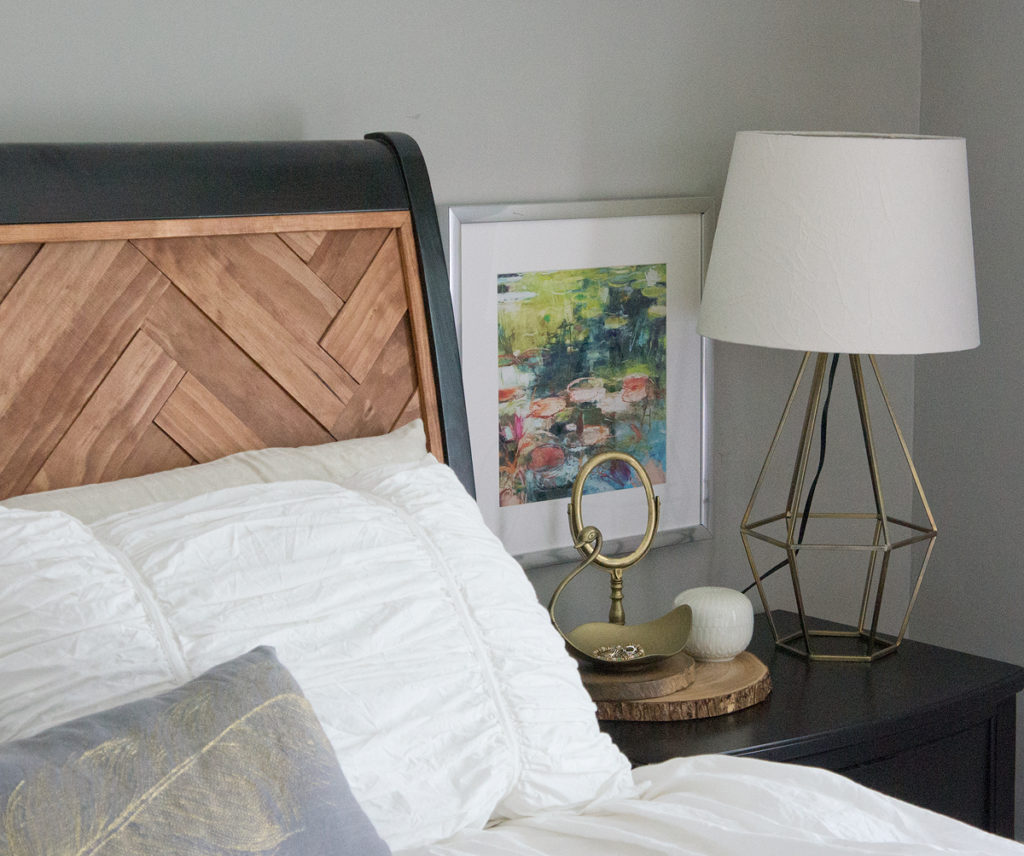
I'm not sure I've even photographed the bedroom as a whole in the past year since we uncovered and and had the original wide plank pine floors refinished.

cd-tour-bedroom-5

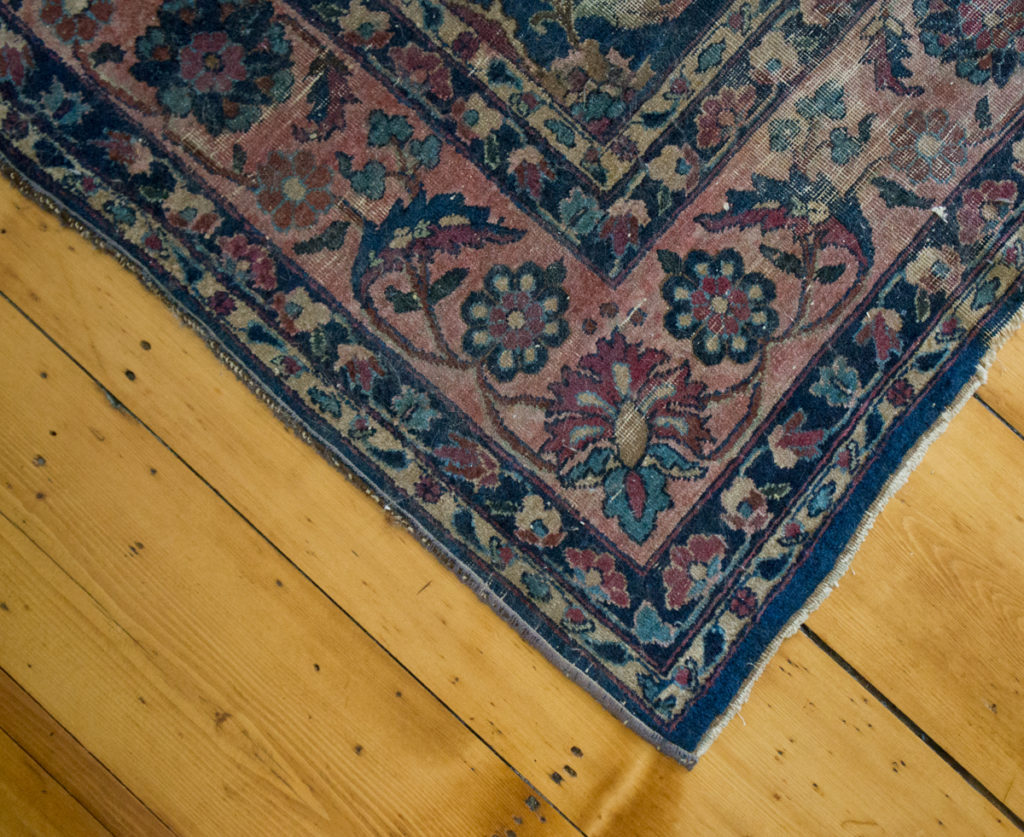
Between the 116+ year old floors and my $10 tag sale rug, I could stare at this all day.

cd-tour-bedroom-8

cd-tour-bedroom-1

cd-tour-bedroom-3

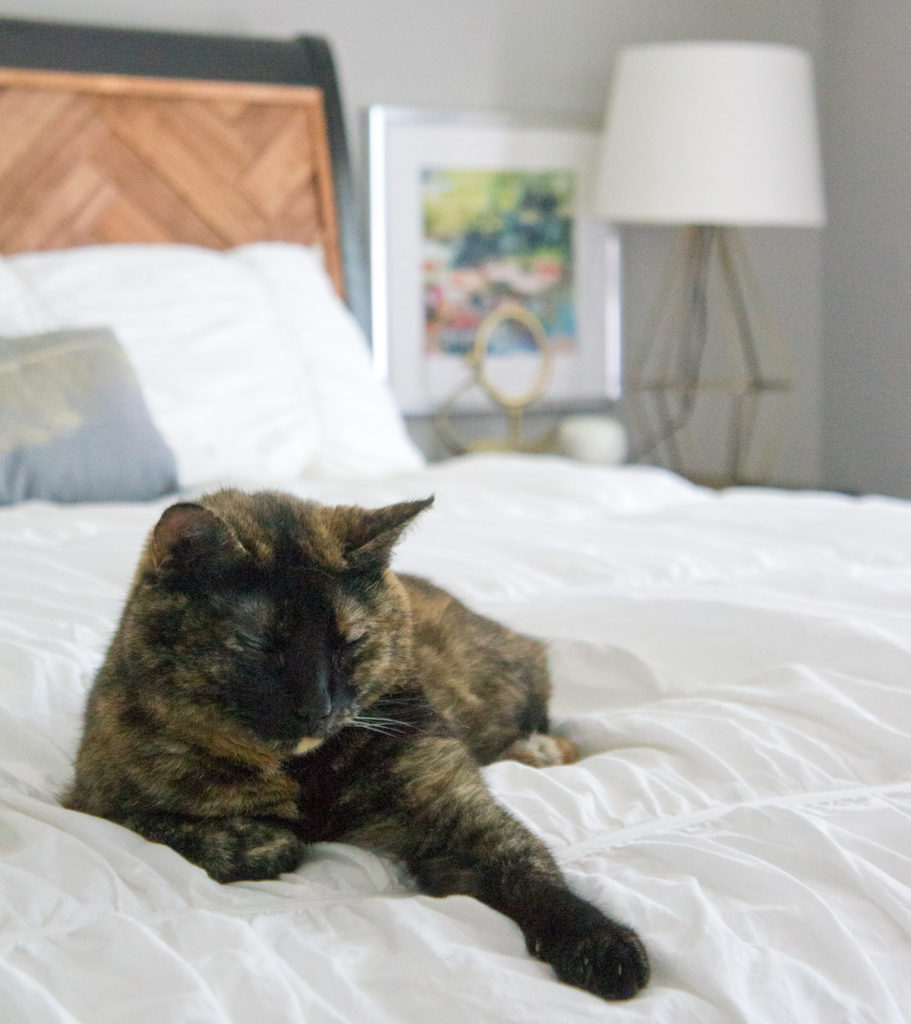
I was able to sneak up on an unwitting model as she slept.  #putacatonit

cd-tour-bedroom-6

Next stop on today's tour is Sarah at {Home-ology} Modern Vintage- pop on over, say HI and check out what space she's sharing!  While you're at it, check out all the tours so far from this week.  There's been some pretty amazing spaces shared so far!!

Monday

Tuesday Ciburbanity The Striped House Style Mutt Home This is Our Bliss Wednesday Copper Dot Interiors (That's me!) {Home-ology} Modern Vintage Up to Date Interiors Bigger Than the Three of Us Thursday Rain on a Tin Roof 58 Water Street Domicile 37 Friday Primitive & Proper A Designer at Home Suburban Bitches Casa Watkins


On the Rail

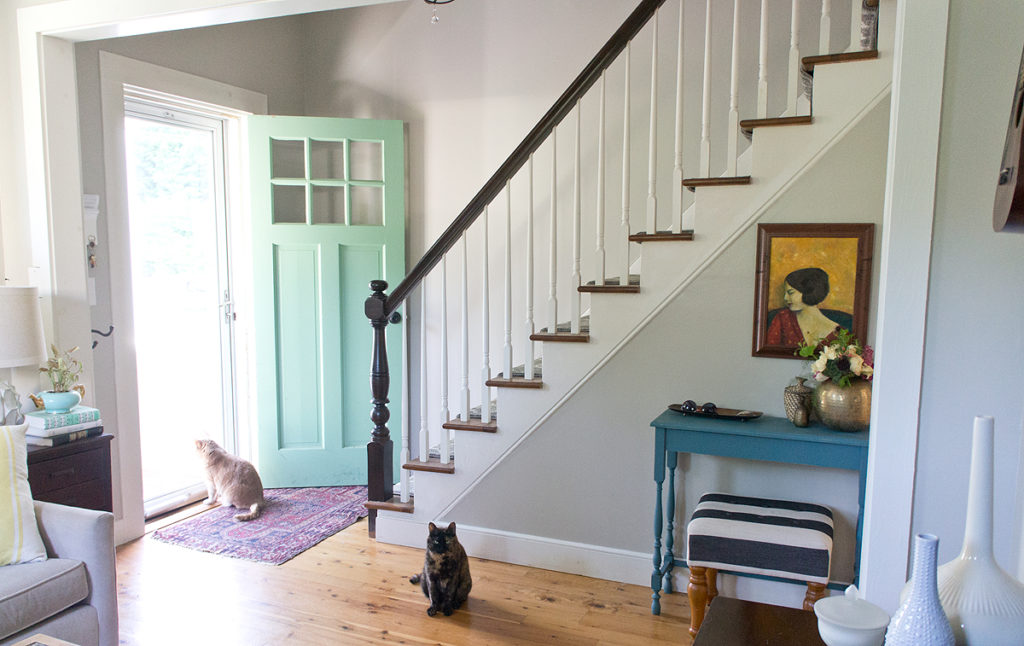
With my house finally coming back together after the floor/stair/railing reno, I have TONS of awesome DIYs planned for you guys.  For some strange reason, however, Hubby's pretty insistent that I install baseboards and door trim and finish painting before I start decorating.  Silly boy.  So basically, big, exciting things are coming, but my house needs to look like a house first.  Sad Trombone. I thought I'd pop in quickly today and show you that we are no longer at high risk for falling down the stairs- we have a railing!!!  I coerced my contractor (since we're still awaiting permit on the flip) to come and install this beaut.

railing

With 2 super sexy newel posts that used to not be super sexy.

oldnewel

newel-1

After all my crazy patching, I ended up painting it with a base of solid stain, then countless coats of Polyshades to give it a multi-dimensional, stained look.  I have some touch-ups to do now that they're installed, but I humbly think my paint treatment worked!

It's weird that we never realized how low our old railings were until we got one of the proper height.  Don't get me wrong, we knew the height was off, especially at the top, but check out the hole where the old railing hit the wall- a good 9 inches lower!

railing-4

The entire old railing wasn't 9" lower, just the return at the top, but man was it awkward.  As you can see, 2 spindles are missing and replacements have been ordered.  For some reason, my count was 1 less than was actually needed since we changed the configuration a bit (the top newel post moved up a step) and one snapped during install.  No sweat, I've been assured by my contractor that I can install them myself without issue.

railing-2

Now we just need to get used to not only using and seeing a railing again, but one that is the proper height!

Next step for these stairs? A runner!  These buggers are slippery now that they're refinished.  Slippery + already steep stairs = runner as necessity.