Without a flip going on currently, I'm really itching to build something. I think I get a bit twitchy when I haven't touched power tools for too long. For YEARS I've been talking about creating a built-in bookcase in my dining room, but I'm still mulling over ideas, gameplans for building it, and thinking about all the details. The idea has been nagging at me lately, so when timehop popped up to remind me of a post from 2 years ago where I had a bit of fun with a built-in in one of the flips, I thought it would be fun to share again! Here's the original post from 2014 when I was working on the fliphouse Grover:
WARNING: long post ahead! But don't worry- it'll be informative AND have a few pretty pictures!
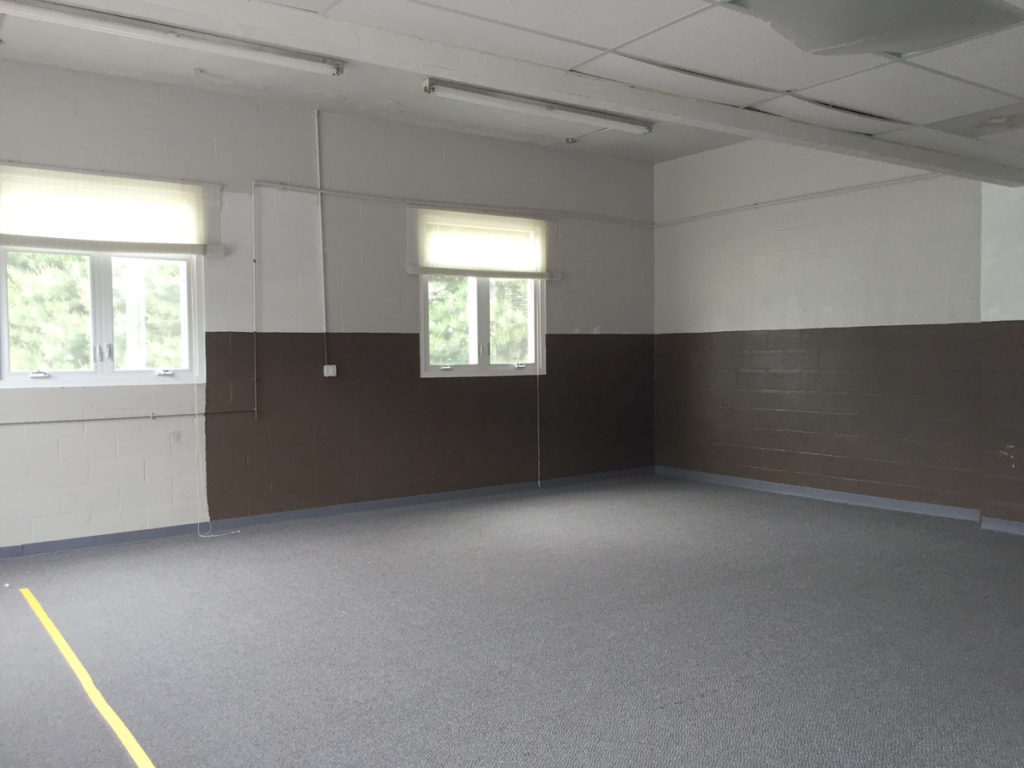
When I'm coming up with my plans for my flips, there's a delicate balance between keeping original charm and getting rid of dated design features.
Exhibit A

Built-in = original charm..... almost arm-deep = awkward......scallops = dated!
I think the scallops were the first thing I ripped out in the house. I attempted to remove the fake wood paneling from all 3 sides of the shelves, but I just couldn't get in there without causing injury (even my attempts caused several bruises and band-aids). For the past 4 months, the poor built-in has sat in this sorry state:


But I had a plan for it! And now, I think it's hitting all the right notes!

Original charm- CHECK
Fresh and clean-CHECK
Usable space-CHECK
Free of awkward and dated design features- CHECK CHECK!

It surprisingly only took me a day to build. Wood working projects are probably the most fun for me- that and tiling. You see things come together right before your eyes.
Supplies:
2x4s for structure
thin plywood for the sides, back and 'ceiling' on the top shelf (I actually used materials left over from the bathroom paneling)
1x2 pine decorative trim
Screws and nails
Half of the work in projects like this is just the figuring out and planning what you want to do. The other half is playing with power tools (fun AND fun!)
My first step to make my plans happen was to create a new structure with 2x4s to reduce the size of the shelves. I pre-drilled screw holes using my Kreg jig, however, even the best laid plans don't always work out.
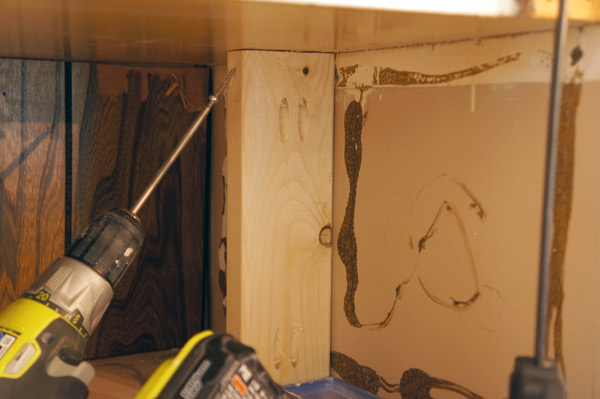
I forgot to take into account the size of the drill and it wouldn't fit in the 2 shorter shelves to allow me to use my carefully planned holes. Womp womp. Luckily, I was able to screw in the side and no one will be able to tell in the end.
When installing the 2x4s, I made sure to use my level so that each piece of the hidden structure would be straight.

Next it was ply-wood's turn.

I put a piece of plywood on the new back as well as on both sides since the side walls were a bit damaged. I'll admit, the back 'wall' between the 2x4s is a little bouncy, but since the back is purely decorative, I opted not to add additional structure.

Looking better already! Next it was time for the finish trim. This was the part that really modernized this project. Sides first, then I measured in between.

To install the trim, I used my nail gun and 2" finish nails, to attach them both the the walls and the shelves.

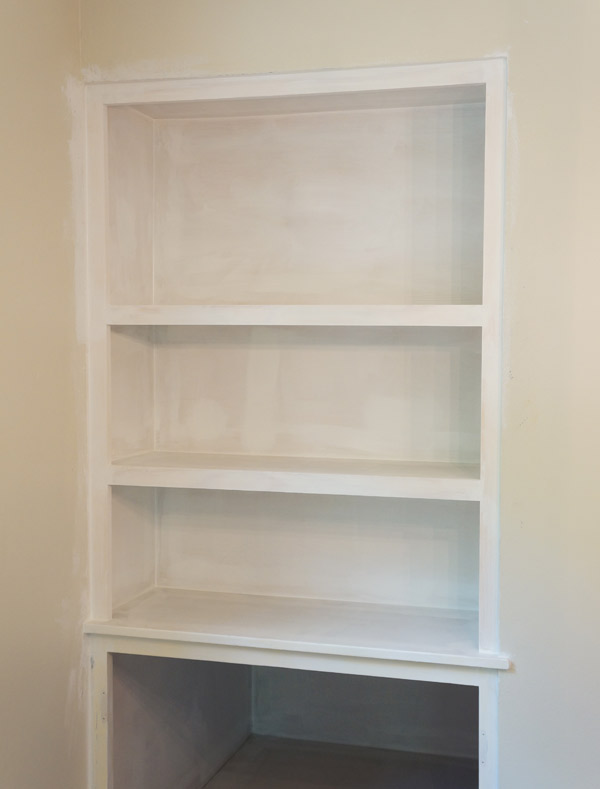
To spare you additional boring pictures, I patched holes, primed, and then sanded before getting to caulking all the corners. I used my go-to caulk method: a squeeze tube of caulk (easier to maneuver than a caulk gun), and a small bucket of water. I use the bucket to both dunk my hand before wiping down a bead of caulk, but to also wash the caulk off my hand as I go- it get's very sticky otherwise. The caulk magically filled all the gaps at the joints and gives it a professional, finished look. In the pic below, just look at the contrast between the bottom, caulked shelf and the top uncaulked shelf.

Ta da!
Meanwhile across the room, the doors were getting fresh paint and new pulls.

Once all the caulk was dry, the built-in got several layers of white semi-gloss trim paint. I allowed the paint to dry overnight before I layered on the tchotchkes..... I mean styled it.

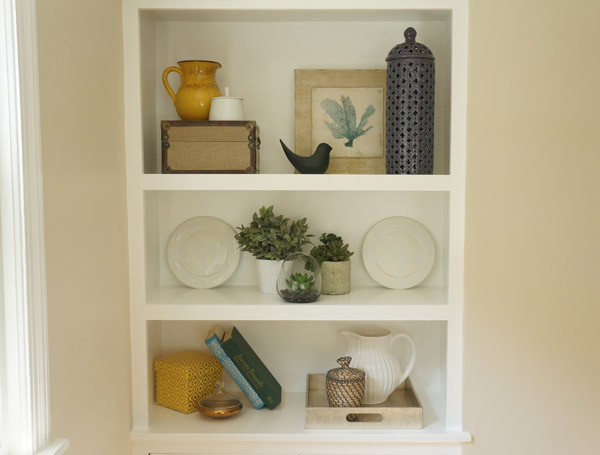

Just updating the built-in makes the entire open living/dining area look clean, fresh, and updated, but will still charm the pants off of any buyer.
Even years later, that project makes me smile. Such a small, inexpensive update, made a HUGE difference in the room. Check out the entire space when it was done:

I'm hoping that building one in my own dining room will have a similar positive impact. I'm such a sucker for dining room built-ins!
Have an awesome weekend!!

 You guys know how addicted I am to thrifting, right? I've been an instagram follower and participant of #ThriftScoreThursday for a while, so I was honored when the lovely thrifting ladies asked me to guest host with them this week! If you're new to Thrift Score Thursday, here's a quick catch-up: it's a weekly instagram link up party of thrifty goodness hosted by