Outdoors

The Taming of the Yard

This post is sponsored by Toro, but all content and opinions are solely my own.  

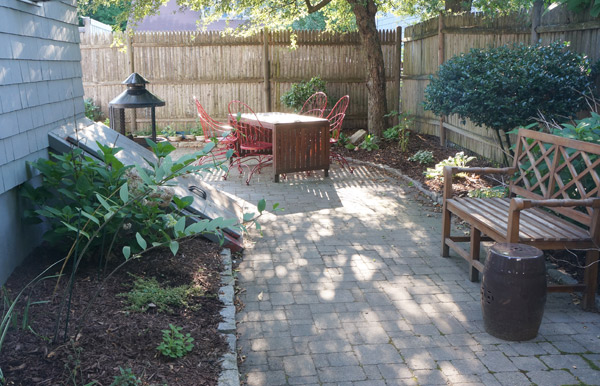
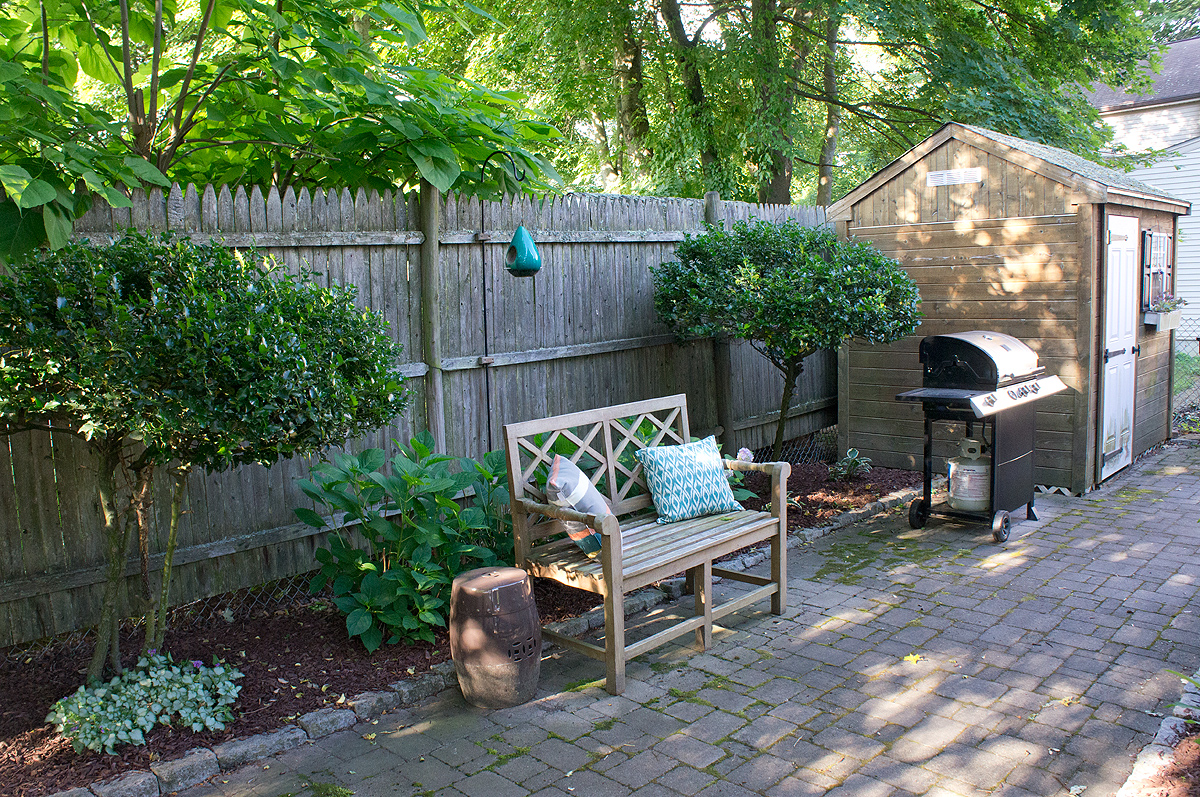
My yard is approximately the size of a postage stamp.  A 3,000sf postage stamp.  That includes the house, shed, driveway, brick patio, 1 tree, 170sf of grass, and gardens around every corner- literally.  It's my little garden oasis.  At the beginning of every summer, it's a process to get it season-ready, though.  Between cleaning up leaves, weeding, trimming the bushes. and spreading what seems like a million bags of mulch (ok closer to 30), I always spend more of my free time doing yard work in June than I ever anticipate.  Luckily once the bulk of work is done, the daily and weekly maintenance is a breeze for the rest of the summer and we get to sit back, relax, and enjoy our little yard.

Prior to it's yearly taming each spring, the yard starts getting a little wild and with it's minuscule size, a little wild feels a lot wild.


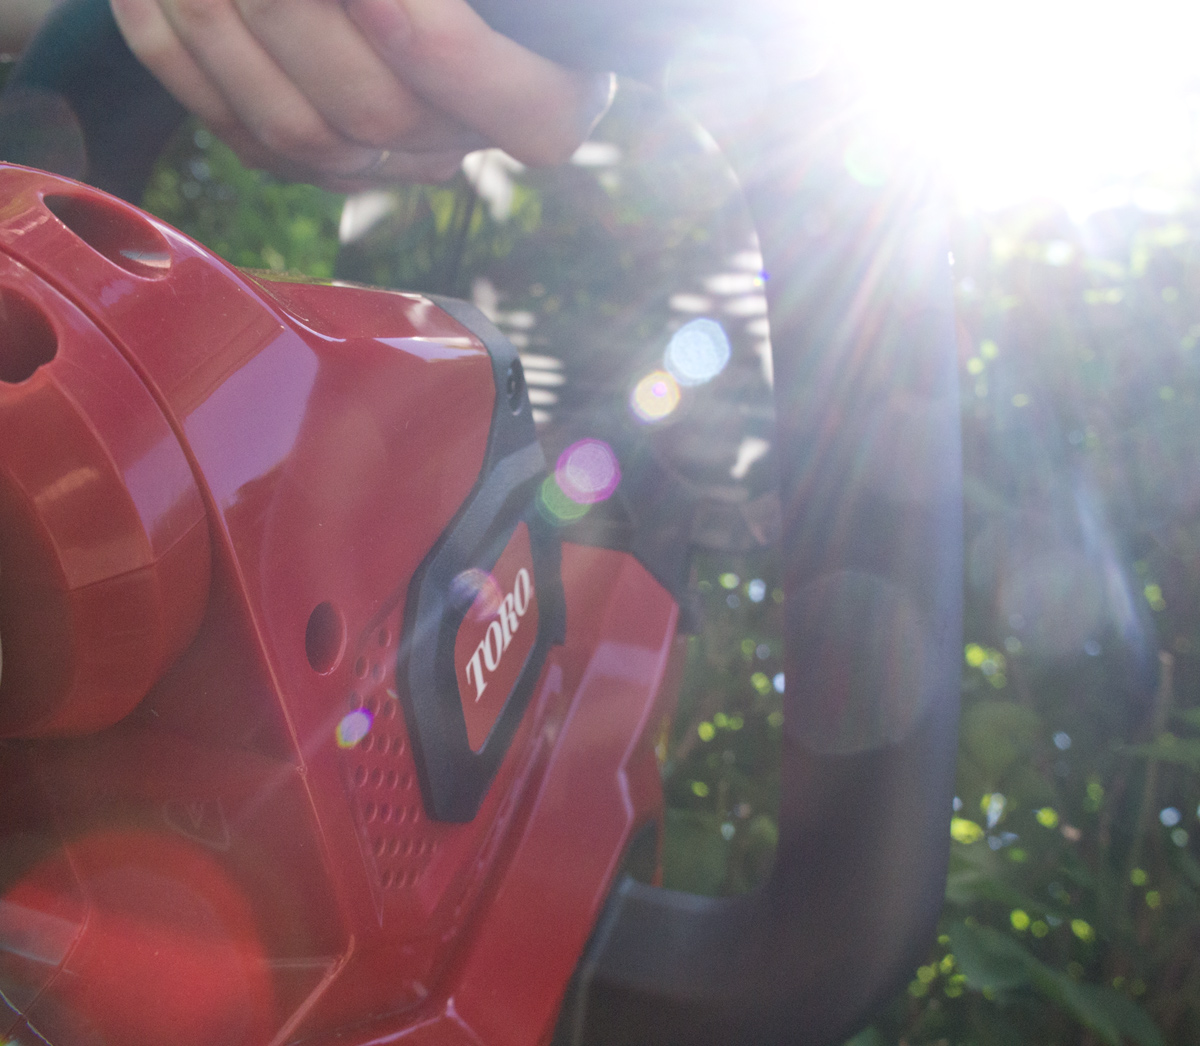
In my minuscule yard, we also have a minuscule shed that needs to hold a snow blower, manual lawn mower, all of my shovels, rakes, and outside tools, and now a stroller.  For me, not only is having the right tool to get the job done important, but the more compact the better...... cordless is a plus, multipurpose tools is a huge plus, easy to store is a massive plus.  To help with this year's taming of the yard, Toro kindly sent me a couple Toro PowerPlex™ 40V Max* Lithium Ion Products to try.

I first set out on the front yard with the Toro PowerPlex™ 13 inch string trimmer/edger on the front yard.  All 170sf of it.  We use a manual mower that came with the house, but with each mow, we use a trimmer to get all the edges and anything the push mower missed.  And the morning glories.  I have a love/hate relationship with morning glories.  Every year, by the end of summer, the metal fence is covered with beautiful morning glories (yay!) but they grow like weeds and will try to take over my lawn, garden, and anywhere possible (boo!)- string trimmer to the rescue!


This handy little trimmer has an extra long battery life (up to 45 min!) which was an issue we had with our previous trimmer.  It can also easily rotate to be used as an edger with a guide and wheel.  Multi-purpose tool?  Sold!

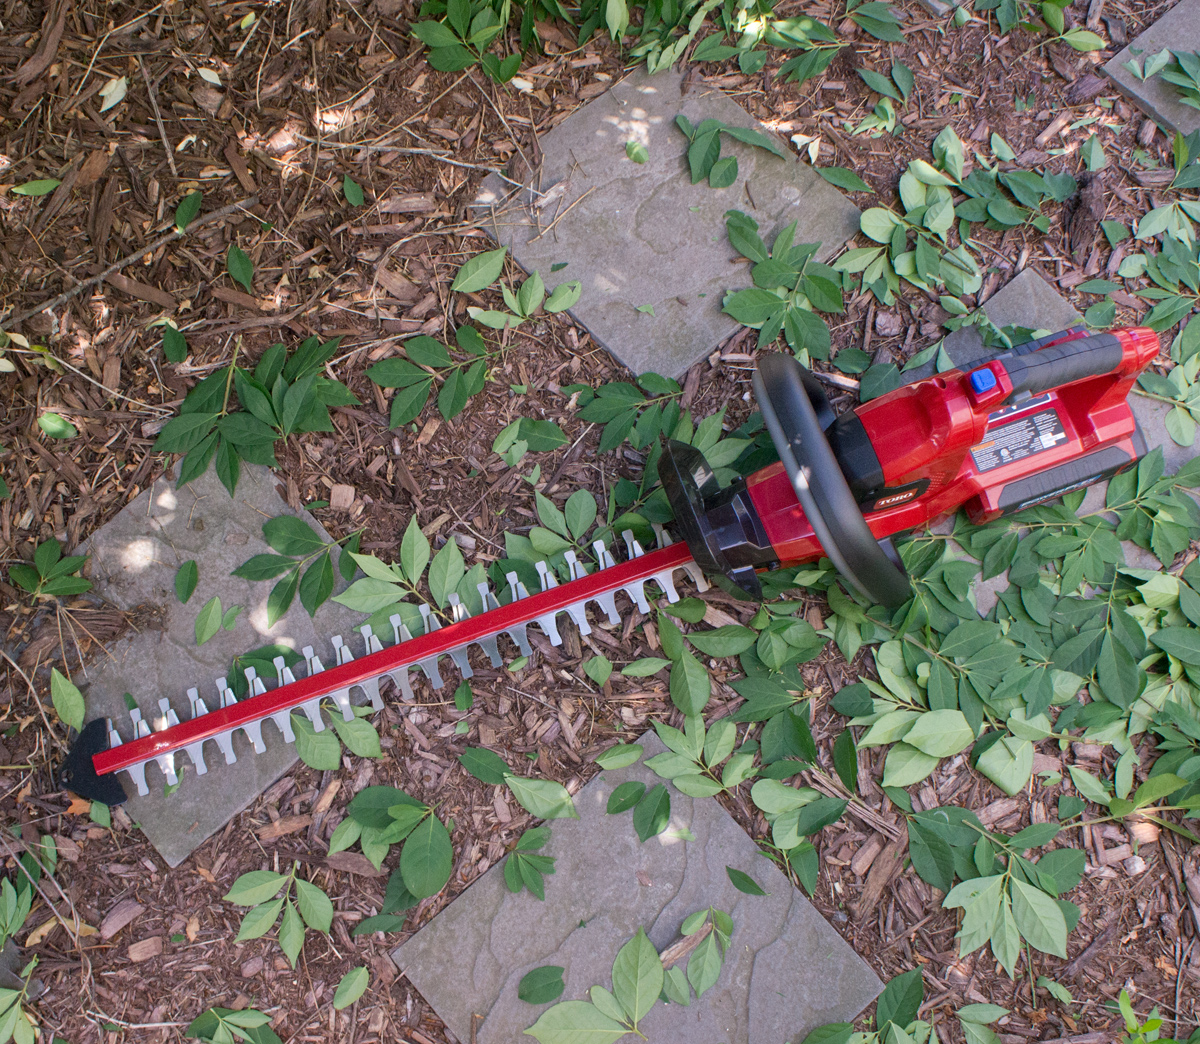
String trimmers/edgers are nice and handy, but what I was more excited to use was the Toro PowerPlex™ 24 inch hedge trimmer.  This was my old hedge trimmer.....


They work great for small tasks, but trimming larger bushes... say a 12+ foot tall burning bush... is pretty much impossible with it.  Toro PowerPlex™ 24 inch hedge trimmer to the rescue!  Please excuse the stank-face...I was glaring at the sun, not the trimmer.

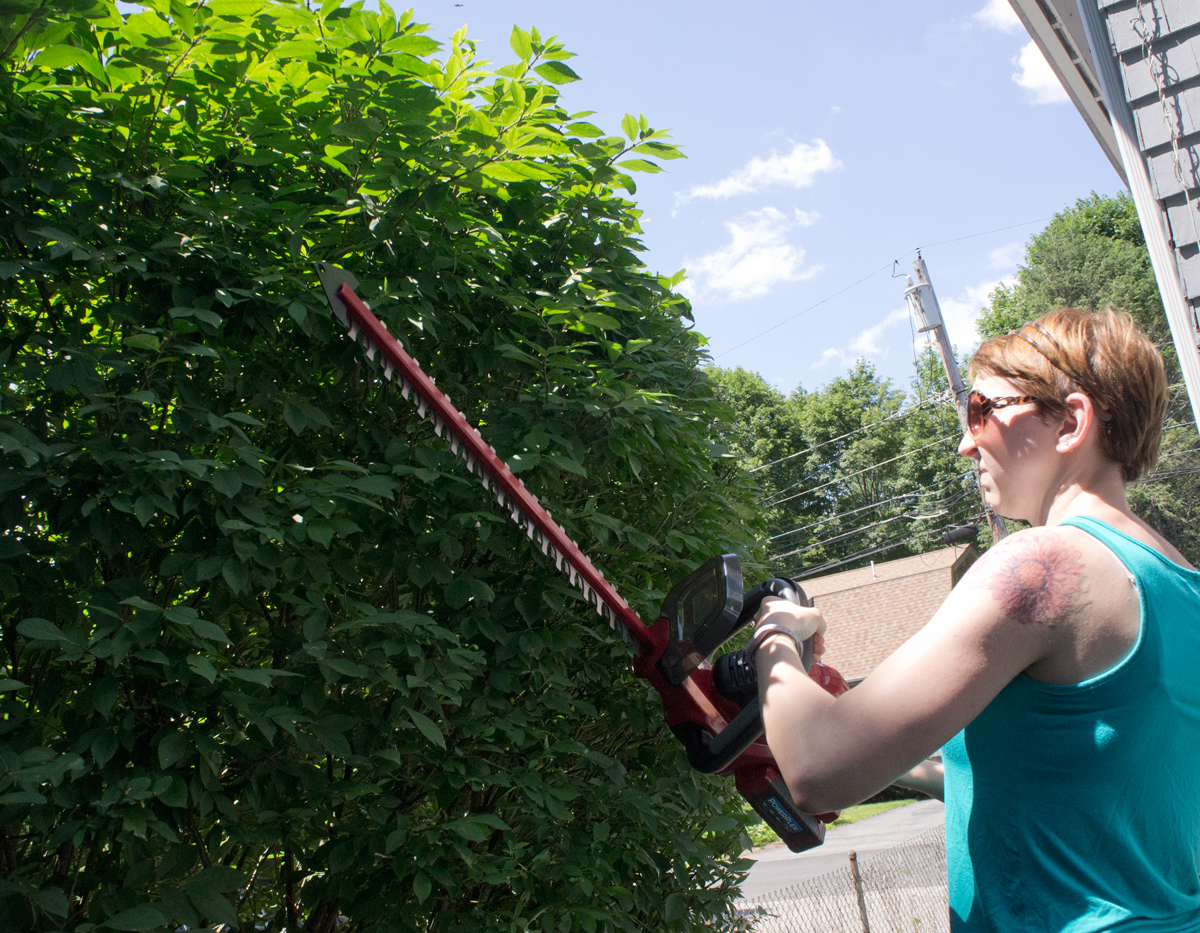
I'm loving that it's cordless.  In years past I've tried borrowing my dad's corded trimmer for the task, and this trimmer is so much easier to navigate than a corded one that you're constantly afraid of cutting the cord.  It also feels so much safer since you need to have both hands on the trimmer or it will automatically turn off.


When at long last (or so it seems) the yard is finally tamed for the season, I get to take a deep breath, pull out my folding hammock, and enjoy the space all summer with minimal maintenance.


Thanks Toro PowerPlex™ 40V Max* Lithium Ion Products for helping me get my yard summer-ready!

Save

Save

Save

Save

Save

Save

Save

Save

Save

Dahlias for Beginners

Dahlias, in my personal opinion, are pretty much the best flower out there.  There may even have been a consideration that a late summer wedding would allow me to have dahlias in my bouquet.  We got married late July and yes, dahlias were a required attendant. This year, I finally decided to muster up the guts and grow some dahlias myself.  I'm not talking about the bitsy little potted dahlias you can pick up in the annuals section of the plant store either.  I'm talking about buying tubers (the bulb-like roots) and growing dahlias literally from the ground up.

Growing Dahlias for Beginners via Year of Serendipity

I'm so pleased to say that it is now Dahlia season and I've had some marginal success growing these gorgeous blooms.  Mom grew them for the first time this year too, so we learned what to do (and what not to do) together.  AND now I'm here to share them with you.

Dahlia Lesson #1

Watering isn't necessary until the tubers decide to pop their little green sprouts above the surface of the soil.  If you overwater before they've popped, the tubers could rot.  I learned this the hard way.  I planted 18 tubers, and only 11 grew.  Once they start growing, water your heart out.

Growing Dahlias for Beginners via Year of Serendipity

Dahlia Lesson #2

Stakes are your BFFs.  As soon as the plants reach a foot or 2, tie them to a stake.  These seriously help them grow sky high.  I staked early, Mom a bit later.  Some of her plants got a little squirly at the base and didn't straighten out once they were staked.  Mine on the other hand?  Even though the tubers claimed 36"-48" tall, several of these guys are reaching well above the top of my 5'-6" head.

Growing Dahlias for Beginners via Year of Serendipity

Dahlia Lesson #3

Aside from liking stakes, the flowers like being cut.  The more blooms you cut, the more they produce.  How sweet is that?  It's like they're MADE to fill up vases throughout my house.  Keep 'em coming!

Growing Dahlias for Beginners via Year of Serendipity

Dahlia Lesson #4

Speaking of cutting them...  As tempting as it is to cut off a bloom as soon as it opens up, resist!  Older blooms will last much longer when cut.  Once you do cut them, though, place them directly into super hot water (not boiling) and then change the water every couple days to maximize their longevity.

cut-dahlias

I'm beyond the moon about how gorgeous these plants ended up this year!  My only challenge left will be to dig them up before the first frost and preserve the tubers to reuse next year.

Dahlia3

What Dahlia growing tips would you add to this list??


Outdoor Update

This is one of those years where summer seems to be wizzing past even though it's just started.  Where has it gone already?!  I'm totally behind with our gardens and haven't even finished mulching the veggie garden.  I feel like this should get finished before July hits.... tomorrow... we'll see what kind of motivation I come home from Grover with tonight. Nothing has changed drastically in my back yard/garden in the past year, but I like to share it here each year anyway- it's like my little garden year book.

back-yard-early-summer-2014

It's going to be positively paradise once the hydrangea start blooming.  It's my little suburban sanctuary.  When everything is in full bloom late summer, and I've hopefully finished mulching, I'll give you the full 2014 yarden (yard/garden) tour- which will probably look very similar to 2013's.  Between the front, back, and sides of the house, our yard takes 30 bags of mulch and only has 170sf of grass.  Definitely skewed a bit, but I'd rather play in gardens then mow a huge lawn any day.

The newest addition to our yard is a monstrous rain barrel.  I convinced Hubby that we needed one for when our town institutes a water ban (usually during a long hot spell in the summer) and we still need to water the veggies.  When I tried to put the barrel directly under the water spout as I originally intended, however, it looked gargantuan and beyond ridiculous.  I settled on hiding it in a corner, but now have to deal with re-routing the downspout.

rain-barrel-downspout-before

Although I ventured to Home Depot for all the parts (which I did get), I got distracted by picking out plants for Grover and subsequently spent my afternoon playing in the dirt at the flip instead of installing my own rain barrel.  I have a feeling this will be the story of my life for the next couple weeks.  We are T minus 14 days before we hope to list Grover, the latest fliphouse.  One-track mind may not even begin to cover it.  I'll do my best not to talk exclusively flip here.  I wouldn't want to bore you with daily updates of what trim I painted or what light fixture I installed.  Enthralling, I know, but I'll keep it to my weekly updates.

Returning to my own abode and veering slightly off topic- guest what finally got ordered!!!!!

mgbw sofa

After 3.5 years of complaining about my over-sized budget furniture store sofa, he's getting replaced with the gorgeous Diane from Mitchell Gold + Bob Williams!  She's certainly a splurge and will be the most we've spent on any piece of furniture ever.... but I intend on having this pretty lady around for a very long time.  Now I only have to wait about 8 weeks for her to come in (sadface).  Oh well, at least she's ordered!!!  Can you tell I'm excited?

I'll be daydreaming of my new velvetty sofa whilst I manage to cover myself with dirt, mulch, and paint over at Grover.  Happy Monday all!