Antiquey Goodness

Ok, let's try this post- Take 2!  (Take 1 was sacrificed to a frozen computer) I've been really trying not to add clutter to this house.  "Trying" is the operative word here.  The way I see it, when an item keeps nagging at you for almost a month, your intuition is trying to tell you to take it home.

Our story starts just about a month ago.  In my hunt for a cabinet for Millie the fliphouse (there's more story to tell here, but that'll be another day) I dragged Hubby to an antique shop around the corner from our house.  No cabinet fit the bill and we left empty handed.  On our way out, I quickly snapped this blurry phone pic of a rug.

instarug

And it proceeded to haunt me.  Why hadn't I asked the price?  Or looked at the size?  Where would I even put it?

A week and a half later it was still on my mind.

I swung by the shop to gather a bit more intel- size/price.  I had in my head going in that anything under $200 would be up for consideration.  Imagine my pleasant surprise when the price tag said $95.  Still, $95 plus the cost of a really good clean.... over $100 invested in a rug that I may or may not have a place for seemed a little steep.  I once again left empty handed.  Did I really need this rug?

I think you can see where this story is headed.

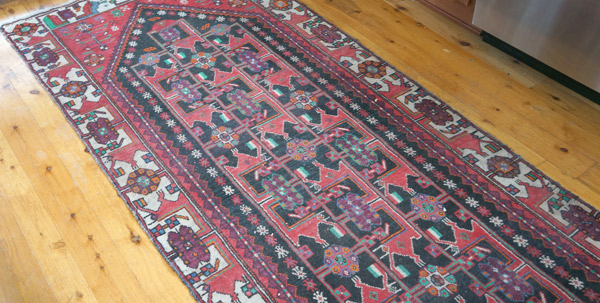
When another week and a half went by and it was still on my mind, yes, yes I really did need this rug.  On a whim this past weekend, I stopped by the shop on my way home.  Like many antique shops, they encourage haggling, so I made an offer of $65 expected to be haggled up to around $75.  After a quick phone call to the shop owner, my $65 offer was accepted with no counter!  Ok, if you insist.
antique-rug

At $65 plus cleaning, under $100 invested, I'm sure I can find a home for this guy either at my own home or as staging for my flips.  After it gets a nice, deep cleaning, it may find a home in our kitchen (as pictured below), our upstairs hallway if it fits, or maybe even Millie's kitchen.

rug-kitchen-1

So, do you agree with my nagging intuition- is this an awesome buy or what?

Handmade Holiday 2014

Last week I touched upon buying handmade and unique holiday gifts.  I couldn't very well ignore the option of DIY gifts as well, now could I? Admittedly, this year I haven't made the time to make personalized items for the special people on my list, but I certainly have an arsenal of DIY ideas in my archives that could be pretty awesome to unwrap.

My personal favorite for ease of creation, coziness, wearability, and all around utility is the infinity scarf.

infinity-model

Once you get the hang of making one, you can bang each one out in 10min or less with my infinity scarf tutorial from last Christmas.  All you need is a yard of fun jersey fabric and a sewing machine!  (side note- Girl Charlie has some stellar jersey fabrics available)

For the lover of tech and all things beautiful, how about an iphone dock made from an old book?

iphone-dock-2

or maybe a custom ipad case?

DIY vinyl ipad case

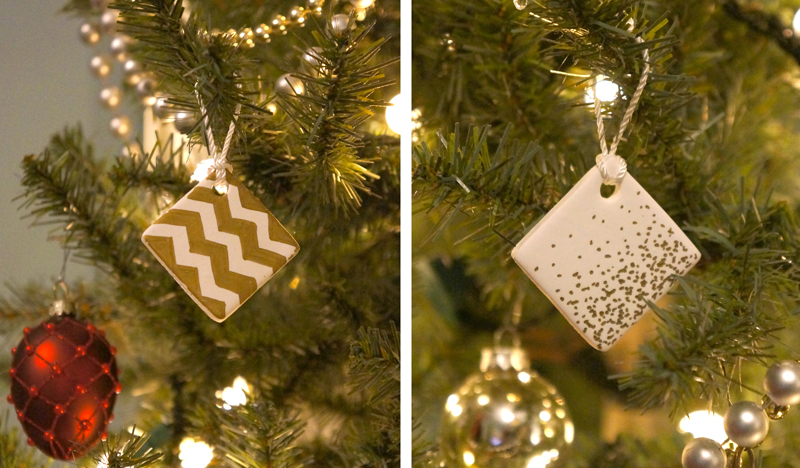
For the Christmas decor addict, you really can't go wrong with a chic ornament like these rustic wooden bead ornaments or clay patterned ornaments.

2013-ornament-1

diy clay ornaments via yearofserendipity

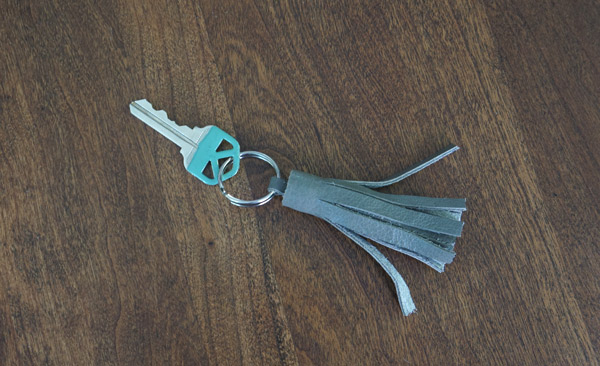
Invited to an endless number of holiday parties and don't want to show up empty-handed?  How about a cute leather tassel keychain as a hostess gift?  Or take this to the next level and attach a tassel to napkin rings... or remove the ring and add a hook for a Christmas ornament.  Oh the possibilities!

DIY-leather-tassle-key-chain

That's the fun part about handmade gifts, isn't it- the possibilities?  You can really customize something that your loved one will truly appreciate.


Millie: Week 15

I hope you enjoy these weekly updates as I learn to navigate through the business of flipping houses.  This flip, Millie is the most challenging and most exciting yet! You can find more about this house and about my 3 previous flip houses here. Guys, this is the week I've been impatiently waiting for.  The stars aligned, contractor's schedules cleared, and progress finally took leaps and bounds.  Glorious progress.  It's not the glamorous things like tile or paint JUST YET, but everything that happened this week means that those are not far away.  *relieved happy dance*

This may look like a mess to you, but to me I see wiring for sconces, plumbing for the new sink and wall mounted faucet, and it's just waiting for me to enclose it all with shiplap.

millie-w15-master-bath

The upstairs bathroom now has this great thing called a sub-floor.

millie-w15-bathroom

Nice and sturdy.  Next up comes the backer board and then next week, tile!  (once the hot/cold supply lines for the sink get moved into the wall for the wall-hung sink.... I just noticed that now)

While the heating system was down for a few days, my wood flooring guys pulled out all of the radiators on the first floor in order to sand under them.  While they were sanding, I was cleaning each of them and giving them a fresh coat of spraypaint.  All 6 radiators on the first floor are looking shiny and clean (pay no attention the messy walls behind)

millie-w15-radiators

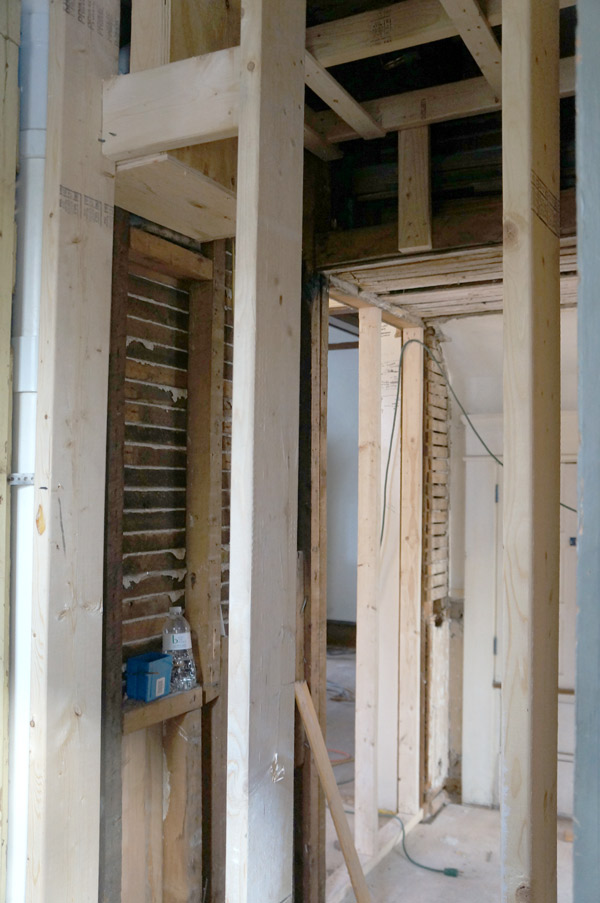
In the very near future, the below view will no longer exist- it will be staring at a wall.  The new master closet walls and ceiling are now completely framed in and awaiting electrical then drywall.  Drywall for that area will be a HUGE turning point in which I will no longer be able to walk through the kitchen or back hallway into the new master suite.  I hear people like privacy in their bedrooms.

millie-w15-master-closet

While my plumbers, electrician, contractors, and flooring guys all plugged away this week, I kept myself busy as well.  The smallest task of which was replacing every knob and deadbolt on the exterior of the house except the front door so they now all use the same key and I don't have to walk around like a janitor with a ring of keys.  Down to 2! Front door and everywhere else.

I also got busy and fixed up and refinished the dresser that I will be using as a vanity for the new master bath.  This will be it's own post later on with much more detail.  The color is nowhere near accurate- it's a nice blue/gray that will look dreamy under the carrara marble top it will eventually have.  It is apparently difficult to photograph by candlelight with a single plug in light.  Still no overhead lights in this house, but we're getting closer!

millie-w15-vanity

With the upstairs totally wired (buhbye knob and tube!), the only room up there in need of construction is the bathroom.  The 3 bedrooms are ready for me to patch, paint, and make pretty.  So that's what I've started on!  Some walls are covered in wallpaper with about 17 layers of paint and other walls are completely sans wallpaper and showing off the rough, unfinished plaster.  Either way, they need some serious smoothing.  I've started skim-coating (thin layer of plaster patch).  The hallway is all coated and so is half of the former master bedroom.

The rough raw plaster is on the left and the right is my new skim coat.

millie-w15-skim-coat

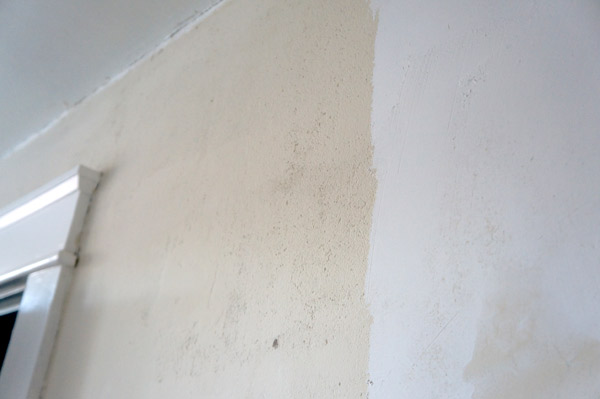
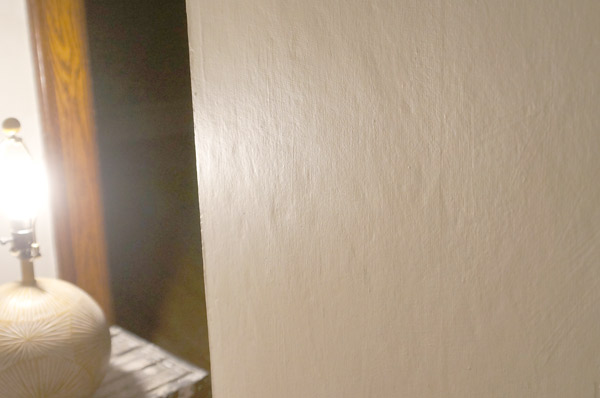
Once everything is dry, I'll need to go crazy and sand everything, but the nice, smooth, regular walls will look sooo clean and fresh!  Just check out the texture of the hallway walls before:

millie-w15-hall-wall-rough

And now with a fresh coat of plaster in need of being sanded:

millie-w15-hall-wall-smooth

If I can power through the wall patching and skim coating, maybe some painting will happen next week!!!  I'm not eager for that or anything....

Fingers crossed, but if all goes according to plan, next week you'll be seeing, paint, tile, and maybe even a light fixture or two!

Have a wonderful weekend!