Holiday Roundup

52c64491697ab07e880163c5._w.1280_h.1280_s.fit_.jpeg

Can you believe Christmas is already a week away?  It's a stealthy little minx, huh?  I figured I'd pop in today with a rare Thursday post to make up for my lack of posting yesterday with a little bit of festive inspiration.  Lately I've been loving all of the holiday DIYs and home tours that I just had to share some of the highlights with you. **As per usual, please pin responsibly.  Please click through to the original sources to pin from.  Muchos gracias!!**

I was scrolling down my facebook feed the other day and was stopped dead by this adorable tree topper featured on an Apartment Therapy home tour.  It just goes to show that despite seemingly every tree in blog-land being curated and themed, you can still accomplish a chic, stylish tree with mis-matching and personal ornaments.  Whoooo knew?  (pun intended)

Apartment Therapy Organic Modern Home Tour

I'm absolutely in love with Nicole Balch's holiday mantle over at Making it Lovely.  What can I say, I'm a sucker for a good silver gold and white combo- much like my own tree.

Making it Lovely's Christmas Mantel

If you're in need of a super simple way to style up your holiday buffet, might I suggest popping over to Little Green Notebook where she created this stellar buffet backer (again with the puns).  What I love most about this idea is that you could bring the chalkboard backer out for the next event and draw a different backdrop.  Confetti for New Years, candles for a birthday, or even a beautiful hand written meal menu.  I think I may need to be making one of these in the future. (And hello, can we PLEASE swoon over her chevron floors and well styled bookcase)
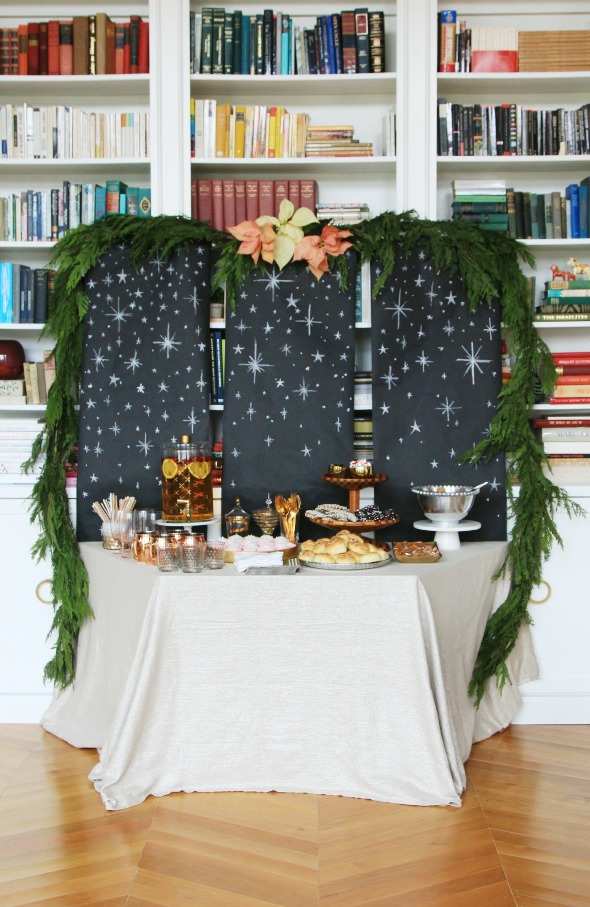
Little Green Notebook Starry Holiday Buffet

I've never been hugely into the holiday pillows thing, thinking it was a little kitschy, but once again Madam Emily Henderson proved me wrong and killed it with her glam holiday decor this year.  Somehow she seems to always manage to create rooms that are simultaneously ready for a magazine cover and invite you to curl up and get comfy at the same time.  Not an easy feat.
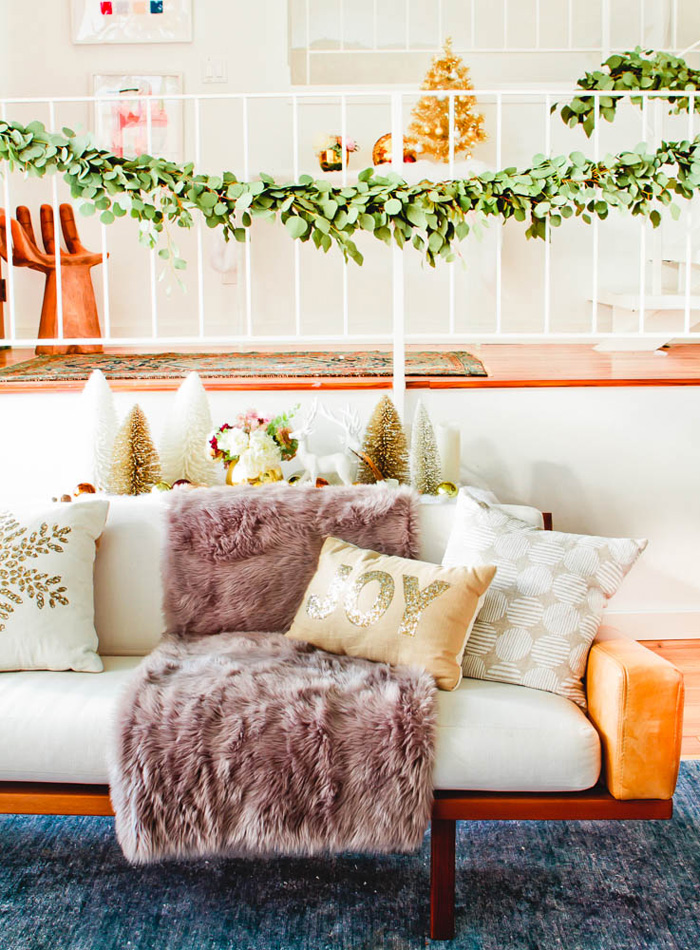
Emily Henderson Glam Home Holiday Tour

I've never been the biggest fan of the standard wreath for indoor decor.  Luckily for me, lately anything in a roughly wreath-like shape can pass for festive and I'm loving the creative options!

These cut wood wreaths from Sarah M. Dorsey are so simple and pretty.  With different decorative elements added, these could almost last year-round on a front door.
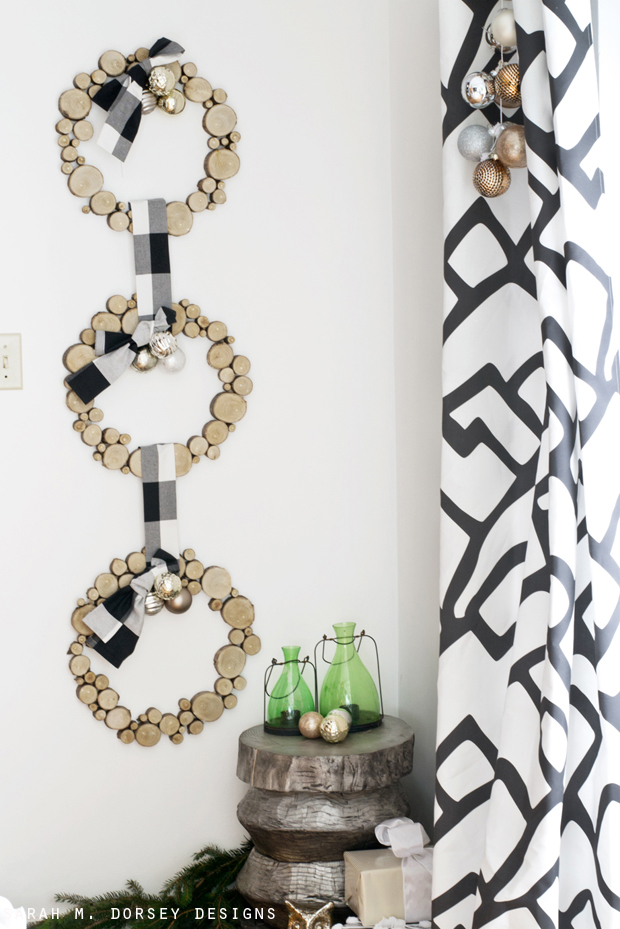
Sarah M. Dorsey wood slice wreath

Along the same general shape lines, I've seen several versions of PVC pipe wreaths like this one from A Beautiful Mess and I love them all.  Maybe because it involves gold spraypaint.  I would probably like almost anything if you spray it gold.

A Beautiful Mess gold PVC pipe wreath

The most unexpected wreath, but so simply chic is this geometric floral wreath from Brittni at Paper n Stitch.  This one might convert me to being a wreath-year-round type of gal.

Paper n Stitch geometric floral wreath


Looking at all this awesome holiday festiveness is getting me in the mood to wrap presents!  How have you gotten in the holiday mood this season?


Holiday Baubles and a Speedy DIY

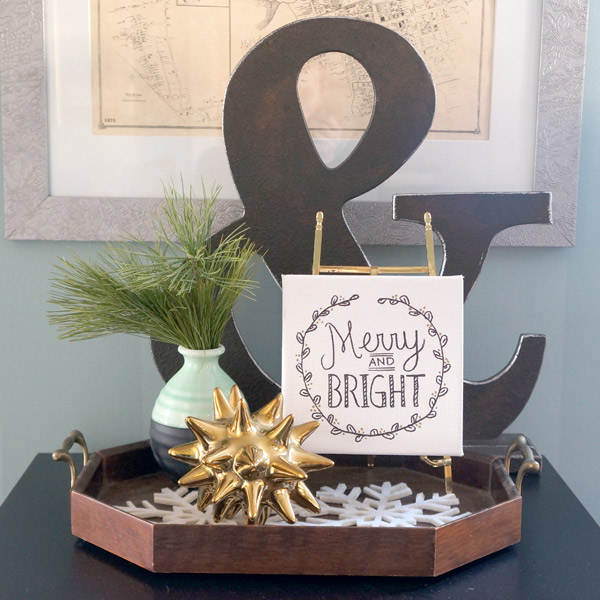
The stockings are hung by the mantle with care..... I lie, we don't have stockings OR a mantle, but the holiday decorations are officially up!  Before I give you the full festive tour, I wanted to show you a quick and easy DIY that keeps putting a smile on my face. merry-bright-2

This adorable little "Merry and Bright" canvas was seriously simple guys- the most time-consuming part of this process was scouring pinterest for inspiration.

The lengthy list of supplies includes:

  • a sketch pad to practice lettering and plan out the design
  • a pencil
  • a 6x6" canvas
  • a black sharpie and (optional) a gold sharpie
  • an eraser

Since I already had all these supplies chillin' around my house, this project was essentially free.

First, I took to my sketch pad.  I traced the outline of the canvas and started playing around a bit.  I'm not a calligrapher or hand-letterer, so I needed a little practice and prep before hitting my canvas.

merry-bright-sketchbook

Once I was set on the design and style of lettering, I took my pencil lightly to the canvas (so that erasing the pencil marks would be no problem later).  After a little trial and error, I was able to get the spacing just right and move on to my sharpie.

merry-bright-canvas-sketch

The key here is to try and do everything in smooth strokes and not to think too much.  Who cares if that one line isn't bone straight, that's the beauty of hand lettering.  Once you've sharpie'd the whole design, go back and gently erase all of your pencil.

merry-bright

Aside from my one wavy letter (I'm looking at you, Mr. T) I'm over the moon with how simple and chic it came out.  Just as I had pictured it- festive, graphic, and not too kitschy.

merry-bright-3

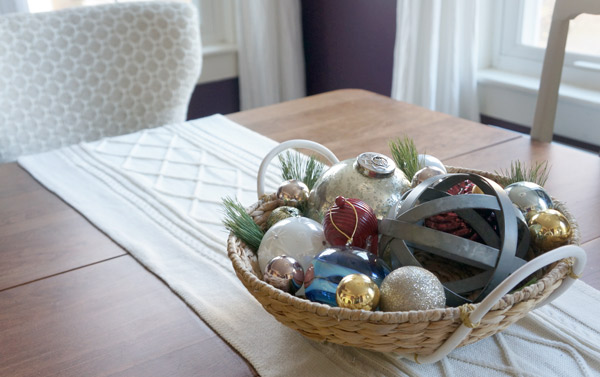
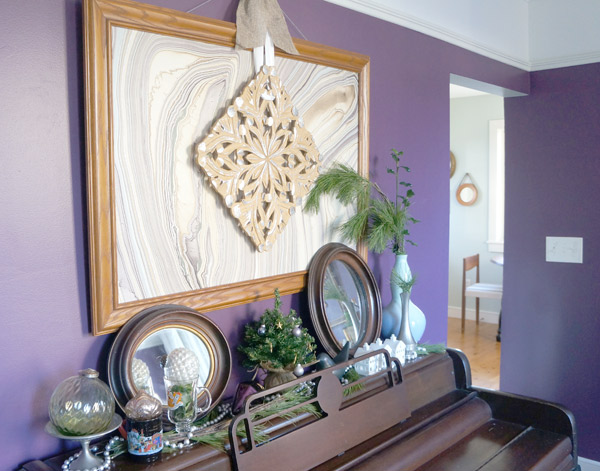
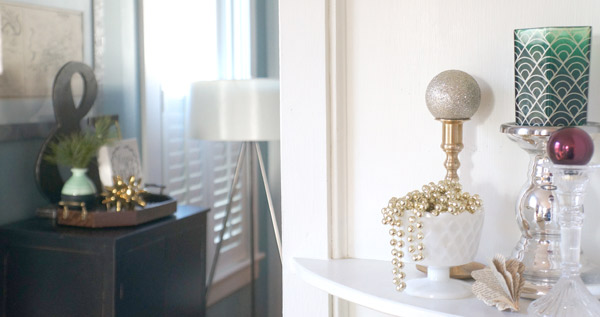
It compliments the rest of my holiday decor nicely.

2014-holiday-decor-2

2014-holiday-decor-3


2014-holiday-decor-5

2014-holiday-decor-9

Looked a little different last year without the bookshelf, no?

holiday-decor-1

And one more reminder of the cute and festive DIY.

merry-bright-3

I hope your holiday season is "Merry and Bright"!!!

This project is linked up over at Newly Woodwards Dare to DIY link-up.  Go check it out!

Millie: Week 16

I hope you enjoy these weekly updates as I learn to navigate through the business of flipping houses.  This flip, Millie is the most challenging and most exciting yet! You can find more about this house and about my 3 previous flip houses here. Guess what happened yesterday.

millie-w16-bathroom-tile

Why yes, that IS tile on the wall of the upstairs bathroom.  The other half of the bathroom is still tile-less until next week, but YAY PROGRESS!!!!  The floor tiles I started dry-fitting, so they aren't adhered down yet- that will probably be today.  The quicker that I can get this floor done, the quicker I can get a toilet back in this house!  Yes, I have been toiletless for 9 weeks.  Well not toiletless per se... I do have 4 toilets on site.... just none of them working.....

If you remember last week when I noticed that the wall-hung sink supply lines were coming out of the floor, not the wall as needed.  That issue got fixed, but not without causing more work and more cost.  My fave.  Since the bathroom floors had already been closed over, I had to open up the ceiling below which falls in the basement stairwell.  More work for the drywallers (hopefully) next week.  It was either this or get a new vanity which would end up costing even more.

millie-w16-cellar-ceiling

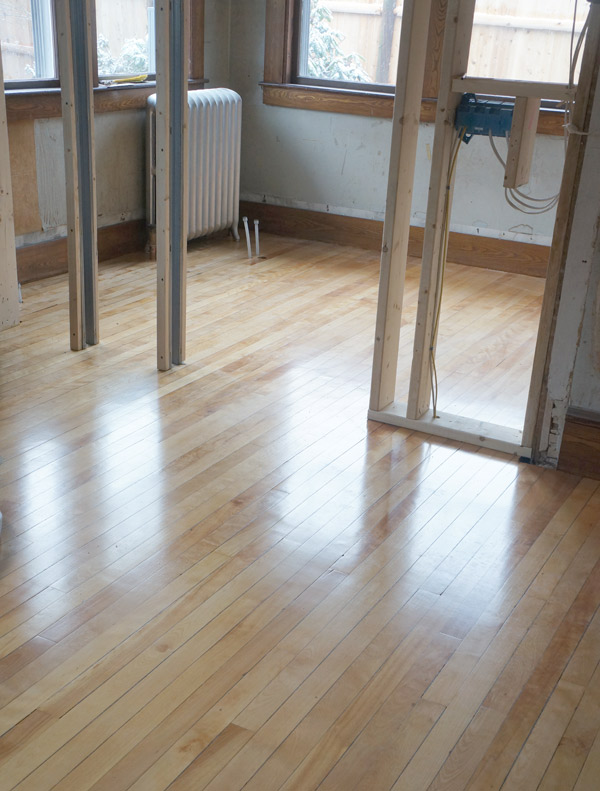
And while we're sort of still on the topic of bathroom floors- the wood floors in the downstairs new master suite got sanded down and 2 coats of poly.  I'll give you a moment to appreciate the 100 year old floors.

millie-w16-wood-floor

Now I can finish walls and put down fixtures on top of a sealed floor.  Once the entire house is done, my floor guy will come back and do a final coat so they'll be super snazzy for selling.  The rest of the floors on the first floor will also be getting refinished, but since this is the only space getting plumbing fixtures on top, this area got refinished first.  Aren't they pretty?

I, on the other hand spent a good part of my week staring at much less pretty surfaces..... wallpaper.  I am elated to say, however that the 2 upstairs bedrooms that still had wallpaper left over are now wallpaper free.  (a friend stopped by yesterday and was disturbed at how garish the pink trim is in person.  I wish the images could truly capture the acid pink color)

millie-w16-pink-room

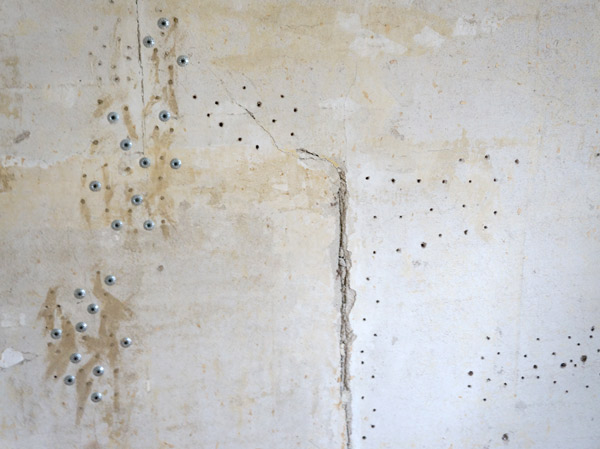
Next step now that the wallpaper is gone is to patch several holes and try and repair the loose plaster.  I've been working on a test spot in one of the bedrooms.  When plaster and lath walls settle, the 2 layers can separate making the walls bouncy and unstable.  After much internet research, I am testing out one method on the left.  I have drilled holes through the plaster only and injected adhesive.  The screws and washers are holding the plaster firm while the adhesive hopefully dries.  I'm crossing my fingers that this adhesive works since I wasn't able to get ahold of the specialized adhesive that several sites recommend.  Does anyone have experience repairing plaster??  If so, what adhesives did you use?

millie-w16-plaster-repair

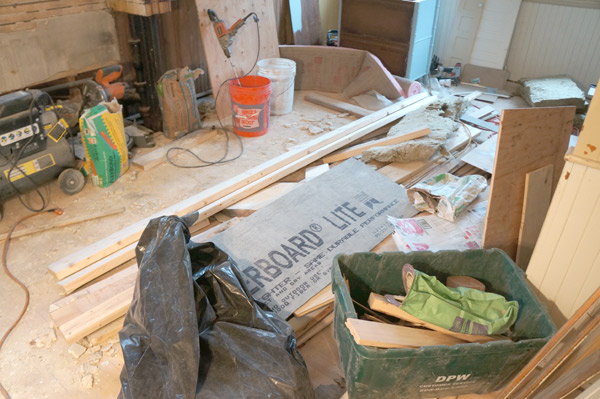
I also went into manic organizing mode yesterday.  With flooring guys, contractors, plumbers and an electrician in and out, somehow the kitchen has been sacrificed in the name of construction mess.  And it makes me twitch.  I'm embarrassed to admit that the rest of the house was only marginally better.  No wonder I couldn't focus to save my life!  I'm the type of person that feeds off my surroundings (probably why interior design means so much to me).  If my environment is a disaster, chances are, so am I.  After a few days of getting anxious and not being as productive as I usually like, I realized I needed to hit 'reset' on the mess and find some zen.

millie-w16-kitchen

I've already talk to the contractors and their messes will soon be wrangled, so I focused on the rest of the house that I could organize.  My organization of choice on the job site is 5 gallon buckets.

millie-w16-buckets

This pile of buckets may not look it, but it's super organized.  One bucket holds cleaning supplies, another sandpaper, another caulk and adhesives and another tapes (electrical tape, drywall tape, painters tape, etc).  With the clutter on its way to being under control again, I'm hoping I can find my deep focus once again and bang out the upstairs bathroom floor.  And maybe, just maybe, I can get a working toilet back in the near future!