Padding the Issues

I have a very deep and important topic to discuss with you today.  Rug pads.  Wait, don't go!!!  I'll try and make it exciting! When Rug Pad USA reached out and offered for me to try their product, saying I was skeptical was a bit of an understatement.  Rug pads rank on my priority list right below fixing my dripping faucet and right above cleaning under the bed.  For example, we have an area rug on our carpet in the bedroom.  Our bed's legs cause the quality IKEA rug to pucker something fierce.  A nicer rug with a proper rug pad would probably have no issue in this situation.  My solution: stick a stiff carpet sample under the bed legs for support.  It has sat like that for over 3 years.  Just call me MacGyver.

My biggest rug pad situation (yes that's a thing) was in the kitchen.

Year of Serendipity two-tone kitchen with flat weave runner

Flat weave runners are delightful on the eyes, but have little to no 'stay put' power on their own.  Also being in the kitchen, Hubby requested, back when we got the rug, something cushy that would be good for standing.  Again, MacGyver had a solution!  I folded up a regular rug pad for more cush... and then when it kept going askew, I splurged for "As seen on TV" Ruggies.  This solution was acceptable... the Ruggies kept the 4 corners in place and the folded pad was pleasing to your feet, but the pad kept bunching and although the 4 corners stayed in place, the center of the rug liked to go it's own way.

bad-rug-pad-fix

So when Rug Pad USA asked if I'd like to try a rug pad, my thoughts immediately went to that wonkiness.  I'm willing to give almost anything a try and really, it couldn't be any worse than my makeshift solution.

When I took the Premium-Lock rug pad out of the packaging I was intrigued- gripping rubber on one side and coarse felt on the other.  Seemed promising.

Rug pad USA premium lock rug pad

The second I put it down and placed the rug on it, my rug pad skepticism flew out the window.  The rubber held the pad onto the hard wood floors and the texture of the felt kept the rug in place.  I even gave it the twist test.  Are you familiar with this test?  Stand on a rug and... do the Twist!  It didn't budge.  You win rug pad.

I dig the rug pad so much I'm most likely going be getting another for the flat weave rug at my front door.  I won't lie though, it's tough convincing myself to spend more than a few dollars on something I'll never see, but I don't think my feet can ever go back to my previous go-to of "the cheapest rug pad I can find".  Cheapskate Frugal skeptic MacGyver here even sees the value.

Flat weave rug staying put with big girl rug pad from Rug Pad USA

The design nerd in me also really appreciates that they're made in the USA, have no VOCs and several (like the one I received) are LEED certified.

If you don't believe me, test it out yourself.  Use the code pr15off to get %15 off a Rug Pad USA rug pad of your very own and let me know your thoughts!

***Rug Pad USA did send me a sample to review, but all words and opinions are 100% me (for better or worse).  They actually encouraged my full honesty in the interest of market research.  Now there's someone who stands by their product!***
DIY 101: Recovering a Chair

Let's start at the very beginning- a very good place to start.  When you read you begin with A B C, when you DIY you begin with... recovering a dining chair.

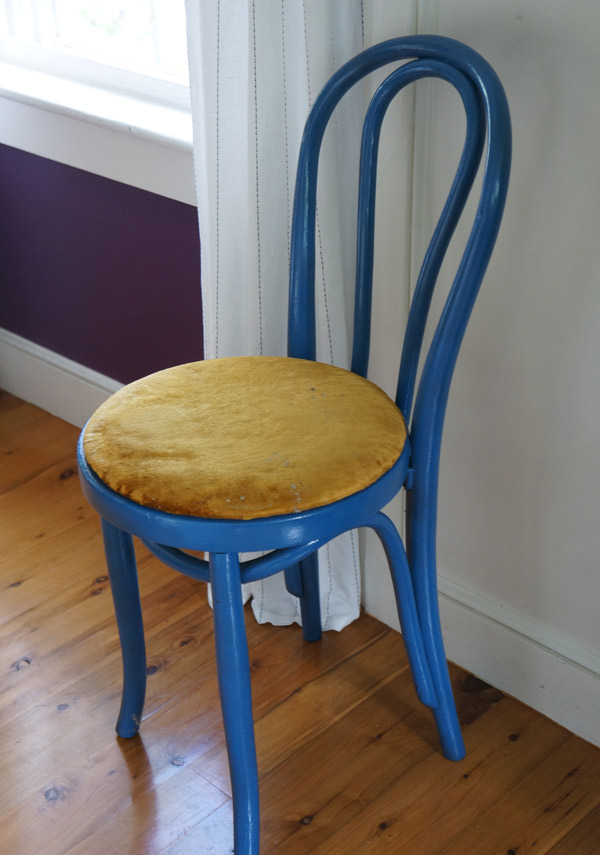
diy-101-dining-seat before

I know I often do more involved DIY's but sometimes I forget to share the basics.  So I figured let's start with DIY 101.

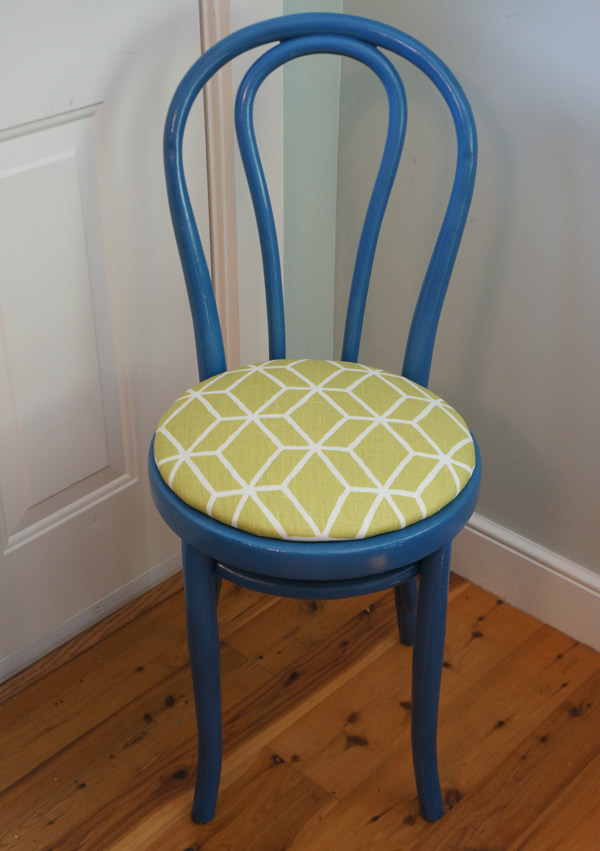
Recovering a chair can seem intimidating to start off, but once you realize how easy it is to recover the seat, you'll want to keep doing it!  Maybe that's the root of my chair addiction.  As you can probably guess with this chair, I've already attacked it with a vibrant blue spray paint.  No matter what color the frame, however, that orange velour seat would need to go.  Far away.

First you need to remove the seat.  Normally it's held on with a few screws from under the chair.

DIY 101: How to Recover a Dining Chair via Year of Serendipity

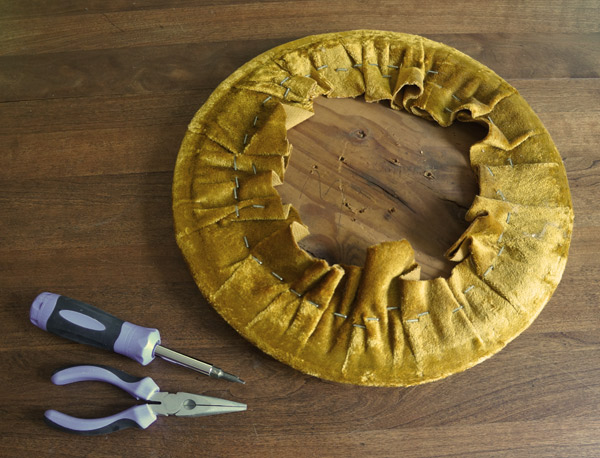
Once your seat is free, go ahead and grab pliers and a flat-head screwdriver and start prying out the old staples.  If your seat is in decent condition and the cushion is still adequate, you can always skip this and cover right over the old fabric.  If that's the case, skip down to the fabric step.

DIY 101: How to Recover a Dining Chair via Year of Serendipity

You'll need to take the staples out to free both the fabric and the underlying foam.  I promise, this is the most tedious part, so if you can make it through this- you got it!

DIY 101: How to Recover a Dining Chair via Year of Serendipity

Now for the fun part- putting it all back together!

I used 2 layers of dacron batting for my cushion.  If you want something squishier, you can use a layer of 1" foam with a layer of batting over it to smooth it.

DIY 101: How to Recover a Dining Chair via Year of Serendipity

Start by stapling the top, bottom and 2 sides about 1" in from the edge.

DIY 101: How to Recover a Dining Chair via Year of Serendipity

DIY 101: How to Recover a Dining Chair via Year of Serendipity

After stapling the 4 sides, go ahead and staple all the way around and trim the excess batting.

Next you'll need to position your cushion on the back of your fabric.  Make sure if you have a directional pattern like a geometric or stripe, that you have the pattern oriented as you'd like to see it on the chair.

DIY 101: How to Recover a Dining Chair via Year of Serendipity

Now, with the fabric, you'll want to first staple the 4 sides as before.  Staple in just a bit from where you stapled the foam so that the fabric will cover it.

DIY 101: How to Recover a Dining Chair via Year of Serendipity

Once you have the sides stapled, work inward from each staple.  You want to make sure not to pull the fabric tight otherwise you'll see the stretching.  Instead, use your full hand to smooth the fabric tight like so.

DIY 101: How to Recover a Dining Chair via Year of Serendipity


Create pleats in your fabric as necessary as you go.  You won't see these on the finished product, but it will help your pattern sit properly.

DIY 101: How to Recover a Dining Chair via Year of Serendipity

Continue this all the way around until your entire seat is stapled.

DIY 101: How to Recover a Dining Chair via Year of Serendipity

Once the stapling is set, trim your fabric at least a half inch from the staples- any closer and your fabric may fray.

DIY 101: How to Recover a Dining Chair via Year of Serendipity

Once trimmed, you get to turn the cushion back over an admire your handy-work.

DIY 101: How to Recover a Dining Chair via Year of Serendipity

Reattach it to the chair and enjoy the fruits of your labor!

DIY 101: How to Recover a Dining Chair via Year of Serendipity

See, that wasn't so hard, was it?

DIY 101: How to Recover a Dining Chair via Year of Serendipity

DIY 101: How to Recover a Dining Chair via Year of Serendipity

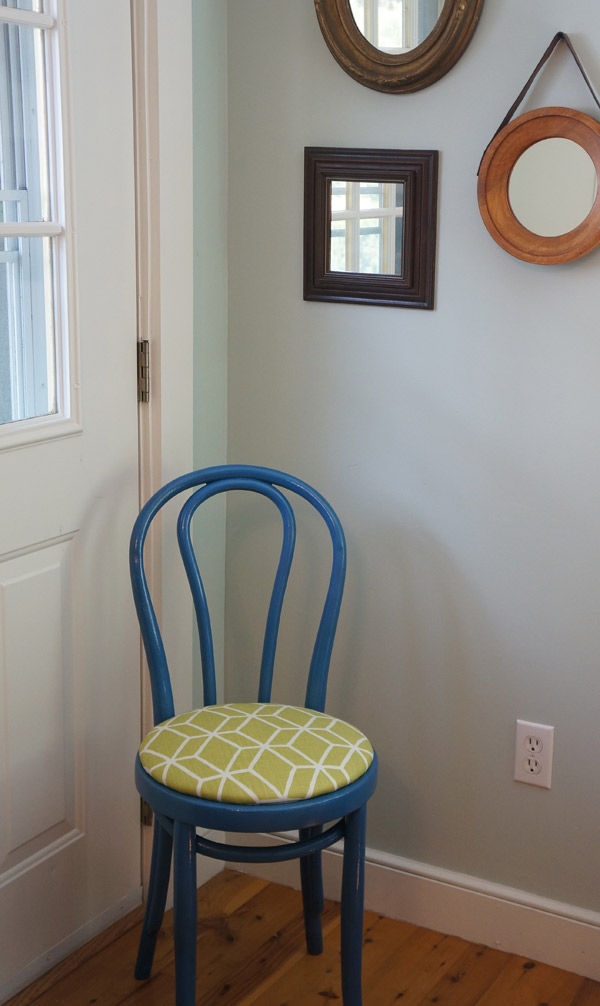
Now you're ready to give your dining room a whole new look!


Revived Luggage Rack

On Monday I showed you the "before" a beaut of a luggage rack that was mid-makeover.  I was planning to fix it up to put out for sale at our tag sale this weekend, but a friend offered to adopt this little guy instead.  I hope she loves how he came out as much as I do! Vintage luggage rack before via Year of Serendipity

I rescued it from an estate sale several years ago- I think it was $15.  I loved the shape and the potential history, I just couldn't let it end up in the trash.  But it did need some love.

Vintage luggage rack before via Year of Serendipity

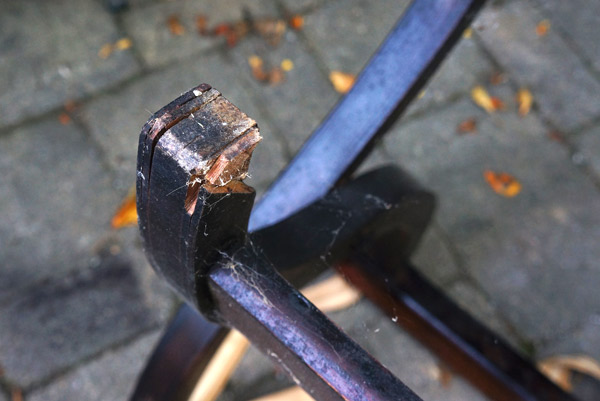
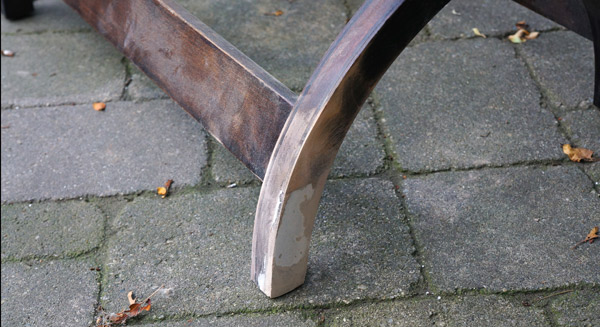
In addition to obviously needing new ribbon and refreshed stain, the bottoms of the legs were coming apart and had some severe chipping.Vintage luggage rack before via Year of Serendipity

Using wood glue, clamps, and wood filler, the legs were all patched up.

Vintage luggage rack repair via Year of Serendipity

*tip* I prefer using Dap Plastic Wood to fill blemishes on stained pieces.  I tried both that and Minwax's Wood Filler (since I ran out of Plastic Wood mid-project) on this and I confirmed my previous ideas that the Dap is easier to work with and takes stain better.  It'll never act like real wood, but I've found this to be the closest.  Not sponsored, just wanted to share my experience.

Vintage luggage rack repair via Year of Serendipity

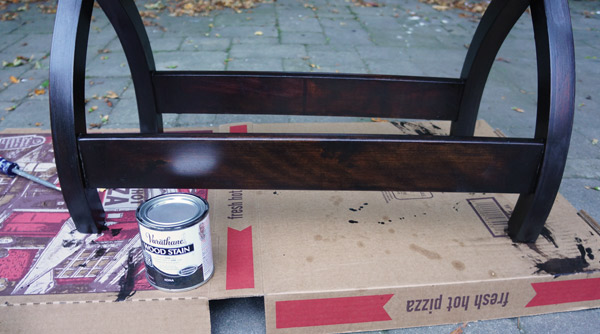
Once everything was patched, I stained just the parts that had been patched so they'd blend more once I applied the final coat.

For the final coat I decided to try a new stain- Varithane Wood Stain.  There was mixed reviews online, but I found it to be exactly what I was hoping- thicker than regular stain, but not as annoying to work with as Polyshades (which acts more like a translucent paint).

Vintage luggage rack stain via Year of Serendipity

Now for the fun part- putting the new ribbon on.

Vintage luggage rack ribbon via Year of Serendipity

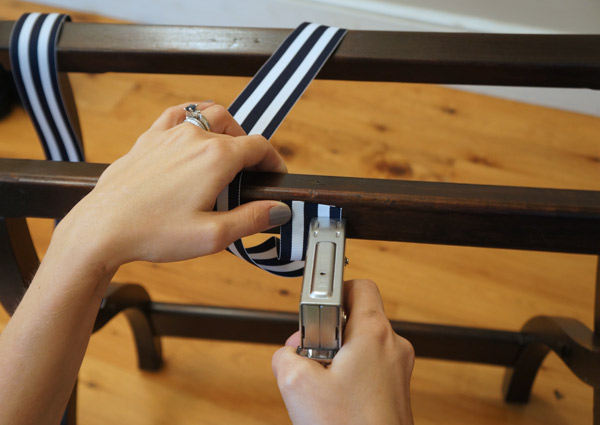
I used staples to secure the ribbon, knowing they'd be hidden when I folded the ribbon over and put on decorative brass nails.

Vintage luggage rack ribbon staple via Year of Serendipity

Because they didn't go in 100%, I hammered them flat so that there would be no bumps when I folded the ribbon over them.

Vintage luggage rack ribbon via Year of Serendipity

So, a little DIY admission here- this was my first time ever using decorative nails and it wasn't as easy as it looks. With the hardness of the wood I was working with, they did want to go in without bending.  After much trial and error, I ended up creating the holes with an awl first, then hammering in the nails the rest of the way.

Vintage luggage rack brass nail head via Year of Serendipity

I'm glad I made it work, because look at him now.  All nautical and sexy.

Vintage luggage rack after via Year of Serendipity

Just look at him in action!

Vintage luggage rack after via Year of Serendipity

Fun fact: the blue case is actually an accordion.  My dad's from when he was little that was rediscovered when cleaning out his Aunt's house a few years ago.  Priceless.