Grover: Week 17

I hope you enjoy these weekly updates as I learn to navigate through the business of flipping houses.  Check out more about this flip, Grover, or check out posts about our last flip HERE.

Things are starting to finally look like a finished house!  Are you happy dancing with me??  The only unfortunate thing is that you only get iphone teaser pics in this post though- I can't give it all away before the big reveal post next week!!!  He's a beaut though!

w17-bathroom

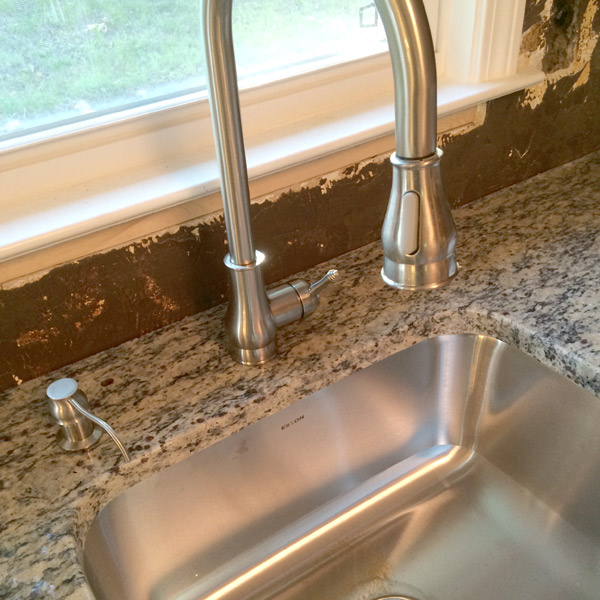
For the first time since I bought this house, I can actually wash my hands in the sinks!!  For the past 17 weeks, there's been lots of purell, moist towelettes and washing things with the outside faucet.  It really got old bringing my brushes home and washing them every night.  But no more!  The kitchen sink works too!  I hear that's good for resale.
w17-kitchen-sink

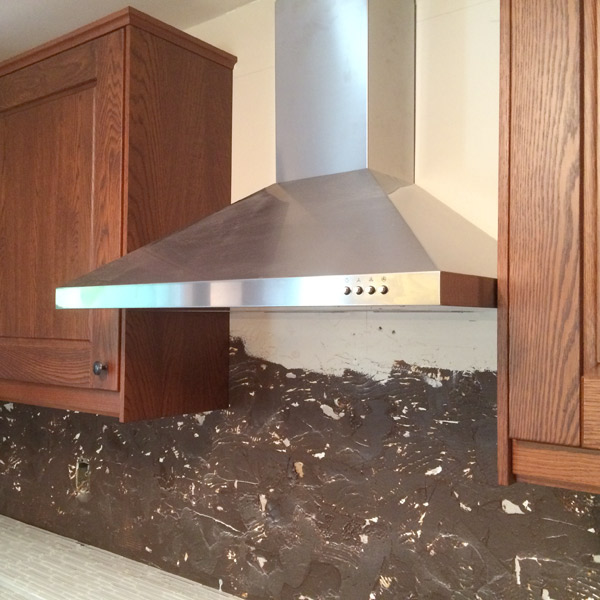
AND there's some pretty nifty granite countertops in there.  AND a sexy stand-alone vent hood.  Clearly I have some tiling work to do today.
w17-hood

In less shiny and exciting news, I've painted and installed baseboards!  This might only be exciting to me, but it instantly made the rooms look finished.

w17-base-boards

and because I can't resist showing you the dining room built-in again.

w17-dining

Meanwhile in the basement in the weird, creepy room with the garish glossy orange wood paneling......

w17-paneling

It's fresh, white, bright, and no longer creepy!  I was so excited that I couldn't even take a clear pic.  I did hire the same painter who did the exterior foundation to come spray this room.  A job that would have taken me probably a week too him a day with his industrial sprayer.

House clean-out has also commenced... this is going to be my least favorite part.  I got a second dumpster to clean out the piles of trash that have been piling up in the garage.

w17-dumpster

I'm also planning several trips to my town's recycle center (they even recycle styrofoam!  #natickftw).  So if you ever need to know how much cardboard can fit in a CX-9, the answer is approximately a sh*t-ton

w17-cardboard

The only major items left on my list before Tuesday's photoshoot and listing on wednesday are tiling the backsplash, painting over the neon seafoam garage walls, and painting the stairwell to the basement.  Everything else is minor touch-ups.  Cross your fingers, but I think I can actually get this done in the next few days!!

5 Ways to Style a Shelf

Yeah, I'm a little one-track-minded right now.  If you don't want to talk flip, we probably shouldn't have a conversation until late next week.  We're listing Grover a week from TODAY and I'm in Git-r-done mode!  That being said, I'll attempt to pull my head out of the flip for just a little bit to bring you the latest installment of 5 Ways!  Since I showed you my updated and styled flip built-in on Monday, I thought we could keep with that topic: 5-ways-to-style-a-shelf

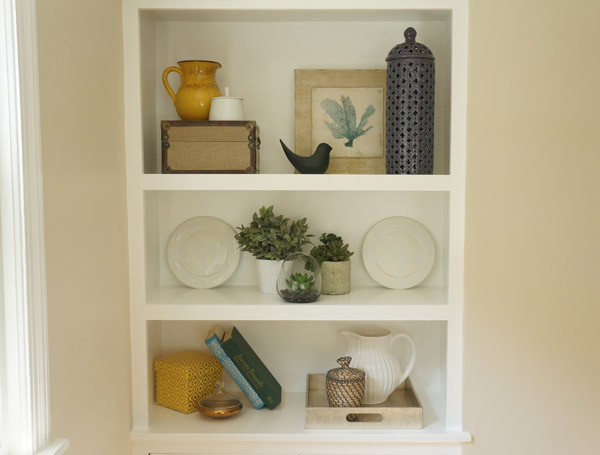
1.  Group like items to show off a collection.  For my updated built-in, I grouped these 3 not-so-real-but-not-too-fake-looking plants to add a bit of life and greenery.  Each having a different height and material makes it interesting, while the faux (sounds so much more sophisticated than fake) greenery unifies them.

built-in-close-up-3

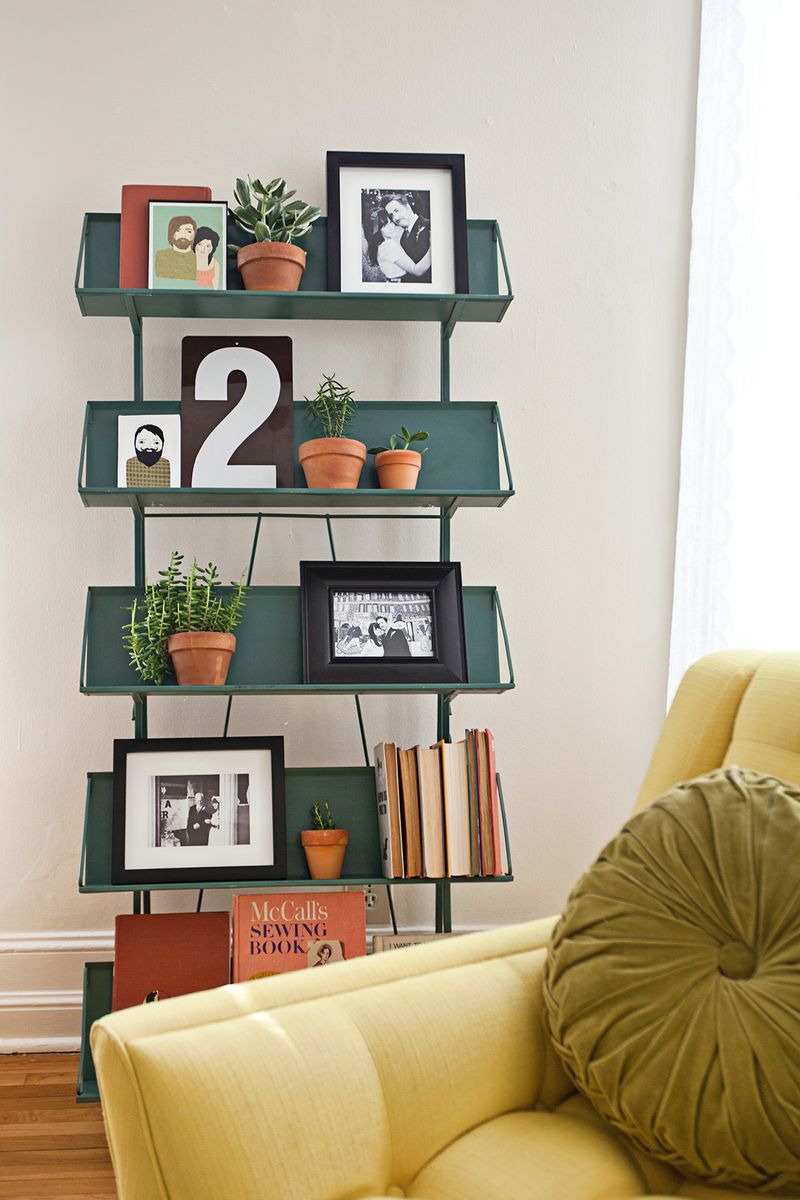
2. Speaking of height... Make the eye travel.  High-low-high, low-high-low, high-low.... you get the idea.  If you vary the height of the items, it will help the eye travel along the shelf.  This keeps it from being stagnant and boring.  Elsie's living room shelves are a shining example of this- via A Beautiful Mess

a beautiful mess- elsies living room shelves

3. Odd numbers are more pleasing.  Don't as me why, they just are.  3 and 5 are my golden numbers usually.  Check out this styling from Centsational Girl- each shelf holds an odd number of items (i'm counting small items, like the little towers as one visually)

bookcase-styling-centsational-girl

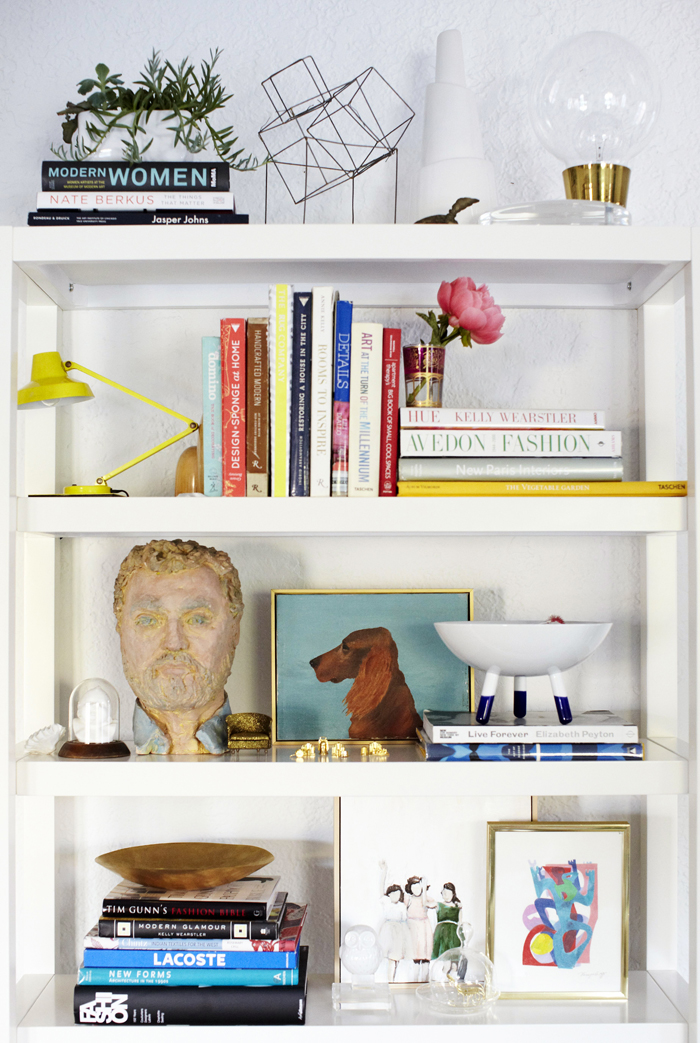
4. Layer.  Lining up your treasures all in a row might look nice and ocd, but imagine how amazing they'd look if you overlapped them a bit.  Over lapping just a little helps to create groupings, depth, and interest without obscuring the items.  Emily Henderson is probably the queen of layering decorative objects- just look at this bookcase from her prior living room.

Emily Henderson shelf layering

5.  Break all the rules!  What??  That's right, I said it!  Styling a shelf, above all is about showing off what you love.  Do you have 4 photographs you want to display?... but that's not an odd number.  Who cares.  Do you like the way it looks?  Good.  Do it.  That's right, I have 2 gold mirrors on my bookshelf.  Gasp... an even number! I'm a rebel.

styled plant hand shelf via year of serendipity

Happy styling!!

UP-Dated Built-in

WARNING: long post ahead!  But don't worry- it'll be informative AND have a few pretty pictures! When I'm coming up with my plans for my flips, there's a delicate balance between keeping original charm and getting rid of dated design features.

Exhibit A

Dated scalloped built in before

Built-in = original charm..... almost arm-deep = awkward......scallops = dated!

I think the scallops were the first thing I ripped out in the house.  I attempted to remove the fake wood paneling from all 3 sides of the shelves, but I just couldn't get in there without causing injury (even my attempts caused several bruises and band-aids).  For the past 4 months, the poor built-in has sat in this sorry state:

build-in-demo

build-in-demo-ceiling

But I had a plan for it!  And now, I think it's hitting all the right notes!

Dated built in after via year of serendipity

Original charm- CHECK

Fresh and clean-CHECK

Usable space-CHECK

Free of awkward and dated design features- CHECK CHECK!

Dated built in styled via year of serendipity

It surprisingly only took me a day to build.  Wood working projects are probably the most fun for me- that and tiling.  You see things come together right before your eyes.


Supplies:

2x4s for structure

thin plywood for the sides, back and 'ceiling' on the top shelf (I actually used materials left over from the bathroom paneling)

1x2 pine decorative trim

Screws and nails


Half of the work in projects like this is just the figuring out and planning what you want to do.  The other half is playing with power tools (fun AND fun!)

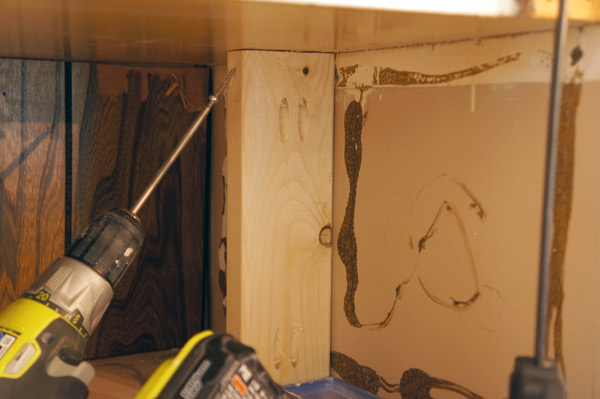
My first step to make my plans happen was to create a new structure with 2x4s to reduce the size of the shelves.  I pre-drilled screw holes using my Kreg jig, however, even the best laid plans don't always work out.

built-in-building

I forgot to take into account the size of the drill and it wouldn't fit in the 2 shorter shelves to allow me to use my carefully planned holes.  Womp womp.  Luckily, I was able to screw in the side and no one will be able to tell in the end.

When installing the 2x4s, I made sure to use my level so that each piece of the hidden structure would be straight.

built-in-structure

Next it was ply-wood's turn.

build-in-plywood

I put a piece of plywood on the new back as well as on both sides since the side walls were a bit damaged.  I'll admit, the back 'wall' between the 2x4s is a little bouncy, but since the back is purely decorative, I opted not to add additional structure.

build-in-plywood-done

Looking better already!  Next it was time for the finish trim.  This was the part that really modernized this project.  Sides first, then I measured in between.

built-in-trim1

To install the trim, I used my nail gun and 2" finish nails, to attach them both the the walls and the shelves.

built-in-trim2

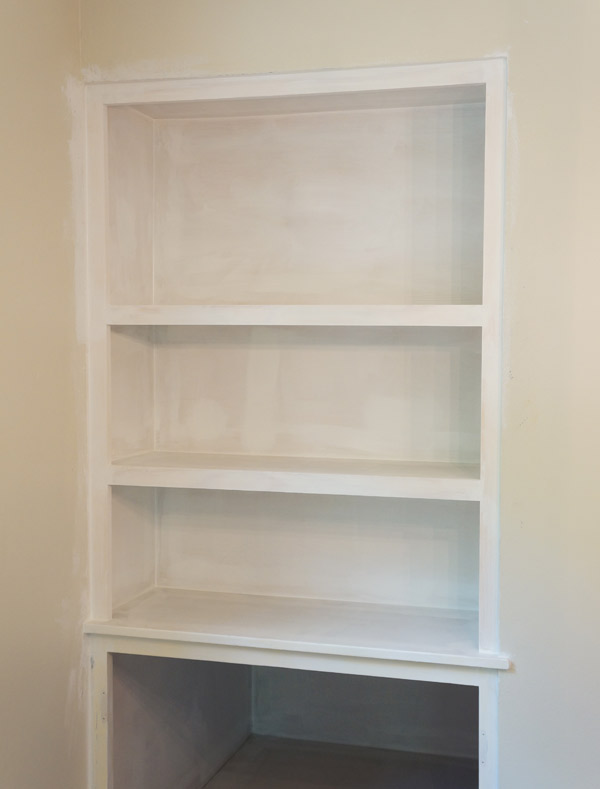
To spare you additional boring pictures, I patched holes, primed, and then sanded before getting to caulking all the corners.  I used my go-to caulk method: a squeeze tube of caulk (easier to maneuver than a caulk gun), and a small bucket of water.  I use the bucket to both dunk my hand before wiping down a bead of caulk, but to also wash the caulk off my hand as I go- it get's very sticky otherwise.  The caulk magically filled all the gaps at the joints and gives it a professional, finished look.  In the pic below, just look at the contrast between the bottom, caulked shelf and the top uncaulked shelf.

built-in-caulk

Ta da!

built-in-sans-paint

Meanwhile across the room, the doors were getting fresh paint and new pulls.

built-in-paint-doors

Once all the caulk was dry, the built-in got several layers of white semi-gloss trim paint. I allowed the paint to dry overnight before I layered on the tchotchkes..... I mean styled it.

Updated built-in styled via year of serendipity

Updated built-in styled via year of Serendipity

Faux plants Dining room styled via year of serendipity

Just updating the built-in makes the entire open living/dining area look clean, fresh, and updated, but will still charm the pants off of any buyer.

Built-in styled and updated via year of serendipity

Get your wallet ready... you can buy this house NEXT WEEK!!!  Can you tell I'm excited to finish up?