Tools

The Taming of the Yard

This post is sponsored by Toro, but all content and opinions are solely my own.  

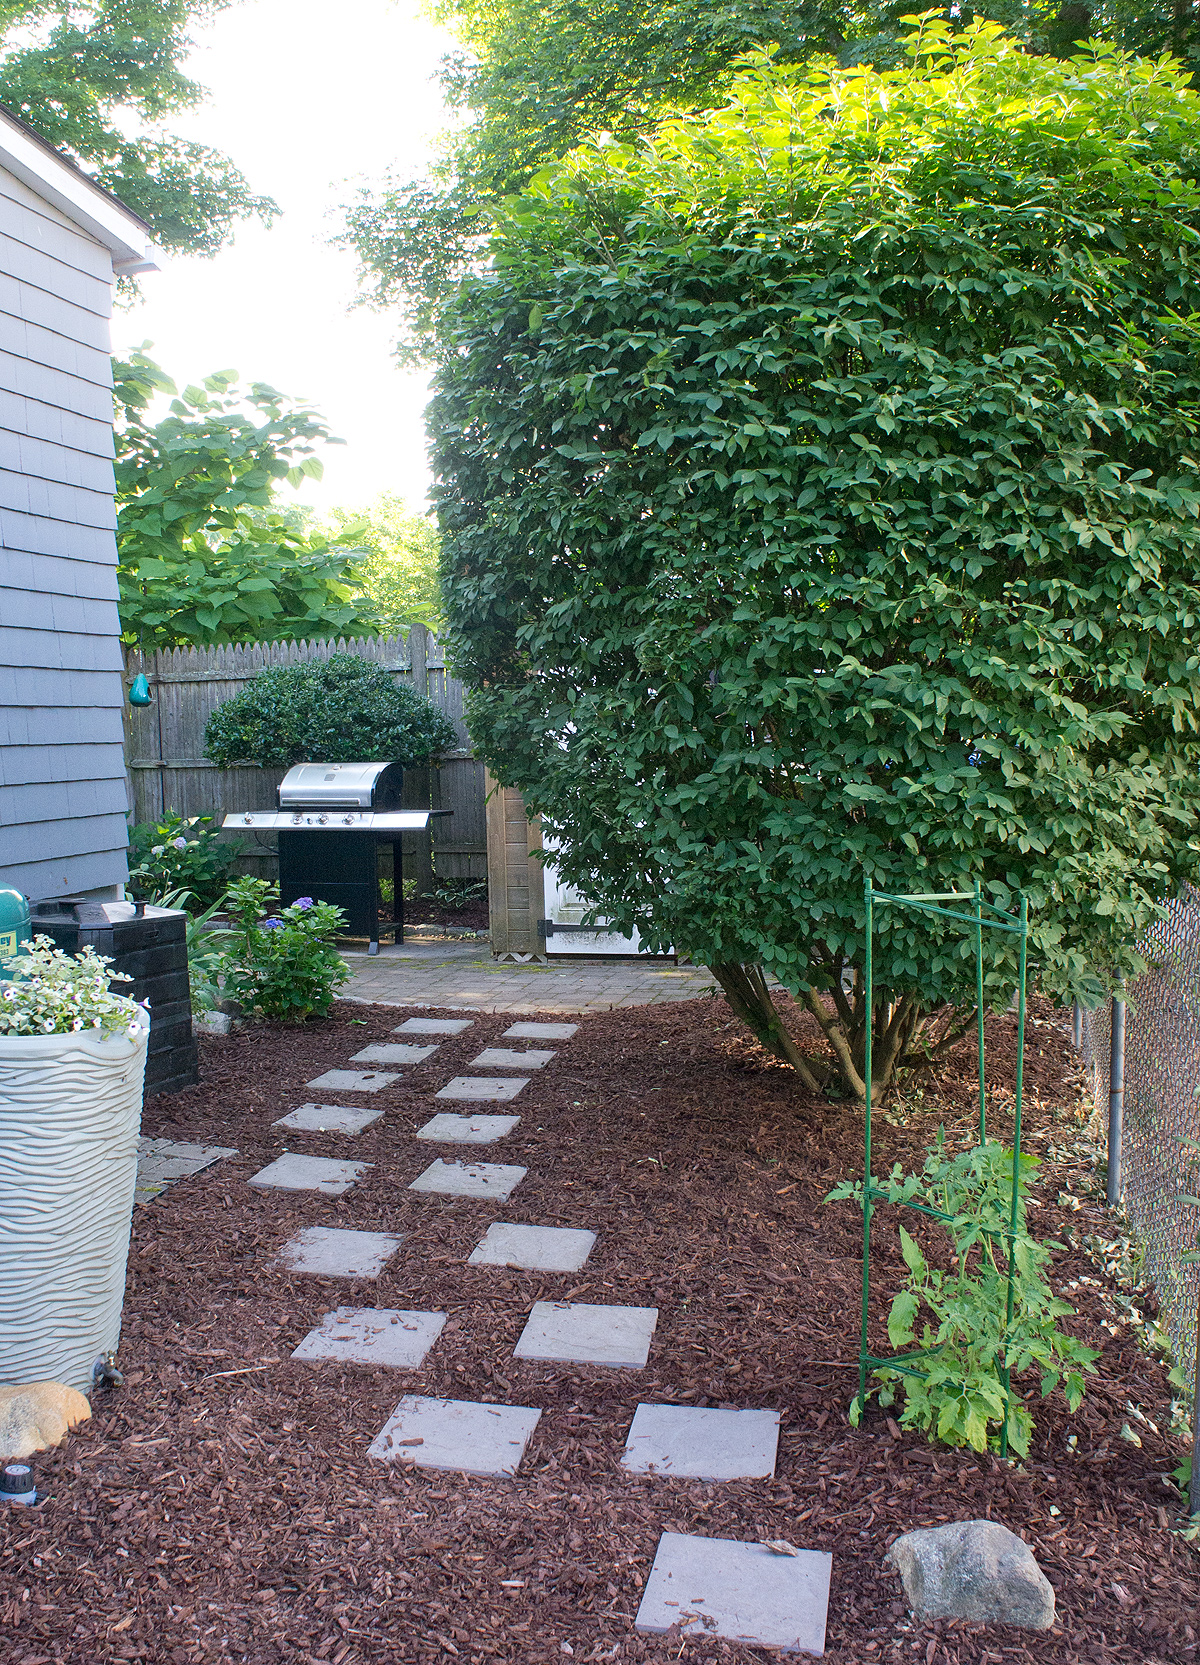
My yard is approximately the size of a postage stamp.  A 3,000sf postage stamp.  That includes the house, shed, driveway, brick patio, 1 tree, 170sf of grass, and gardens around every corner- literally.  It's my little garden oasis.  At the beginning of every summer, it's a process to get it season-ready, though.  Between cleaning up leaves, weeding, trimming the bushes. and spreading what seems like a million bags of mulch (ok closer to 30), I always spend more of my free time doing yard work in June than I ever anticipate.  Luckily once the bulk of work is done, the daily and weekly maintenance is a breeze for the rest of the summer and we get to sit back, relax, and enjoy our little yard.

Prior to it's yearly taming each spring, the yard starts getting a little wild and with it's minuscule size, a little wild feels a lot wild.


In my minuscule yard, we also have a minuscule shed that needs to hold a snow blower, manual lawn mower, all of my shovels, rakes, and outside tools, and now a stroller.  For me, not only is having the right tool to get the job done important, but the more compact the better...... cordless is a plus, multipurpose tools is a huge plus, easy to store is a massive plus.  To help with this year's taming of the yard, Toro kindly sent me a couple Toro PowerPlex™ 40V Max* Lithium Ion Products to try.

I first set out on the front yard with the Toro PowerPlex™ 13 inch string trimmer/edger on the front yard.  All 170sf of it.  We use a manual mower that came with the house, but with each mow, we use a trimmer to get all the edges and anything the push mower missed.  And the morning glories.  I have a love/hate relationship with morning glories.  Every year, by the end of summer, the metal fence is covered with beautiful morning glories (yay!) but they grow like weeds and will try to take over my lawn, garden, and anywhere possible (boo!)- string trimmer to the rescue!


This handy little trimmer has an extra long battery life (up to 45 min!) which was an issue we had with our previous trimmer.  It can also easily rotate to be used as an edger with a guide and wheel.  Multi-purpose tool?  Sold!

String trimmers/edgers are nice and handy, but what I was more excited to use was the Toro PowerPlex™ 24 inch hedge trimmer.  This was my old hedge trimmer.....


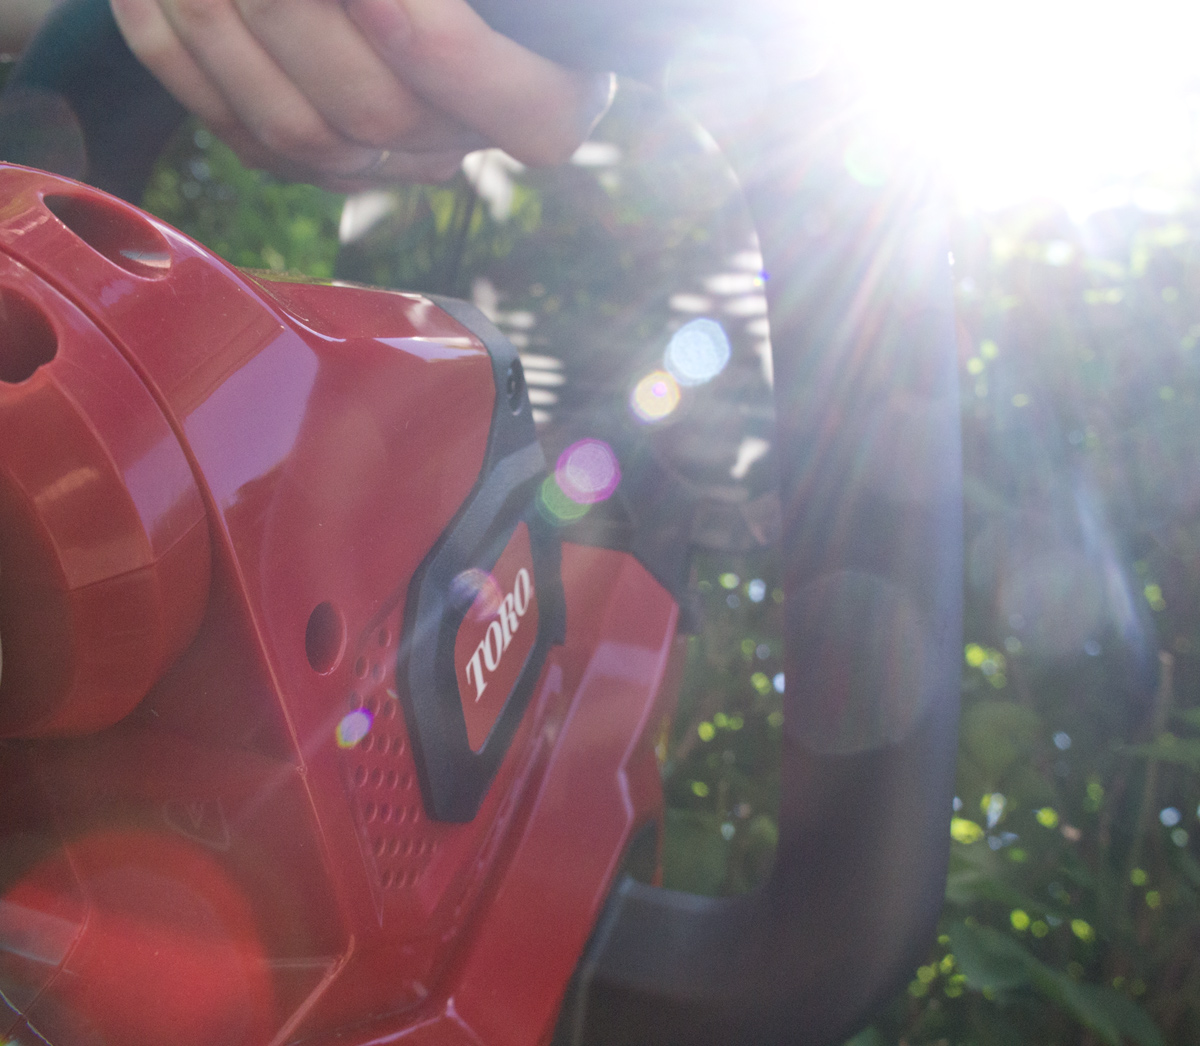
They work great for small tasks, but trimming larger bushes... say a 12+ foot tall burning bush... is pretty much impossible with it.  Toro PowerPlex™ 24 inch hedge trimmer to the rescue!  Please excuse the stank-face...I was glaring at the sun, not the trimmer.
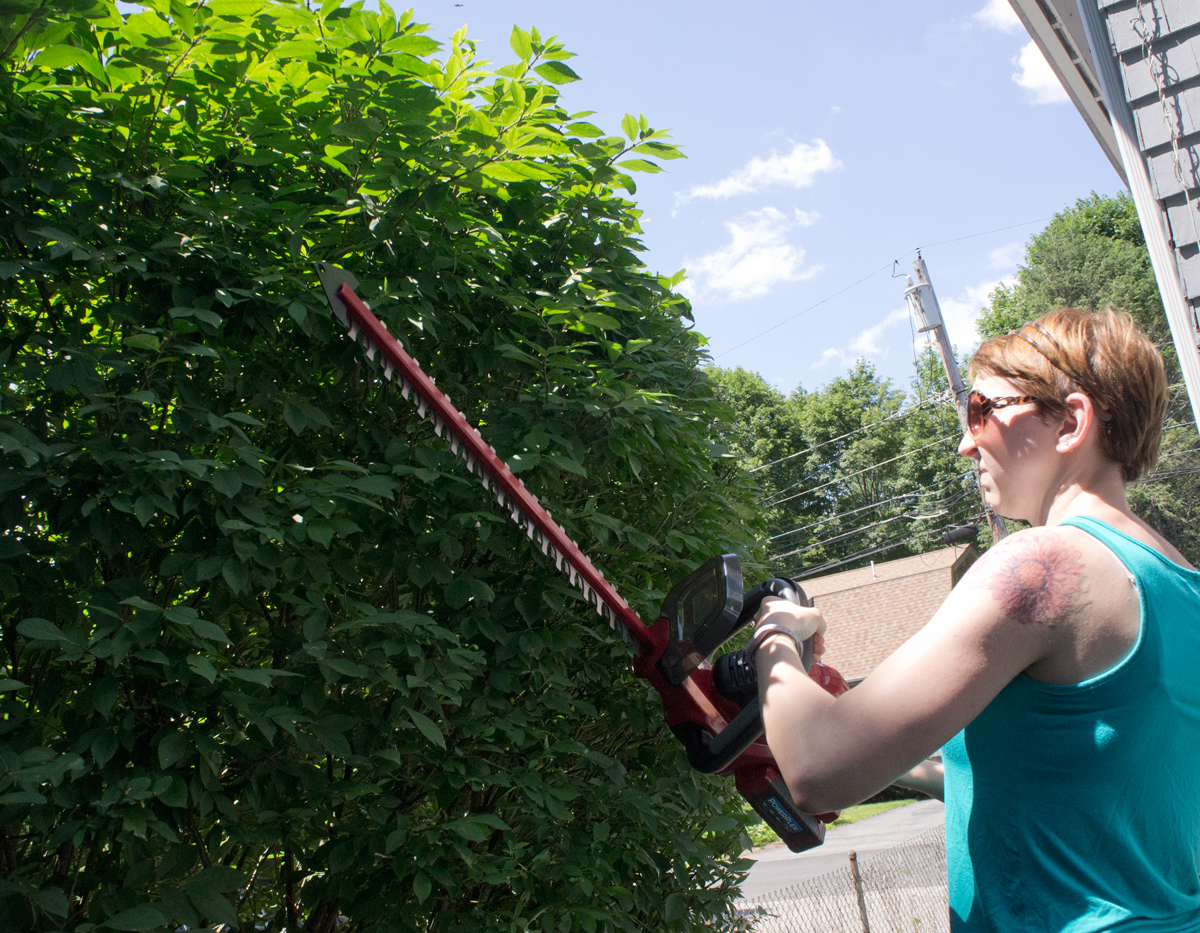
I'm loving that it's cordless.  In years past I've tried borrowing my dad's corded trimmer for the task, and this trimmer is so much easier to navigate than a corded one that you're constantly afraid of cutting the cord.  It also feels so much safer since you need to have both hands on the trimmer or it will automatically turn off.
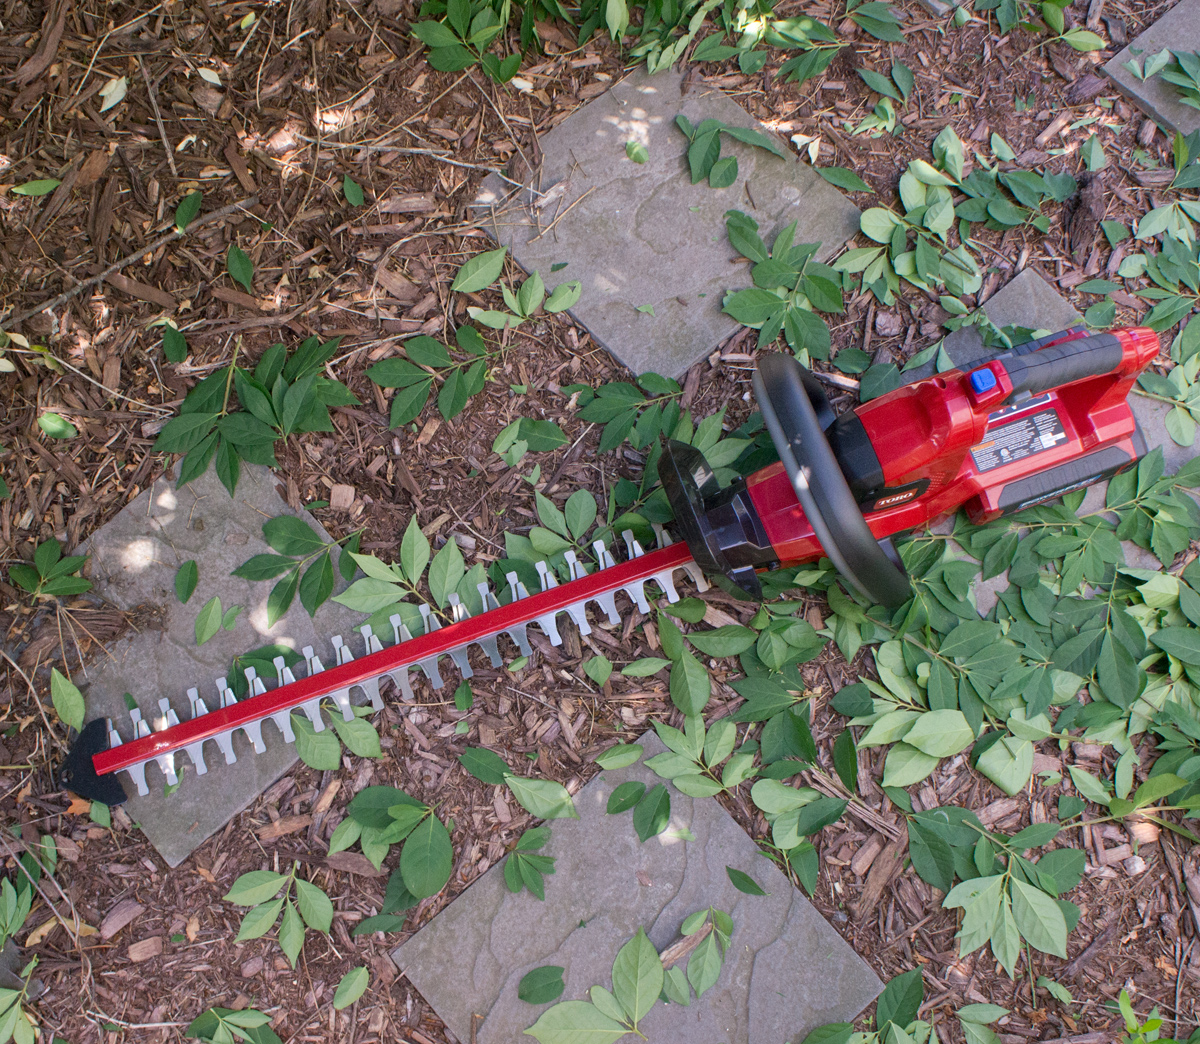
 

When at long last (or so it seems) the yard is finally tamed for the season, I get to take a deep breath, pull out my folding hammock, and enjoy the space all summer with minimal maintenance.

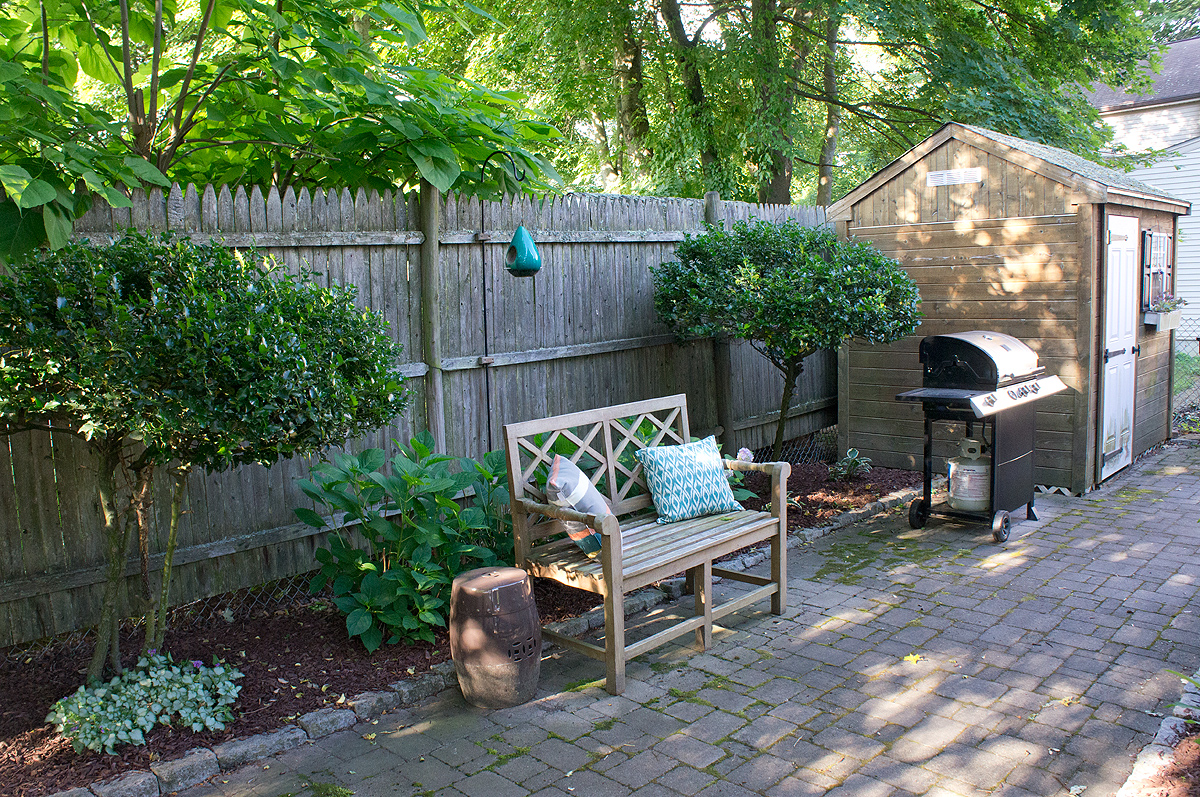


Thanks Toro PowerPlex™ 40V Max* Lithium Ion Products for helping me get my yard summer-ready!

Save

Save

Save

Save

Save

Save

Save

Save

Save

A Girls and Her Tools

Alternate title: 7 Handy Tools for the Handy Gal (or Guy) I like tools.  Tools are fun.  They help me wreck things, make things, and make things pretty.  Plus, I won't lie, I kind of enjoy shattering people's traditional gender roles "what do you mean my husband's tools?  MY tools.  He gets the kitchen."  Boom.  Welcome to 2014 ladies and gents!

A full list of tools that I find helpful would be near endless, but I thought it might be helpful to share a few of my favorite handy tools for DIY.

1.  Compressor

Harbor Freight Compressor

This one is necessary to accompany the next 2 of my favorite tools so I couldn't leave it out.  My compressor collection has raised to 2, a small portable one and a larger one with more power and both have their jobs.  If you're just starting into projects and tool collecting, I'd start with a small pancake compressor like this one from Harbor Freight.  They're light, portable, and have the power to do most small jobs.  A big need for my tools is portability since I don't have a workshop or garage where I can store them.  They're either in my basement or at a work site, so something helpful that's easy to move around gets 2 thumbs up from me.

2.  Brad nailer/nail gun

House-number-nail-gun

Speaking of tools to use with the compressor.  This guy is #1.  I'm not sure how I ever lived without my nail gun.  I think this may be my personal favorite: it's so easy to use- press into surface, pull the trigger.  For such an easy tool to use, you can make some mighty projects.  My entire built-in corner bookcase was put together with my nail gun and wood glue- and it's strong enough to climb on (although I'd rather you not).

living-room-sketch-reality

AND even though it's a rock star on large projects, no project is too small.  Use it to fix a loose piece of trim or like I did to beef up Millie's house numbers.

3.  Critter spray gun

Compressor tool #2!  The Critter Sprayer is what I use my larger compressor for.  You can use a smaller one, but be prepared for it to run non-stop.  This little siphon paint gun does not get enough recognition in DIY land in my opinion.

critter-sprayer

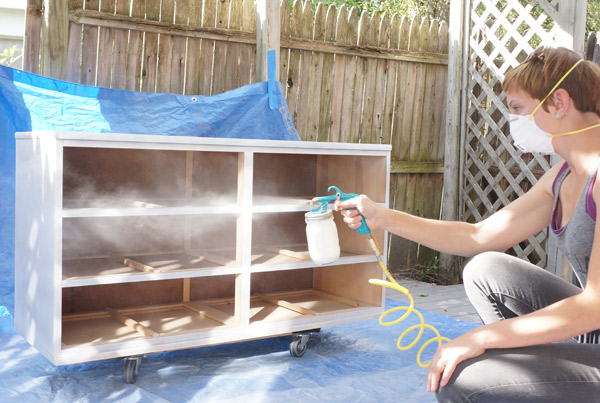
Not only does it work like a champ when painting furniture, it uses mason jars to hold the paint.  Super duper handy for the DIYer.  When you're done for the day, you simply put a lid on the mason jar and you have pre-mixed paint just ready for the next coat or next project.  The only downfall is that you need to thin the paint like you do with any sprayer.  I use a little water and Floetrol and the finish comes out like a dream.  Just be careful not to put too much paint on at one time or you might get drips!

4.  Locking grip pliers

locking pliers

These aren't nearly as exciting as the previous tools, but I swear I find new uses for locking pliers daily.  The most useful task of this tool is removing stripped screws, headless nails, and rusted bolts.  I've also found myself using these as a vise to hold something steady, grip something too small for my fingers, and many more uses that I always forget.

5.  Foldable platform

bb043417-840b-43ee-b8ae-188f2a52f3bb_400

Again, not a glamorous player in the land of DIY but it's an unsung hero.  My sister gave me a foldable platform for Christmas a few years back and I couldn't be happier!  It's most obvious use is in lieu of a step ladder for painting and reaching.  It's lesser obvious use is my favorite- portable work bench.  When I modified the built-in for Grover the Fliphouse, my platform was indispensable. I would clamp the plywood to it while I cut it and clamp the 2x4s to it while I drilled my pocket holes.

kreg-platform

Aside from being a clamp-able surface, it also brings the work surface off of the ground.  You are welcome Back.

6.  Kreg Jig

kreg

I know I've mentioned the Kreg Jig before, but he's pretty awesome and you can see him in action in tool #5's pic above.  His skill set is rather limited- drill pocket holes for attaching 2 pieces of wood- but the things you can do with that limited skill set are in fact limitless.  He's one of my buddies when I'm building things.  Things like my franken-table

console-franken-table

and wine rack

wine-rack-angle

7.  Miter Saw

cbbe4231-7353-4c96-ab9b-213d672e5126_400

Last but certainly not least, a miter saw aka chop saw.  This is one of my more recently added tools, but has made my life so much easier!  Cutting crown molding? done.  Base boards? done.  Building furniture or built-ins? done.  You need it cut? Miter saw's your man. It's almost embarrassing how long I made due with a hand saw and jig saw.  While not a cheap tool, the right miter saw is totally worth it.

So there you have it!  I'd love to hear what you'd add to the list and what your favorite tools are!

Padding the Issues

I have a very deep and important topic to discuss with you today.  Rug pads.  Wait, don't go!!!  I'll try and make it exciting! When Rug Pad USA reached out and offered for me to try their product, saying I was skeptical was a bit of an understatement.  Rug pads rank on my priority list right below fixing my dripping faucet and right above cleaning under the bed.  For example, we have an area rug on our carpet in the bedroom.  Our bed's legs cause the quality IKEA rug to pucker something fierce.  A nicer rug with a proper rug pad would probably have no issue in this situation.  My solution: stick a stiff carpet sample under the bed legs for support.  It has sat like that for over 3 years.  Just call me MacGyver.

My biggest rug pad situation (yes that's a thing) was in the kitchen.

Year of Serendipity two-tone kitchen with flat weave runner

Flat weave runners are delightful on the eyes, but have little to no 'stay put' power on their own.  Also being in the kitchen, Hubby requested, back when we got the rug, something cushy that would be good for standing.  Again, MacGyver had a solution!  I folded up a regular rug pad for more cush... and then when it kept going askew, I splurged for "As seen on TV" Ruggies.  This solution was acceptable... the Ruggies kept the 4 corners in place and the folded pad was pleasing to your feet, but the pad kept bunching and although the 4 corners stayed in place, the center of the rug liked to go it's own way.

bad-rug-pad-fix

So when Rug Pad USA asked if I'd like to try a rug pad, my thoughts immediately went to that wonkiness.  I'm willing to give almost anything a try and really, it couldn't be any worse than my makeshift solution.

When I took the Premium-Lock rug pad out of the packaging I was intrigued- gripping rubber on one side and coarse felt on the other.  Seemed promising.

Rug pad USA premium lock rug pad

The second I put it down and placed the rug on it, my rug pad skepticism flew out the window.  The rubber held the pad onto the hard wood floors and the texture of the felt kept the rug in place.  I even gave it the twist test.  Are you familiar with this test?  Stand on a rug and... do the Twist!  It didn't budge.  You win rug pad.

I dig the rug pad so much I'm most likely going be getting another for the flat weave rug at my front door.  I won't lie though, it's tough convincing myself to spend more than a few dollars on something I'll never see, but I don't think my feet can ever go back to my previous go-to of "the cheapest rug pad I can find".  Cheapskate Frugal skeptic MacGyver here even sees the value.

Flat weave rug staying put with big girl rug pad from Rug Pad USA

The design nerd in me also really appreciates that they're made in the USA, have no VOCs and several (like the one I received) are LEED certified.

If you don't believe me, test it out yourself.  Use the code pr15off to get %15 off a Rug Pad USA rug pad of your very own and let me know your thoughts!

***Rug Pad USA did send me a sample to review, but all words and opinions are 100% me (for better or worse).  They actually encouraged my full honesty in the interest of market research.  Now there's someone who stands by their product!***