Painting

Painting Over Stripes

gray-walls-after.jpg

Painting over striped walls via Copper Dot Interiors One of the first design features that I added to this house 5 years ago was painting stripes on the living room wall.  I had done it in our previous apartment and we loved it there, and we loved it here too, but after living with it in 2 homes, I was over it.  Especially after adding my built-in bookcase, the room felt busy and over-designed.

Striped living room before

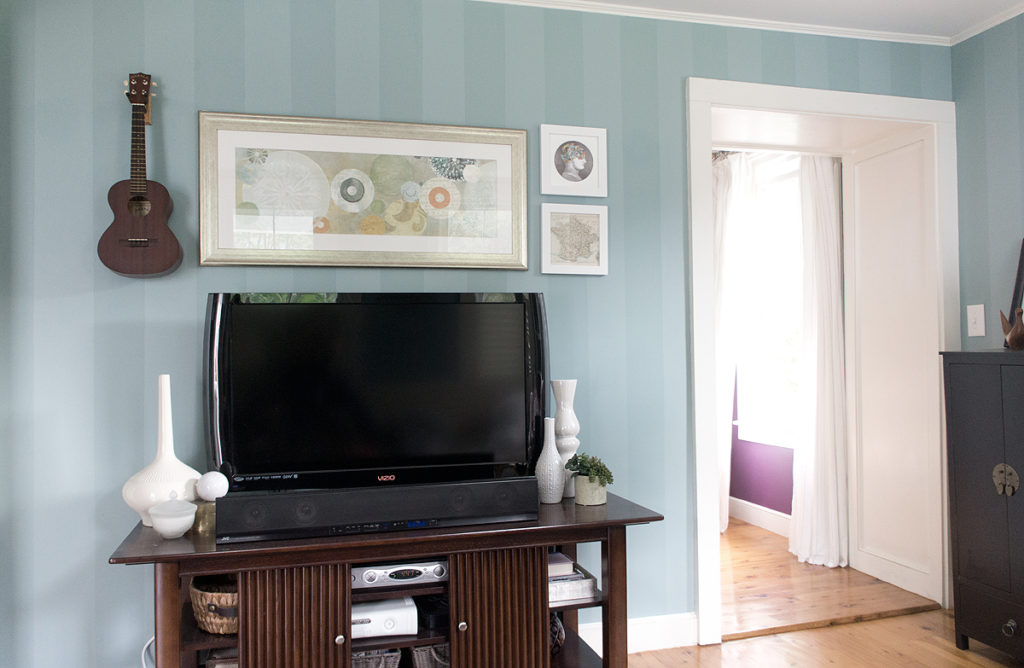
Unfortunately with painted stripes, it's not quite as simple as rolling over it and having it disappear.  In a client's tiny powder room for example, the previous owner painted over stripes (thankfully) but when the light hits it right, you can still see every stripe.  It's not in your face, but once you see it, you can't unsee it- that's what I call OCD torture.  Because I originally taped off the stripes to paint, each line had a bit of a lip to it and would suffer the same fate as my client's bathroom- without the right prep, the stripes would always be visible.

Torquoise striped wall before prep

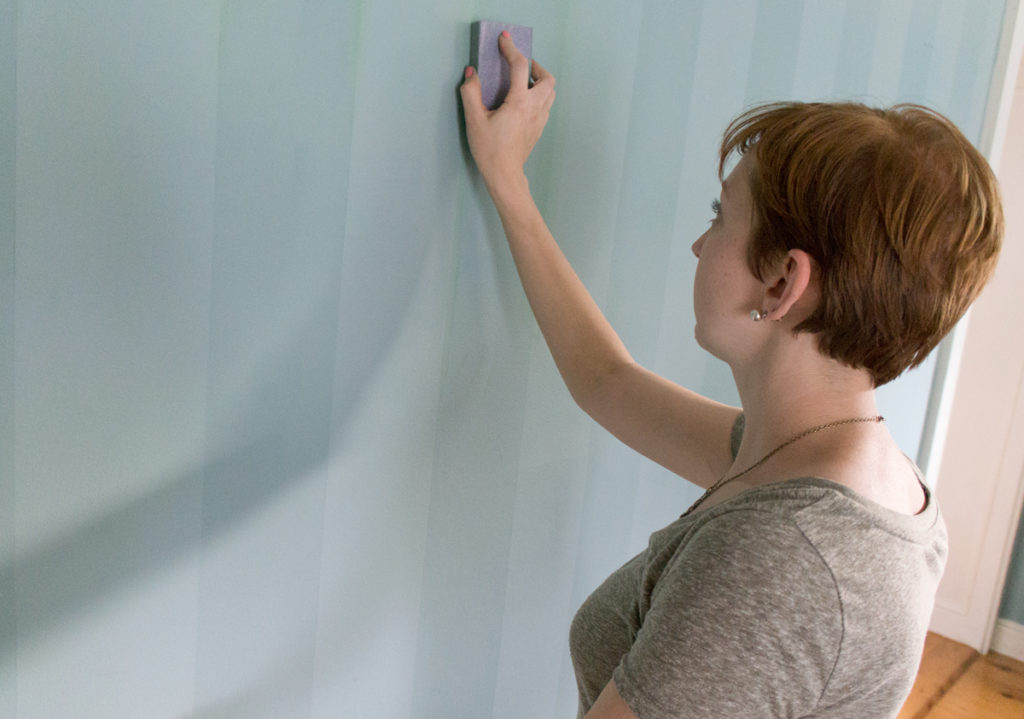
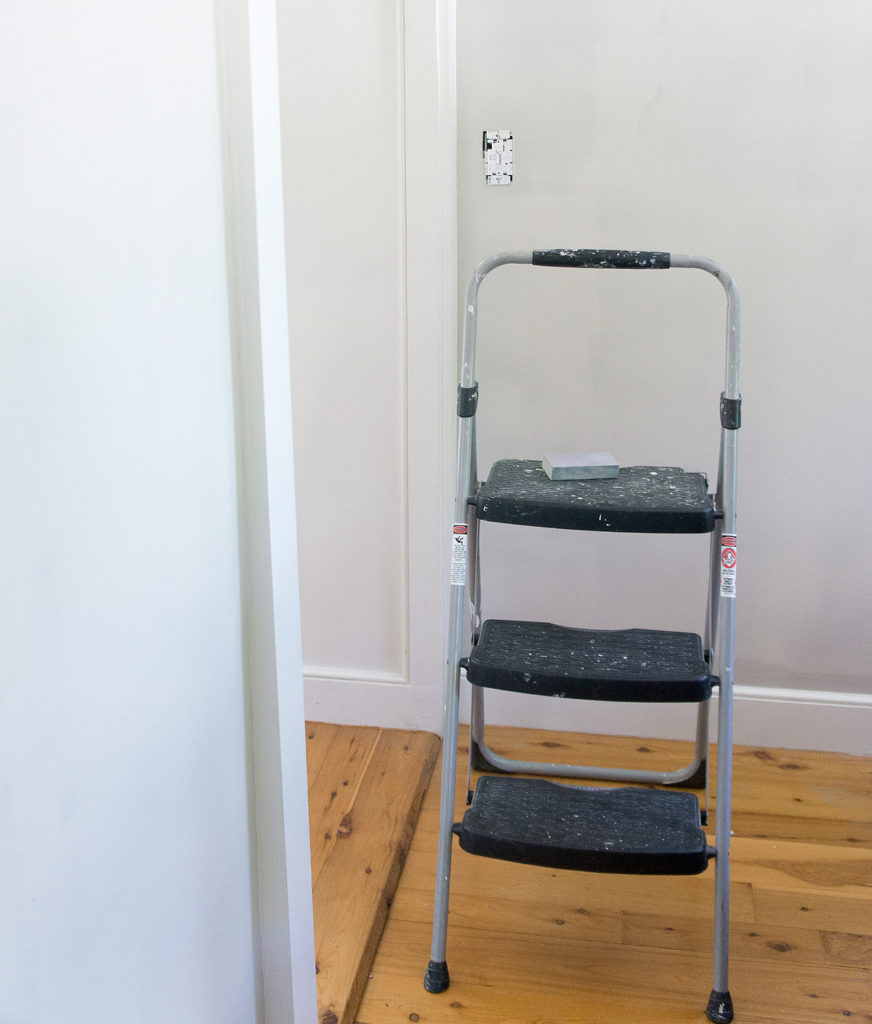
De-stripifying was time-consuming, but not particularly difficult.  It took a lot of sanding and I mean a lot.  Great arm work-out though... I found that 100 grit sandpaper was the best at smoothing over the paint transitions.  I sanded each line until I couldn't feel any kind of transition any more.

Sanding painted stripes

In some particularly stubborn areas, I used a bit of spackle to smooth out the transition even further.

sanded, patched, and prepped wall stripes

After sanding, patching holes, and smoothing out the stubborn areas, I wiped the wall down with a wet rag and was ready to paint!

gray paint progress

Unfortunately, even after a coat of paint, getting rid of the stripes still wasn't complete.  With a coat of paint, any transitions that I didn't smooth over just perfectly were still showing through, especially as the sun shone in the window onto the walls.  Once the paint was dry, I picked up the sandpaper once again (with a bit finer grit) and re-sanded over any areas where the stripes were still visible.  This is where I let my OCD take charge: if I could even see a shadow of a line it got sanded meticulously.

gray paint with shaddow stripes

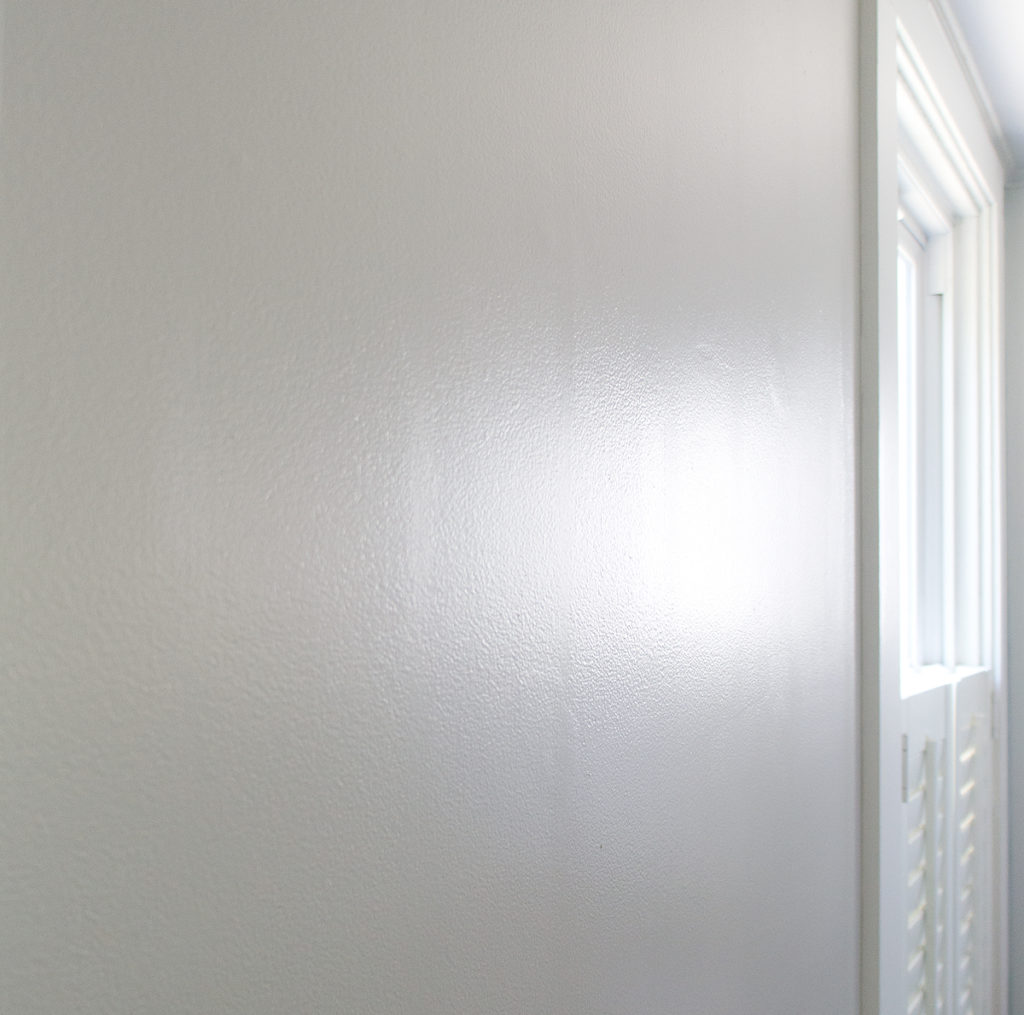
After the resanding and a second coat, I am pleased to say that there is no more evidence of striped walls past.  As I mentioned in Friday's post, Hubby's still skeptical of the color, but I'm already finding it so much more calming.  Such a breath of fresh air!

gray wall living room

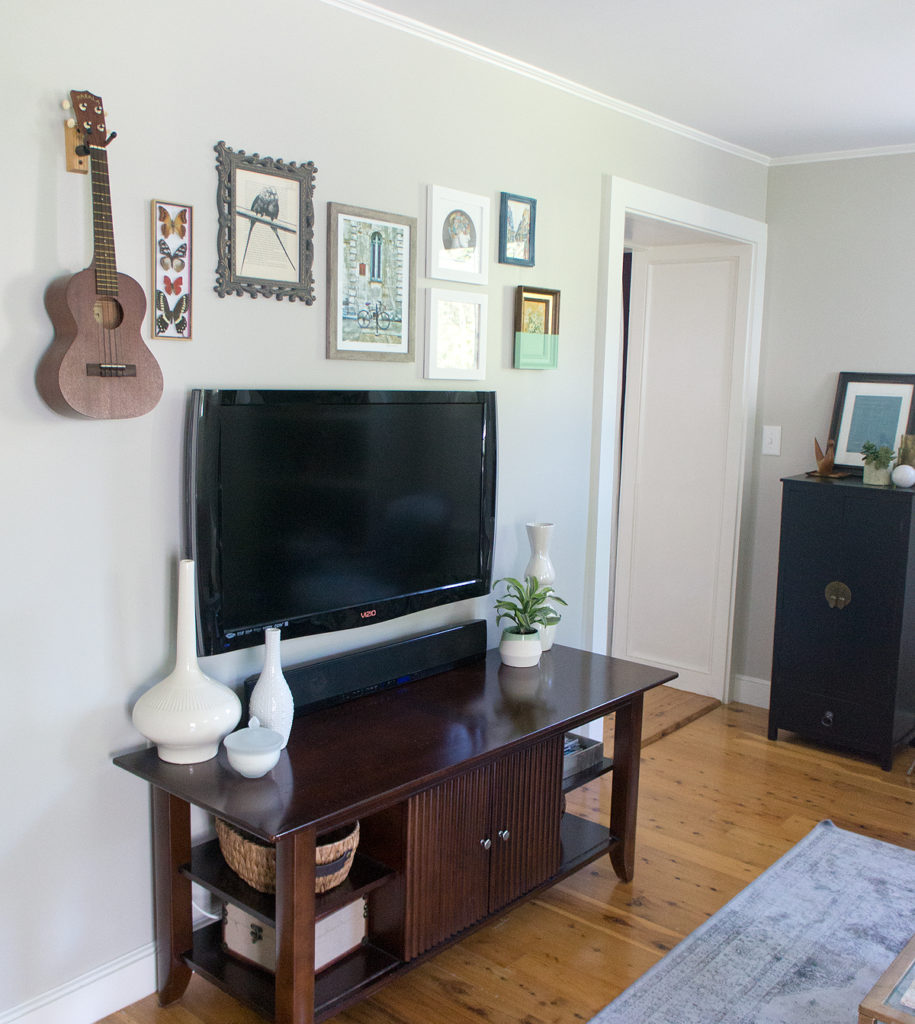
I still have some ideas on how to inject a bit more personality now that the walls aren't screaming at me, but that will all come in due time.

Save

Save

Save

Save

Save

Save

Color Blocked Deco

I know you must be on the edge of your seat with anticipation- What did Karen spend her last $3 on at Brimfield??  Fear not, I'm here to put you at ease! Piled under other several other items, I discovered the most adorable wood and metal deco tray.  The handle caught my eye and once I moved the junk piles from it, I realized that it was in amazing condition.  I would've paid more than $3 for it if necessary- that's how much I love it.

deco wood tray

At first I just cleaned it up with a little wood conditioner (which worked miracles!) and fine steel wool on the metal, but I wanted to kick it up a bit.

deco tray progress

While adorable on it's own, it needed a pop of color.  After racking my brain for what pattern this little guy wanted- herringbone?  diamonds?  free-handed feathers?- I kept coming back to color blocking.  Why resist the urge?

Color blocked deco wood tray via Year of Serendipity

It's the perfect size to hang out next to my computer and corral the everyday necessities.

My sexy mac is in the shop, so I'm borrowing Hubby's extra lappy currently, hence the less-sexy black box.  Hopefully only another day or so.

deco tray syled desk

Considering I used paint, wood conditioner, and steel wool that I already had, the only cost here was the $3 tray!  And what a pretty $3 tray it is!

DIY color blocked deco wood tray via Year of Serendipity

I'm so happy that I could keep the integrity of the piece and give it a quick update.  My favorite type of DIY!

So, what do you think?


Musical Chairs (again)

Remember when I said that the dining room was done? current dining room

I lied.  Well, not lied, just reevaluated.

Turns out that Hubby wasn't the biggest fan of the wide array of chair styles I had collected for this look.  He liked the more traditional one on the left, but that was about it.  I can convince him into a lot of things design-wise (like a 2-tone kitchen), but apparently my powers were weak with the chairs.

mismatched dining chairs set 1

Good thing that I had replacement chairs just hanging around the house... right?  Now that I'm attempting to purge my basement furniture hoard collection, I brought up the entire old chair collection and started to play around.  I made a valiant last attempt to plead my case for keeping the above 4, but Hubby strongly voted for 4 more traditional styles.

latest set dining chairs

Since it's his house too, and I don't hate these chairs by any means (I did buy them after all.... AND they may have actually been the original 4 chosen chairs way back), it looks like I have some more chairs to refinish! (AND maybe one of these days I'll figure out how to photograph the dining room without it looking dark and washed out at the same time.  maybe.)

Only one chair remains from the refinished 4 above, one was refinished for our previous dining room iteration, one is primed but was never painted, and one hasn't been touched at all yet.  They look like kind of a mess today, but once I unify them with paint and fabric like I've done before, they'll all be one big happy family.

2014 dining chairs before

There hasn't been a day nice enough to finish them yet (paint spraying is reserved for outside only), so until then, the chairs in my dining room may or may not be actually sittable.

chairless chair

Now all that's left to decide is color.  Do I stick with the yellow/green that actually grew on me?  Do I go for a mid-tone gray?  Or should I be crazy and go for a different green?  I know which way I'm leaning today, but that could change by the time I get to painting.  What do you think?