The latest round of Swap it Like it's Hot snuck up on me!

New to Swap it Like it's Hot?? Here’s a quick recap: 40 bloggers went thrift shopping with $10 in their pockets. We all sent our treasures to another blogger for them to re-envision, revamp, and DIY. This is my 3rd swap- check out my previous projects here and here
If you're here from Always Never Done, welcome!!
Amy at Always Never Done sent me several items for me to reimagine: a fabric remnant, wood rectangle, framed daisy painting, and a mason jar holder.

As soon as I checked out these items, I knew that the painting and the jar holder would be my focus. I've been itching to "dip" a painting, but I never seem to find the right thing. When I say "dip" I mean painting part of the piece and frame a solid color like the whole shebang got dipped in a can of paint. The art that I come across usually is either total junk and would still look like junk after painting, or is too nice and I'd feel like a heathen defacing it. This little flower pot was absolutely perfect for the task: cute enough to look cool with some color blocking, but not so precious that I'd be ruining something.

I started with a little tweak to the frame- I wasn’t keen on the green part of the frame, but if you know anything about me, you know I am particularly keen on gold. So I out came my gold lief paint to cover up the green.

I only painted the part that would show after “dipping.”

Once that was dry out came my favorite Frog Tape. Dude I love that stuff. Blue tape holds no candle to this sexy green stuff. I wish I was being sponsored to say this, but trust me, I’m not. Just a starry-eyed girl and her Frog Tape. Make sure to use a finger nail to push the tape down at the paint edge and into every little crevice. To help seal it even more, I like to run a wet paper towel down the edge before painting. The sticky stuff on the tape expands when wet…… just let an entire roll of it get wet and you’ll see what I mean- the sticky stuff will expand out of the roll becoming a slimy, unusable mess. BUT it’s proof that it works! But I digress.

After taping the painting, I painted the “dipped” side with a brush, being careful to brush away from the tape as another protection against bleeding under the tape. I generally like to pull my tape off when the paint is still wet, but you have to be suuuper careful!

Once the paint is dry, all you have to do is hang and enjoy!! You end up with a piece of art that’s part modern, part traditional, and (in my humble opinion) rather interesting.

For the mason jar holder, I was stumped for a bit. Do I use it to hold something? Flower pots for an herb garden perhaps? Cute idea, but doesn’t involve any kind of transformation. What about a stand of sorts? Again at a loss for an idea that would be anything different from it’s original use.

As I thought about these possibilities a bit more, I came back to the idea of plant holder. If it was on the wall, it’s purpose would naturally change. But then how to hold plants into a jar holder on a wall? Light bulb moment!

I ran to the kitchen, collected all my air plants then ran to the basement to grab my twine.
 I haphazardly started wrapping the twine around the metal frame with no real plan. I tied some spots and looped others until I had the entire frame entangled. Up on the wall it went and in went the air plants. I try not to kill air plants…. I succeed most of the time…. but they’re addicting!! Such cute little plants they almost look fake.

If I was confident in my ability not to kill all the air plants, I’d double my collection and load this puppy up completely! It also makes me happy that I didn't permanently alter the item, so if I want it to go back to a mason jar holder, all I have to do is untie a few knots. So easy!

How fun do these 2 beauties look together?


Now it's time for you to share the Swap it Like it's Hot LOVE. Pop on over to Casa Watkins and see what she did with the goodies I sent her!
Be sure to check out all the other awesome projects this week!


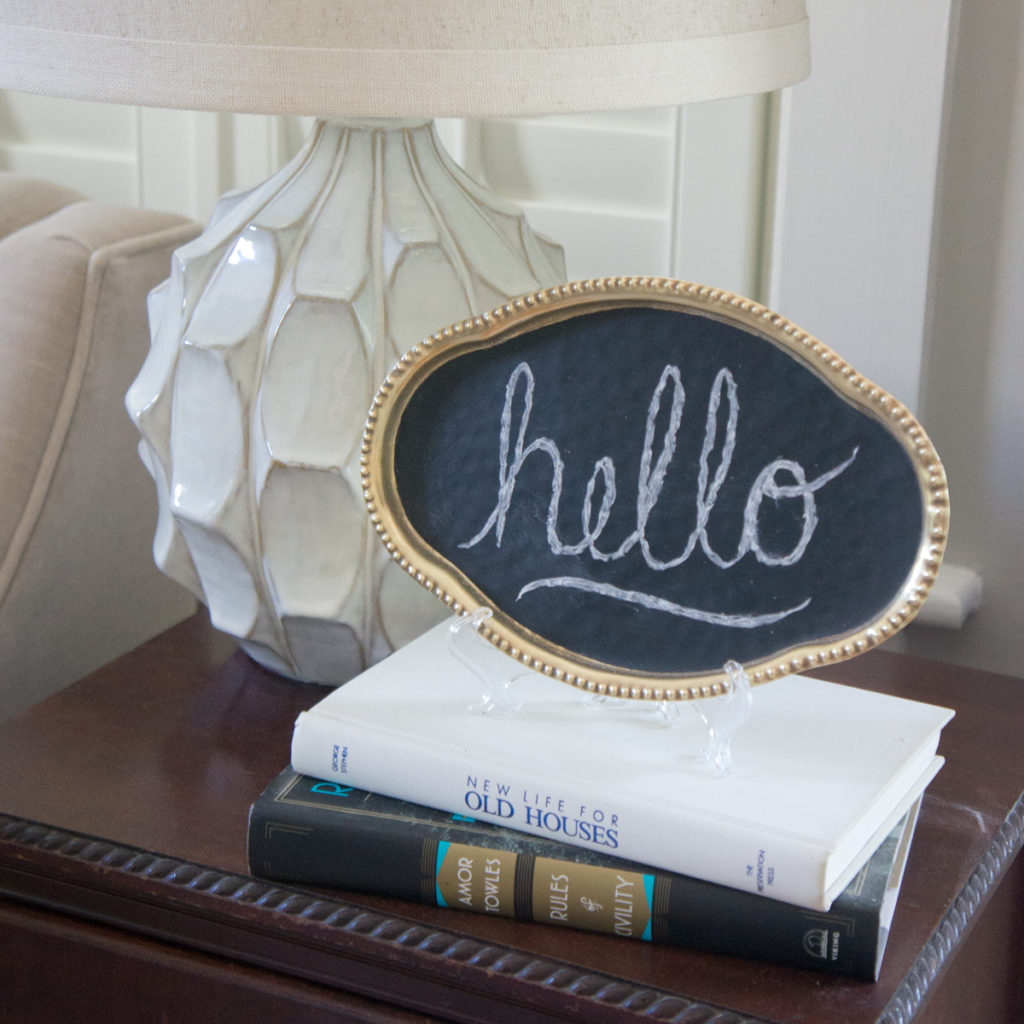
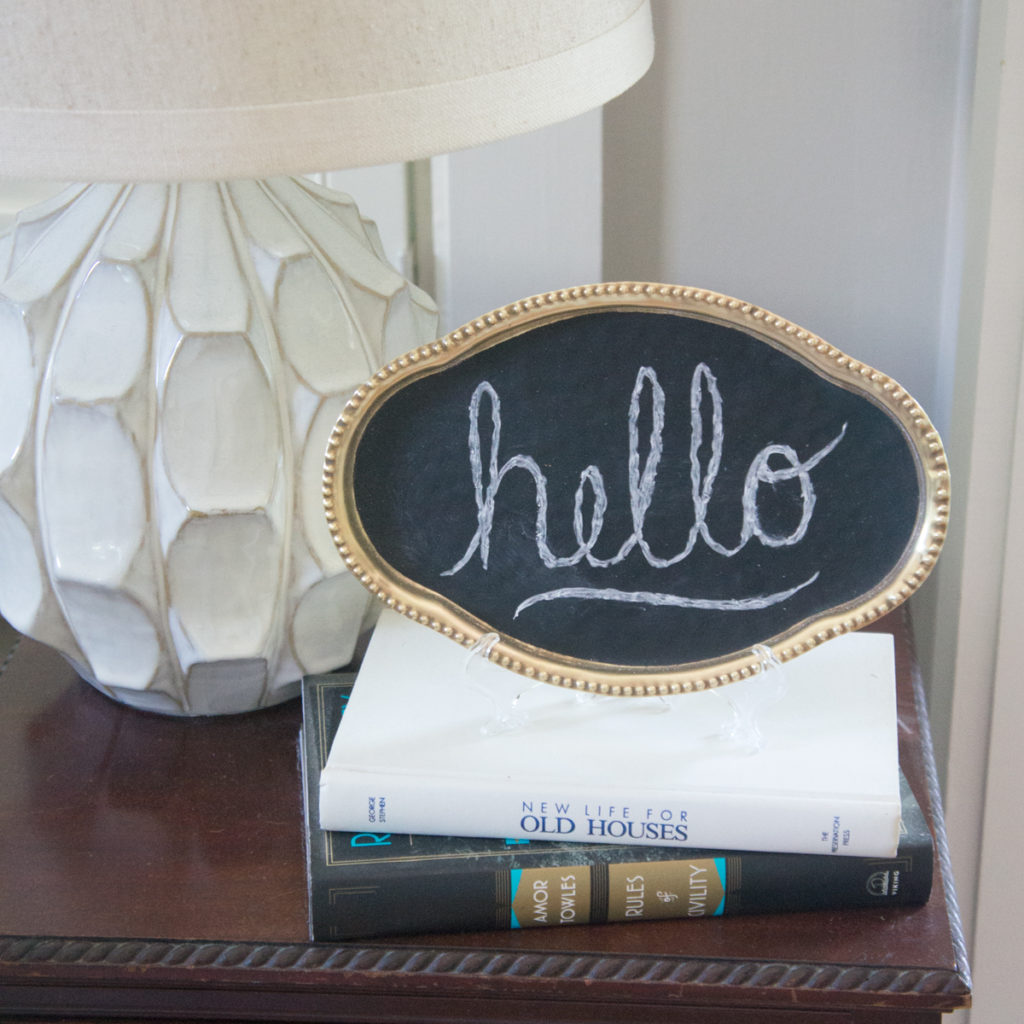
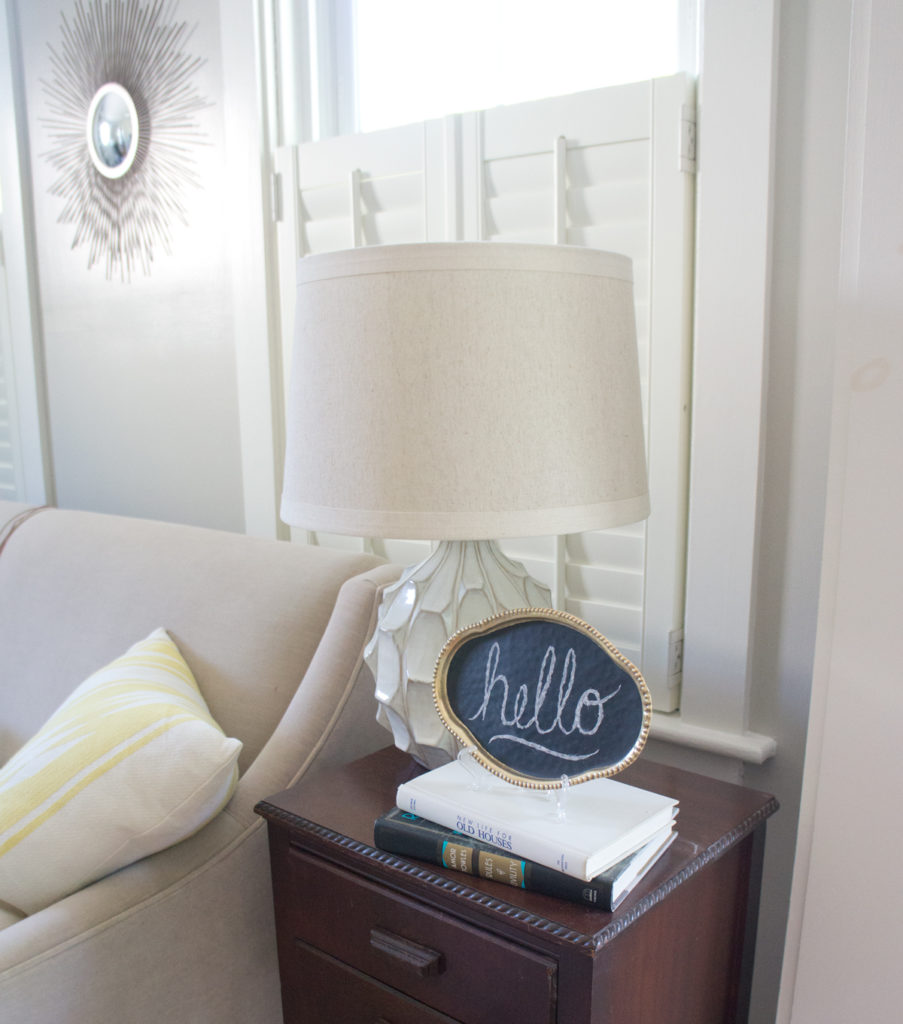
 WIth my sister-in-law's wedding less than a week away and yours truly in charge of some decor items, I've got a DIY fire under my butt. I don't know about you, but with me, one idea always snowballs into 7 or 8 ideas and now I need to see what I can get set in time! One super duper easy DIY for the wedding was a brass tray chalkboard.